Pages

Friday, May 31, 2013

DIY Spring Outdoor Decoration

I'd like to welcome Anna Hicks who has written a post especially for DIYbyDesign.

It’s the time of the year once again to get up and about to trimming and sprucing up your lawn or backyard. You want to give it that alluring look that makes you want to spend afternoons outdoor sipping some strawberry lemonade.
Some simple tips and tricks and a pair of handy helpful hands can achieve a lot with small changes. There are professional services that can teach you how to water your lawn less for better results and help you to preserve water, which means you can also reap eco-friendly benefits during DIY spring outdoor decoration.

1.  Add a Little Something Extra to Your Planters
Planters come in all different sizes and shape which means there's an array of ideas that you can work with. From something as simple as painting them a different color or pattern to whole project that involve making a planter tree by stacking up different sized planters; the sky is the limit.

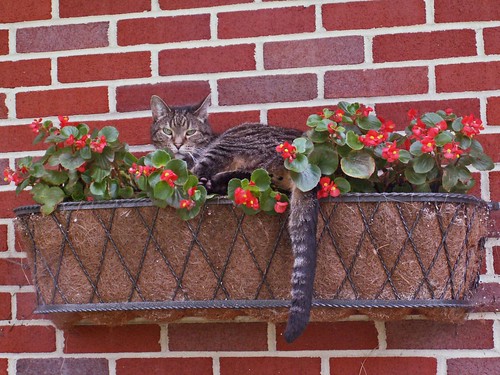
Cat in Flower Box

An option is to combine a water feature to some medium to small sized planters, some small sized bird baths or pebbles and water. Such a craft may sound extremely difficult; but it’s quite is easy to carry out, and also makes a very appealing and refreshing addition to your front lawn.
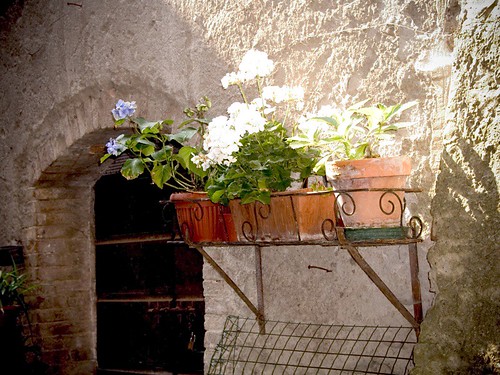
Flower Box

2.  Build Yourself a Fire Pit
If you have a large backyard and your children love camping, this might be just what you need to not only take them camping right at home, but add a whole new level of fun to it. Building a fire pit may seem like a very tough project, but with an extra pair of hands and some accurate directions, you can manage it fairly well on your own.
Fire Pit in Connecticut
You don't need to make it an exclusive for your children. Adults are just as likely to enjoy an activity of the sort, so you can also make your fire pit a hub for socializing with friends and relatives.

3.  Add a Dash of Color 
If you’re hopeless when it comes to taking instructions, you might just stick to something as simple as adding a bit of color here and there. Another great idea for the front might be to paint your front doors a bright shade.

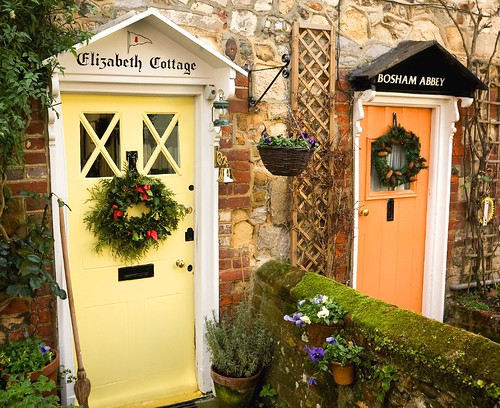
Quaint front doors at Bosham

As hard as it may sound to believe, hot pink seems to be the color in vogue for this mission if you wish to accomplish it. It adds a dash of brightness to your house and makes it look more lively and welcoming at the same time.
Image

4.   Make it a Relaxing & Soothing Place
If you wish to lure your kids outdoor or just like to hang out outside, add some furniture outside that makes it seem more of a lounging space.


Get a hammock if you like, but if you prefer something sturdier, then perhaps a summer cabana would suit you better. However, if you don't want to spend extravagantly, fish out some old chairs, renew them with some cans of spray paint, add an umbrella stand and your relaxing corner is as good as done.
When it comes to home decorating, whether indoor or outdoor, it does not have to be an extravagant burning of money. You can make do a lot with plain old household items; it all depends on your creativity and imagination and the tips mentioned above will give you some ideas to start. 

Thanks Anna.

Have a great weekend!
-Judy

Thursday, May 30, 2013

Embroidered Pillow


The other day I shared with you an embroidery project I made.  It's one of my favorite phrases and I transferred it to this fabric and embroidered it.

 I decided to take that project a bit further and turn it into a pillow. 
The embroidery looked a little plain all by itself.  I took left over felt and cut out a couple of owls and a branch and embroidered it onto the fabric as well.
Aren't they cute?
Then I folded the fabric right sides together and sewed it together.  I turned it right side out and stuffed it with a pillow form.
For the two sides, I folded the fabric under and hand-sewed it together using more embroidery thread.
Here's a close-up...
I can't wait to hear what you think of my cute little pillow.

-Judy

Pin It


Follow my blog with Bloglovin

Wednesday, May 29, 2013

Swing into Spring - It's a Party #119

Welcome to this week's Swing into Spring party.  
Last week's party was filled with so many great ideas and inspiration.  
Here are this week's features:

HOME DECOR:
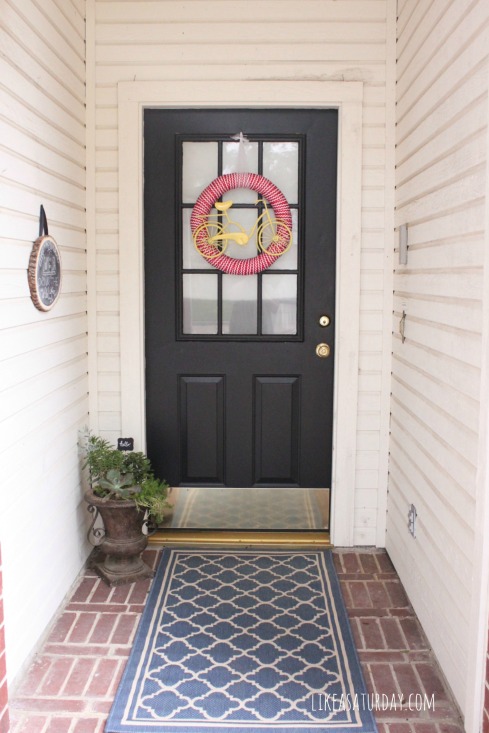
Like a Saturday  shared her summertime porch update.  Love the bicycle wreath!

FURNITURE TRANSFORMATIONS:

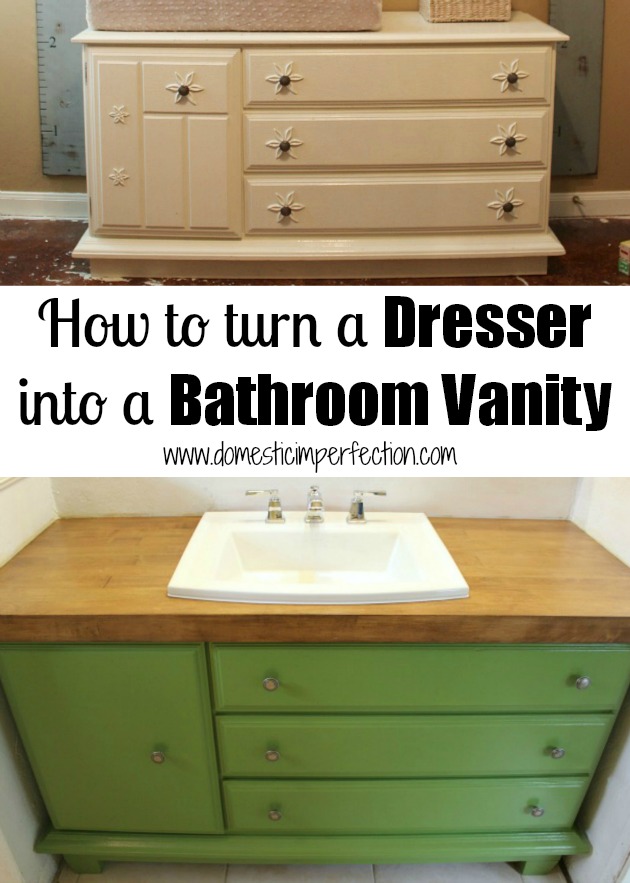
Domestic Imperfection  shared a tutorial on how to turn a dresser into a bathroom vanity.

CRAFTY CREATIONS:
The Pin Junkie created her own DIY plant markers.  Such a cute idea.
Pieced Pastimes shared a tutorial on how to create this pleated dropcloth pillow.  I love the pretty blue and white pleated fabric.  

TASTY TREATS:
Much Ado About Somethin' shared her recipe for taco salad.  This is one of my all-time favorite dishes.
Domestic Bliss Squared shared their recipe for the ultimate cucumber sandwich.  Looks amazing!


If you were featured, please grab an "I've Been Featured" button (you can now find my buttons by clicking on the buttons tab right under my header).  Now let's get started with this week's party.  I can't wait to see what you have been up to.  Link up anything you have been working on...home decor, sewing, crafts, organizing, baking, recipes etc.   I will keep this link open through Friday.


A few rules:
1.  Please become a follower (if you already follow me on Google, I would love for you to follow me on Linky Followers, Facebook, Twitter and Pinterest as well).  

2.  Please grab my party button above and display it either on your sidebar or somewhere in your post.  This way word can spread about the party.  The more people at the party, the more fun we will have.

3.  Please enter the link to your actual post, not just a link to your main blog page.

4. Please visit others who have linked up.   Everyone works hard on their projects and blogs...let's show each other some love by visiting each other.  Let's have some fun and hopefully make a few new friends along the way.

Ok...Let's Party

-Judy

Tuesday, May 28, 2013

How to Transfer Text to Fabric for Embroidery

I hope you all enjoyed your Memorial Day weekend.  What a crazy weather weekend it was.  Friday and Saturday were freezing and raining here in New York.  In fact, upstate New York actually got snow!!  Sunday warmed up just a little bit and Monday was the nicest of the weekend.  With such huge swings in temperature, I guess it's no wonder that I woke up with a nasty cold yesterday.  Ugh.  

Since I wasn't feeling so well last night, and since the Bachelorette was on (yes...it's a guilty pleasure of mine and mindless enough that I can do two things at once), I thought it was a good night for some embroidery.  I have been wanting to do something with this phrase I saw on Pinterest.  I printed out the saying in a font I liked and then wanted to transfer it to embroidery fabric.
The embroidery fabric and hoop were sent to me courtesy of Wholeport, an online crafting supply store.  The embroidery fabric is a pale blue and has some sparkle to it.  I took the paper with the phrase printed out on it and held it behind the fabric.  Then I held it up to the window (it was sunny and bright outside) and traced over it using a pencil.  I know...a very sophisticated way of transferring...but it works well and easily.    :)
Then I started to embroider.  I used a navy embroidery thread for the small words and pink for Love Story.  I was finished embroidering before the season premiere of the Bachelorette was over.  It's far from perfect, but that's what I like about it.   For me to create perfection, I have to use my embroidery sewing machine.  My plan is to turn this into a pillow.  
Stop back later this week to see what I have done with it.  

Does anyone else embroider?  What have you created lately?


The party opens at 8pm EST.  Hope to see you then.

-Judy

Pin It


Sharing with Savvy Southern Style

Friday, May 24, 2013

Memorial Day Inspiration

Memorial Day marks the unofficial start of summer.  Unfortunately here in New York, it's rainy and downright chilly.  We are hosting a bar-b-que on Sunday for my son's birthday, however, I don't think it will be swimming weather.  Whatever your plans are, I hope you all enjoy the long weekend.  
Here is some Memorial Day inspired home decor:
Image

Image

image

Image


Image

Image

Image

Image


Image

Image

Thursday, May 23, 2013

Bathroom Design & Renovation : Simple and Cheap Tips


I'd like to welcome Helen Davies who has written a post especially for DIYbyDesign.  Enjoy!

Bathroom Design & Renovation: Simple and Cheap Tips

Day in, day out, we put a lot of stress and strain on our bathrooms, especially when you have a young family like I do, and these spaces can quickly start to feel a little worn and unloved. Well, without resorting to a full-blown bathroom renovation, here are a few quick, cheap and easy DIY upgrades, that will have your bathroom look fresh and revitalised in no time

Planning & Research

If you are planning to completely renovate your bathroom, you should research extensively about various options, with so many different styles out there it can be difficult to choose the best one but if you pick a style that you will like for years this will reduce the likely hood of you renovating your bathroom again and thus saving you money in the long run. Look on various website such as betterbathrooms.com and compare prices for similar products, shopping on line is often much cheaper than visiting your local bathroom store.


Once you have selected a style you can begin to renovate your bathroom but with the cost of a bathroom remodel sometimes being hundreds of pounds it is sensible to do some of the work yourself.

Removing your old bathroom suite

The prospect of removing your old bathroom can be daunting but it needn’t be. Firstly you must cut off the water supply to the bathroom to prevent any bathroom flooding. Then you can just simply rip out the old suite. All copper, brass, lead can be sold and will generate some money for your renovation. Paying for a waste disposal company to take away your old suite can be much cheaper than hiring a skip.

Installing your new suite

Once you have completely gutted your bathroom you can begin to install your new suite. 

This maybe a job for the professionals but many suites now come with clear and detailed instructions on installation making it easy for anyone to attempt the installation themselves

Tiling & Painting

Now your new suite is installed you can get on with the tiling and painting. Tiling is much easier than you may think and with lots of helpful tips and tutorials online you should be able to tile your bathroom yourself. You will need several tools (Tile cutter, Tile saw, Grout spreader, Spirit level, Tile nibblers, Adhesive spreader, Tile cutting jig, Gauge stick). Remember to make sure the floor is flat so the tiles sit well and the gaps are equal. Using larger tiles will be easier for a beginner, remember to leave plenty of time for the tiles to set to the tile adhesive (at least 24 hours). Using paint is a great way to save money as tiles can be costly. Choose to paint your walls with a neutral colour paint to enhance the size of your bathroom and to create a sense of light.

Bathroom furniture

Don’t waste money on buying new furniture you can renovate your old cupboards and storage units or pick up something cheap from a thrifty store, yard sale etc. Sand them down and paint them in a vintage style or a modern design, which ever suits the look of your new bathroom. Pick up some pretty draw pulls to really finish off the look, these are inexpensive and will really transform your units.

Final touches

This is where you can really give your bathroom the wow factor, bathroom accessories are cheap and really complete the look of any new bathroom.  

Choose matching tooth brush holders and soap containers, choose some chrome towel rails and hooks, finally add some brightly coloured towels, candles and a bunch of flowers. Your budget bathroom renovation is now complete, so go and enjoy it.

This article was written by the interior designer Helen Davies who is a keen blogger, Pinterest addict and freelance writer

-Judy

Related Posts Plugin for WordPress, Blogger...