Pages

Showing posts with label window treatments. Show all posts

Thursday, September 6, 2012

How to Make No Sew Drapes

One of my all time most popular posts is a tutorial on how to make lined pinch pleat drapes.  Since that post, I have received many emails from people who want to make their own drapes, but just don't sew. 
With that in mind... today I am going to show you how to make custom drapes, even if you don't sew.   
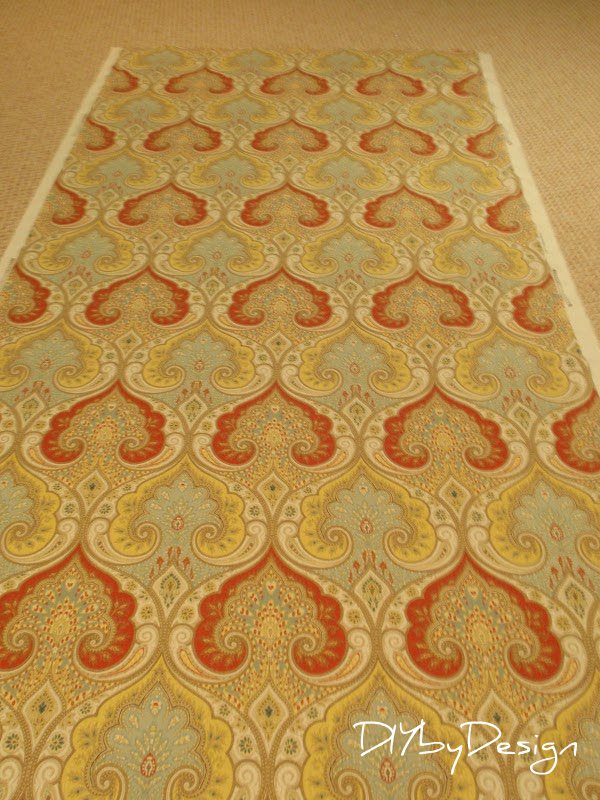
 When I came across this fabulous fabric from Calico Corners...

I knew it would be the perfect jumping off point to start to add some color to my basement.


I promise that these drapes are easy to make.  If you can iron, you can make these drapes.
I ordered 5 yards of fabric (on sale for 25% off) to make two panels.  
My drapes finished length ended up being 87".  Honestly I probably should have ordered 5 1/4 yards just to avoid the stress of matching up the pattern, but luckily it worked out.  
I cut the 5 yards exactly in the middle and lined it up from there.
The secret ingredient to any no-sew project is a product called stitch witchery.  

I already had the rod and rings from my previous drapes, so I knew I just had to make a narrow header to clip the rings onto.  I started by ironing a crease about 1 1/4" on the top of the drape.

Then I folded the fabric again, this time over the stitch witchery.  Working in small sections I ironed it into place.  You can follow the directions on the stitch witchery, however, you just press down for ten seconds or so, without ironing it back and forth.  Then I did the same thing on both of the sides.  I folded the sides on the salvage end and then folded it again and pressed the stitch witchery inside the two folds to "sew" it all together.
Once the drapes were hanging, I pinned the hem in place, and then removed it and
 ironed the hem  using the stitch witchery again.

It was that simple.  The drapes look absolutely beautiful in the basement.
Lighting is still an issue downstairs, so it was next to impossible to get a decent photo.

It took less than an hour and a half to make both panels.  It probably could be done in an hour, but I wasted too much time worrying that I may not have ordered enough material.  
Before I even began the project, I took the fabric and hung it on the clips to determine whether or not I would line the drapes.  I had bought the twin sheets from Walmart thinking I would be lining these drapes.  However, like I said, the lighting is at a premium downstairs and I didn't want anything to darken the room anymore than it already is.  Also, the fabric is a high quality fabric that has a beautiful linen texture to it.  Lining it was unnecessary (and time saving).  

I hope you will give these a try.


-Judy
Pin It


Sharing with Tutorials and Tips Link Party at Home Stories A to Z
Shabby Creek Cottage

Tuesday, October 25, 2011

Is There Anything I Won't do to Get the Job Done?

For years now I have wanted to do something with the space above my front door.  We have a two story entry and there is a ledge above the front door underneath a window.  When we first moved in I placed two artificial plants up there and called it a day.  It has been on my "to do" list forever, but it has always fallen to the bottom of the list as something else always seemed more important to do first.
You can see in this photo just how sad the space looks.  So what finally got the ball rolling on this project?  Well, a few weeks ago I replaced the drapes in my guest bedroom with new drapes I sewed.
That meant that the cream silk drapes from Pottery Barn, which were less than two years old, 
no longer had a home. This was the perfect opportunity for me to relocate those drapes to the space above the front door.  
For the past three weekends I have been wanting to start this project.  
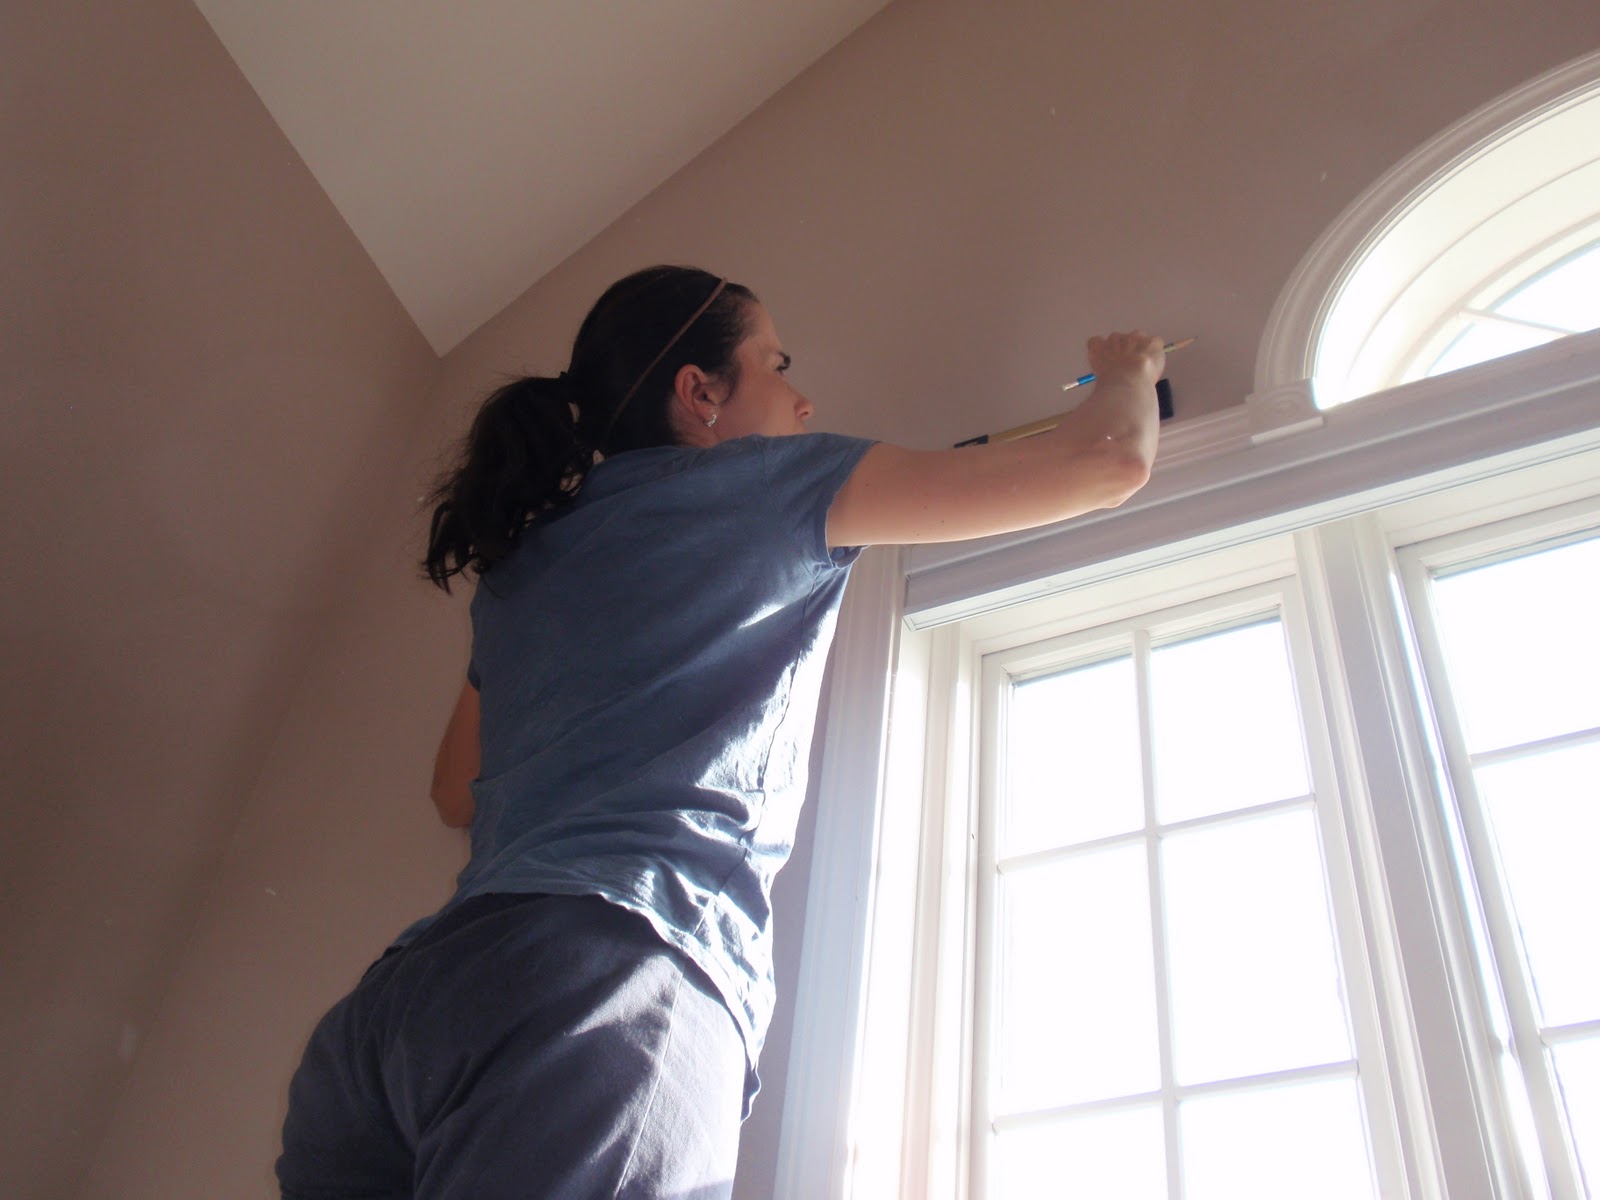
I bought the rods, had the accessories...so now I just needed to find a few hours on the weekend to recruit my husband to get it done.  After the past three weekends came and went, we finally got started on Sunday.  My husband got out the big ladder and brought it into the entryway.  He climbed up the ladder and then looked down at me and said that he didn't think he could do this.  Excuse me?  Hubby say what?   "What do you mean you don't think you can do this?", I asked.  He said, "you know that heights aren't my favorite thing and once I get up here I probably will have to stand on a step stool in order to reach high enough to hang the drapes...I don't think I can do it".  Okay...deep breath...while I totally understood...there was no way I was not hanging those drapes right then and there.  
I said, "ok, get down...I'm going up".  

I do not have any real issues with heights so I figured how bad could it be.  First things first, I held up the drapes on the rod and had to be on my tippy toes in order to reach.  Well, the height wasn't the only issue...it was the fact that the depth of the ledge is only 27".  
That meant once I was up there I also had to have a step stool in order to reach high enough to install the brackets.  Then I would have to be super careful not to have the step stool too close to the edge, but I also couldn't have it too close to the window or else I couldn't get far enough away to gain the right leverage to drill the pilot holes and screw in the brackets.

Now in fairness to my husband, he stayed up on that ladder and held the step stool and handed me the tools and basically did everything he could to make sure I didn't end up falling.  Usually when we do projects like this he is the one doing the project and I am the assistant.  It was much harder, and funnier, having the roles reversed since the whole time I was up there I could never think of the word for whatever I needed next and kept referring to whatever I needed as the thingie.
The sun comes directly in the front window at this time, but I had to keep the shade open or else I didn't have anywhere to hold on.  Disclaimer - the photos aren't great of me up on the ledge.

Just because I was fifteen feet off the ground didn't change what I needed to do in order to hang the drapes correctly.  I still had to measure and level the brackets and make sure they hung at the same height on both sides.  A bit trickier at that height.
Here's another not so attractive photo...but it does show you what it took for me to hold onto the window and attempt to screw in the brackets.  I just had to laugh.

My parents stopped by around this time and my mom said I looked like Lucy in that episode from I Love Lucy when she is on the ledge of their apartment building.  Remember that episode?

While I was up there I also needed to hang the candle sconces I had purchased from Home Goods.
Then I fussed and primped the drapes until they puddled just right.
Now it was time to accessorize the ledge.  I carefully made my way down the ladder and my father climbed up.   I handed the accessories to my husband who was on the ladder and he handed them to my father.  I had to snap this photo of my father taking a call on his cell phone while he was up there.  
Here is the finished space.  I just love how it came out!  In creating this look I layered my pieces to give it that out of a magazine look.  It's not like I have to worry about anyone moving anything.

 The candle sconces are from Home Goods.  The birdcage I have had in my dining room for years.  The pillows were in the closet not being used.
The gate is another Home Goods find.  The gate is leaning on the window sill, however, my husband nailed two nails into the floor to stop the gate from slipping forward.  We also had to be careful that it leaned forward enough so that the remote controlled shade could pass behind it easily.  My husband added a piece of styrofoam (from the curtain rod box) to the back of the gate with double-sided tape and used it as a buffer from the molding.

On the other side I used a little table I had in a closet along with two topiaries that used to be on my mantle.  The ball made of sticks is also from Home Goods.
As an added bonus, having this area decorated has also made my beautiful chandelier look even more beautiful now that it has this as it's backdrop.
The gate picks up on the color of the medallion from the chandelier.
The end result was so worth the risk of bodily injury. Lol
What do you think?  Do you love it as much as I do?
By the way...for anyone keeping track...this officially means I met all of my home goals I set for 2011.  Woo Hoo!!  
Just in time for the holidays.


Don't forget to stop back tonight at 8pm EST for my Fall into Fall link party. 

-Judy

Thursday, September 29, 2011

How to Sew a Blind Hem

Earlier in the week I shared with you a tutorial on how to sew pinch pleat lined drapes.
When sewing my drapes I wanted them to look as professional as possible.  One of the ways I achieved this was to sew a blind hem on my drapes.
What is a blind hem?  A blind hem is a stitch that is barely visible from the right side of the fabric.  The best part is that it is easier than you would think.  If you can sew a straight line, you can sew a blind hem.
Ideally you would start with the blind hem foot that came with your sewing machine.  Here is what the foot looks like from the back...
...and the front.  If you are unsure which foot is the blind hem stitch foot, just refer to the owners manual for your machine.  Most machines come with this type of foot.  If you don't have this foot you could still do it, you would just have to guide yourself carefully to keep the line straight.

Next select the blind hem stitch on your machine.  On mine it is #17.  See how the stitch looks...that is typically the universal symbol for the blind hem stitch.
For the hem...I folded my fabric up two inches and pressed it into place.  
Then I folded it another four inches and pressed it for the final hem.  Then I pinned it into place.
Now if you were to sew the hem with a straight stitch the stitches would be visible from the front, even if you used the same color thread.  
Here comes the important part...Take your hem and fold it back as shown above.  You want there to be about 1/4" of the hem to sew on as shown.
Next, line up the fabric under your blind hem stitch foot.  Notice how the fold is lined up with the cut out part of the foot.  
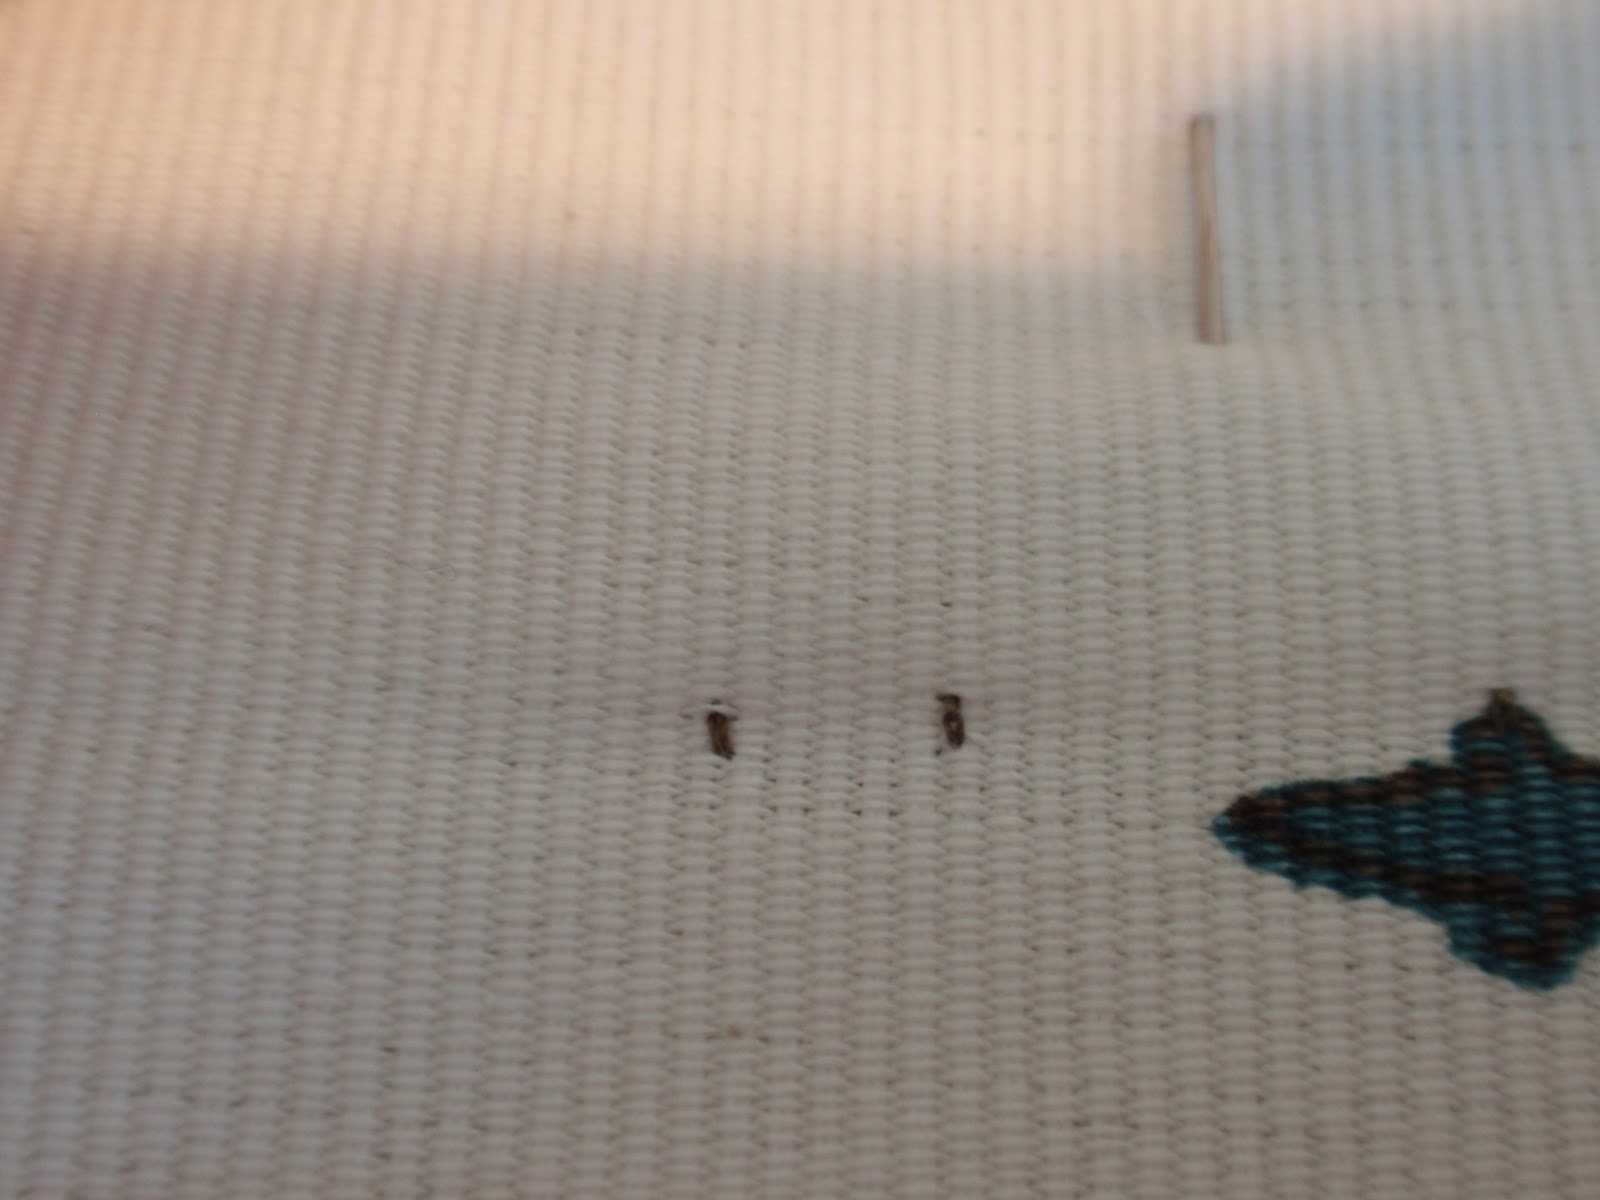
I used green thread so that you could easily see the stitches.  For my actual drapes I used an off-white thread so that it completely disappeared.  Notice how only each sixth stitch catches the fold to the left.
This is all you would see from the front of the fabric (see the green dots).
Here's what the blind hem looks like on the actual drapes that are now hanging in my guest bedroom.  That's a super up-close photo.  When standing in the room you cannot see any stitches and even up close all you see is some faint dots.
It's as simple as that.  I hope now that you know how easy it is, you too will try to sew a blind hem on your next project.

I always love and appreciate your comments.  Have a great day!

-Judy


Tuesday, September 27, 2011

How to Make Lined Pinch Pleat Drapes

 I am so excited to share this tutorial with you.  My fabric arrived last week and I spent one whole evening sewing drapes for my guest bedroom.
It all started when I found this awesome fabric at Calico Corners.
Image from Calico Corners

I fell in love with the fabric and ordered six yards on the spot to make new drapes for my guest bedroom.
I started by rolling out the fabric and cutting the fabric to the length I needed.  I determined this length by measuring from the existing rod to the floor.  In my case the finished length of the drapes would be 85".  I added 6" for the bottom hem and 4 inches for the top for a total of 95".  After cutting the first 95" length I took the fabric and laid it over the cut piece and lined up the pattern and cut a second 95" length for the second panel.  This way I made sure I would end up with two identical panels with the pattern lining up.
For the lining I bought two flat sheets from Walmart for $5.00 each.  Flat sheets work so well for several reasons.  First of all they were a much more cost effective option.  Second, the flat sheet already comes hemmed.  I ironed both sheets.
Next step...the bottom hem.  I started by folding the fabric up 2" and ironing it.  Next I folded the fabric up an additional 4" for the bottom hem.  Then, for a professional look,  I blind-stitched the hem.  I will do a tutorial on blind-stitching later in the week. It was the first time I did one, and let me tell you, it made a world of difference to the final product.  

Next it was time to add the lining.  I laid the lining (the flat sheet) with right sides facing together.  

I pinned the lining on the sides and on the top making sure to leave approximately two inches at the bottom.  I then sewed along all three sides.  Then turn the drapes back to the right side and press the sides and top flat.
As you can see, the flat sheet already has the perfect hem.  One less step...yay!!
I was now ready for the pinch pleats.  A few years ago I bought this pleater tape from JoAnn's always wanting to try this on drapes.  I figured this was the perfect opportunity.  It worked awesome.  All I did was place it near the top of my drape, measuring from the hook to ensure the proper length.  I then sewed it on the top and the bottom making sure not to sew over any of the openings for the hooks.
Then I inserted the pleater hooks.  The pleater hooks have four "fingers".  I skipped every other pocket for each finger and then skipped two pockets in between each hook.  Then I pushed the fingers in as far as they would go.
Then, I fixed the pleats to line them up exactly.  I then pressed the pleats to help them keep their shape.
Finally I sewed each group of pleats together using heavy duty thread.  I only put two or three stitches in each group of pleats.
Then I simply hung the hooks over my curtain rod.  These are dummy panels so they won't be moving.  If you have a transverse rod, you would have the hooks in the traverse rod and then you could open and close the drapes.
This was the first time I have ever made lined drapes and the first time I made pleated drapes.  It was time consuming, but really not difficult at all.  If you can sew a straight line you can make these drapes.

You can see how the pattern lines up in the photo.  Make sure to cut both panels of fabric at the same time to ensure the finished patterns line up.  

I am so happy with the end result.  They add so much life to my guest room.

I hope you will try this.  If you have any questions, please feel free to e-mail me.  I'd be happy to help you.

Don't forget to stop back tonight for my weekly linky party.  The link opens at 8pm EST.  
Hope to see you then.

-Judy


Partying with  Freckled Laundry
Related Posts Plugin for WordPress, Blogger...