Pages

Showing posts with label board and batten. Show all posts

Friday, April 1, 2011

Six Months and Counting

Today is officially my six month anniversary of writing this blog. Six months -  I really can't believe it.  What started as something to help pass the time while my kids play three hours of tennis (four nights a week), has turned into an amazing, albeit unexpected journey (aren't those the best in life - when you least expect it).   I enjoy every moment I spend on this blog and I feel so lucky and grateful for all of the friendships I have developed. I appreciate those of you who stop by on a daily basis as well as those of you who stop by only now and then.  I look forward to all of your visits and read each and every comment.  You have all made me feel so welcome in blogland. It is so wonderful to have people appreciate the work you do, and each and every day I feel appreciate by all of you.  Thank you so much for that.  I am amazed and inspired by all of your talent.  I look forward to continuing on this journey for a long time to come.
In the spirit of the anniversary, I thought I would use today to highlight some of the projects I have done on my blog since I began.
One of the first posts  I did was called Trash to Treasure.  My husband's grandmother had passed away at nearly 105 years old and we got a few pieces from her home.  Can you believe the before and after of this dresser?
Before
What started out as a piece that had been all but destroyed, turned into something really special.  It was worth all of the hard work sanding it down and refinishing it.  It turned out to be solid mahogany.  What a treasure.
My daughter's room was a super fun project.  It was time for an update of her room.  You can click here to read all about what went into this renovation.
My guest room makeover is another one of my favorite projects.  That room is filled with bargains and knock-offs that allowed me to makeover the room on a budget.  You can read all about this here.
Before
My mudroom renovation was my first attempt at board and batten.
I love how it came out and it was very easy.  The hardest part was getting off the wallpaper.  You can check out the full reveal here.  I love doing laundry now!
I can't forget my son's bathroom transformation (you can click here to read all about it)
...or my daughter's bathroom transformation (click here to read all about it).

I have so many more projects planned and I can't wait to share them.  I look forward to continuing my journey with you.  Thank you again for your friendships and for your all of you kind comments.  I always look forward to your visits and appreciate everything you have to say.

Have a great weekend!!

-Judy

Monday, March 7, 2011

Finishing Touches

This weekend my goal was to finish the mudroom.  It was basically done, but there were some finishing touches still needed.

For starters, I spent much of the weekend looking for a new runner for the mudroom.  I searched tons of internet sites and looked in every local store I could think of.  I had already checked in Target, however we have four different Targets in our immediate area, so I decided to check a different one...and there it was, the perfect area rug...and it came in a runner!!  It had all the right colors, plus it wasn't too light (remember 90% of my guests enter through my side door - go figure) and it wasn't too dark.
Another bonus, the price was better than anything else I had seen that would have worked.  It was $89.99 (certainly not cheap), but it's a real wool rug.  I can attest to how heavy it is...I carried it all through the mall after buying it.


The next thing I needed was a bench.  I went to Lowe's to buy the materials to make a bench.  However, once I gathered everything I needed including the legs, the wood top, the piece to attach the legs, the foam, the batting, the fabric and the nail head trim - it was going to cost close to $100.  So I decided to go home and shop my home.  That's what I literally did - I walked around my house seeing if there was anything I had that I could either make into a bench or that would work.
I found these two benches in my finished basement under a parsons table I have at the foot of the staircase.  Nobody, and I really mean nobody, ever sits on these.  These are old - we bought them for our first apartment 18 years ago.  I had recovered the cushions a few years back.  The fabric works perfectly in the new mudroom.  They are also very petite - measuring only 20" x 14" each for a total of about 42" x 14" when they are put together.  Our mudroom is not very wide, so 14" is just perfect.  Most benches are 17" or larger which was why I was going to make a custom bench.  These will work so well, and  since they were already in the house, they won't effect the bottom line cost of this project.
The last thing I needed was some decorative hooks.  I found these at Lowe's.  They weren't in the regular hook department...they were in the closet aisle.  I love them.
Using blue tape, I tried several different configurations.  First I tried an even distribution throughout the wall of board and batten.  My concern was it seemed sort of dangerous to have a hook right above the benches as well as it being totally impractical - no one is going to hang their coat on the hook if it's going to get in the way of the bench, right?
So I ultimately decided on four in a row, centered between the battens, closest to the side door.  Now jackets can be hung without any interference.
Here it is...the completed mudroom.  You can go here to see where this whole renovation began.  I'm thrilled with the outcome.  Let me know what you think of all the finishing touches.  I always love and appreciate your comments.

-Judy


Thursday, March 3, 2011

The Mud Room Revealed

The mudroom is done...well, for the most part.  I would still like to get a bench, a new runner, some hooks and maybe new lighting, but the hard part of the project is complete.

Here's a reminder of how it looked before:
It took quite a bit of effort to remove the stubborn wallpaper and repair the walls, but the end result was so worth it.  The board and batten treatment came out great - and the supplies for the board and batten along with the paint for the room was under $100.  I think that's a great bang for your buck. You can check out here how I did it.
I was able to re-use the mirror by painting it with one of the sample paints that didn't make the cut for the room.  I loved the color, but it was too blue/green for the whole room.  On the mirror it was perfect.
The color on the mirror is called Light French Gray by Behr.  The wall color is Silver Screen also by Behr.
The fact that the mirror was black before was perfect.  That way when I distressed it, the black showed through.
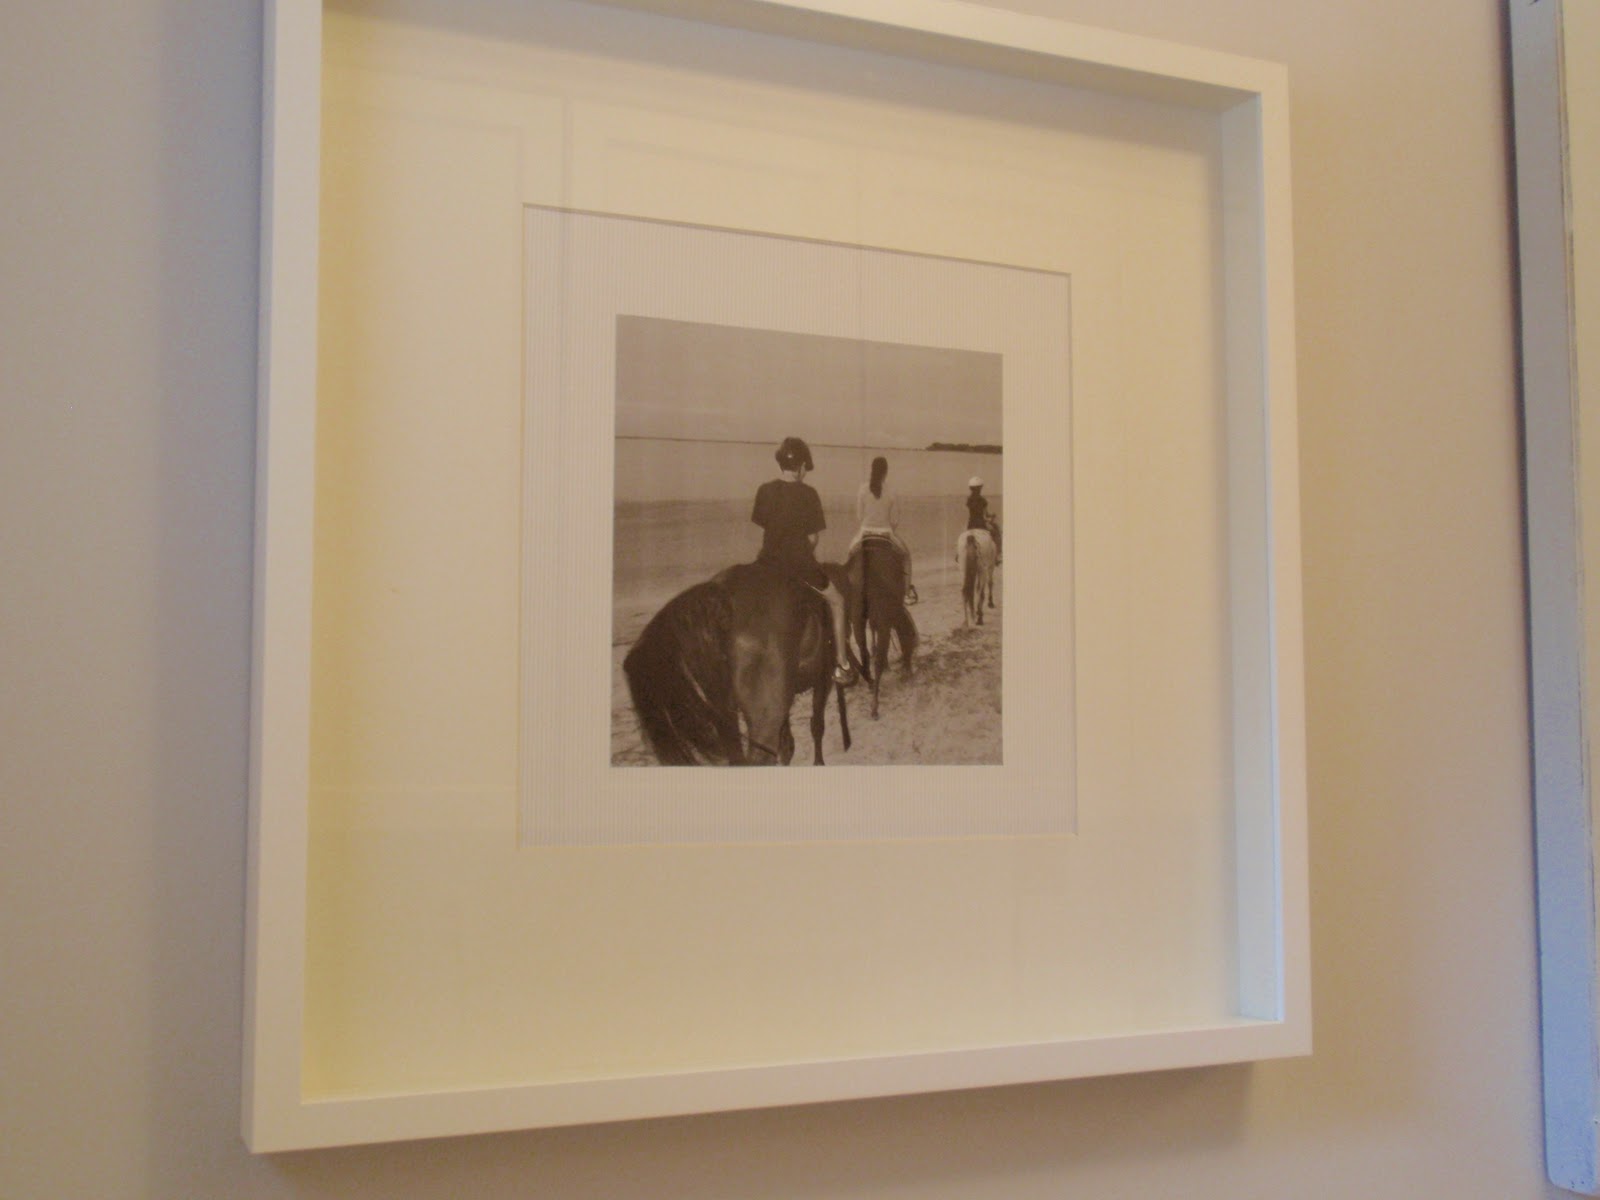
I have to say one of my favorite things in the room are the new frames I bought at Ikea.  They are deeper frames and I added all black and white photos.  I printed these photos right from my computer.  The largest square I could print was 8.25 x 8.25.  For now I added a second mat, but I may have the two largest photos enlarged to the 11.25 x 11.25 opening.
I also bought a couple of the smaller frames.
Even though this was only a small gallery, it was still a grouping of pictures/frames that needed some calculations to make it all look even.  The easiest way for me is to hang the paper inserts inside of the frame to help plan out where I want the photos.
The next key to success for me in hanging any pictures is this tool.  I bought it several years ago on QVC.  The black pieces in the middle slide to any dimension so that measure the distance of the hangers on the back of the picture frame, then use this tool which is also a level.  No more making ten holes for each picture.
I also made this piece of artwork for the room.
 I had an unfinished shadow box that I had bought probably ten years ago.  I found it in the linen closet when I recently re-organized that closet.
Again, using the Light French Gray color (I got full use out of that sample jar), I painted the shadow box on the outside.
For the inside of the box, I used ribbon I found on clearance at Michaels.  It was the perfect color.  I glued it at each corner using my hot glue gun.
I also found these keys at Michaels.  I loved all the words on the keys.  I hot glued each one on a piece of scrapbook paper.

Put it all together to get this unique piece.

I also already had some Rose Art cork boards and a white board.
Image from Pottery Barn
I love the organization boards from Pottery Barn.  I decided to paint the frames of the Rose Art boards I already had.
Under the cabinets they fit perfectly.
Our mudroom seems to be the hub of our home.  It needed to be better organized.
I added pretty magazine holders, one for each child, to stash text books, CCD books and whatever else seems to pile up for each of them in the mud room.
The entire mudroom makeover, including accessories, was under $200!!  I really can't wait to hear what you think of the mudroom.  I always love and appreciate your comments. I am thrilled with how it came out.  I think I am actually looking forward to doing laundry!
Don't forget the Winter Blues Wednesday party is still going on.  You can join in the fun here.

-Judy

Tuesday, March 1, 2011

The Mudroom - Board and Batten

So as you recall from yesterday's post, taking down the wallpaper in the mudroom was nothing short of a nightmare.  After spending all day Saturday taking down the wallpaper, we spent the first half of Sunday repairing the damaged walls.
Next step was finalizing the paint color.  I knew I wanted a grey...but there are so many different grey shades to choose from.
While I remained undecided on the paint color it was time to start the board and batten treatment.  Yes, finally the fun part...or so I thought.  We started by removing the existing baseboard.  Easy.
We were following the tutorial from Centsational Girl.  I had bought all of the wood and had it cut to size a week or so ago from our local hardware store.  We took the wood for the top and did a test run to see how it fit.  It fit fine with one major problem...apparently that wall in our mudroom is not straight...AT ALL.

I mean there is a bow in the wall that spanned over 22" and was deep enough that you could fit all of your fingers behind it.  Houston ... we have a problem.  This was not a little bit of space that you could caulk.
To make matters worse, I was planning on having a piece of wood on top to act as a shelf.  Even if we could nail the top piece into the wall, the space was extremely obvious once we put on the shelf.  In addition, my husband and I both hated the paint colors on the wall (it reminded us of the color of our garage floor).  This project was just not going smoothly.  I was ready to give up.  In fact, at that point I left to go get more paint samples from Home Depot and to stop by Sherwin Williams to look at wallpaper.  I figured this was not meant to be and I might as well just re-wallpaper.  I got into the car and was halfway to Home Depot when it hit me that I had also purchased a cove moulding that I was going to put below the shelf.  Why not just use the cove molding on top...that would hide the giant gap.  I called my husband and told him my solution which he agreed would work.  We were back on track.
I must say from that point forward things started to really head in the right direction.  The only problem at this point was that it was 3:30pm on Sunday...I really don't like to start major projects that late, but the house was a disaster and we really needed to put Humpty Dumpty back together again.
We followed the directions from Centsational Girl and we cut the battens to size every 15".

We also had two more colors on the wall...this time we had a winner...Silver Screen from Behr (Home Depot).  I bought the paint with primer since the walls weren't 100% perfect.  That turned out to be a great decision.  The paint coverage was awesome allowing us to use only one coat.

At 11pm Sunday evening, the project was complete.  Finally I was up to the fun stuff...the decorating.  In the next few days I will share with you what I have done - I can't wait to add all of the accessories and "fun stuff".  The board and batten was truly easy, once we dealt with the bowed wall issue.  Thanks to Centsational Girl for such an awesome tutorial.  Please let me know what you think.  I just love how it came out.

What a difference!


Don't forget to stop back this evening at 8pm EST when the link party opens up.  I can't wait to see what you have been working on.

-Judy
Related Posts Plugin for WordPress, Blogger...