Pages

Thursday, October 30, 2014

MacKenzie Childs Inspired Vase

After making my Mackenzie-Childs inspired pumpkins the other day, I found myself searching through their website and finding more and more things to swoon over.  They have a pattern called Parchment which is absolutely beautiful and coordinates with my decor.  

  
I literally used the same paints and technique as I used for my pumpkins.
I painted each square of the grid pattern using one easy step.  I squeeze a drop of each of the colors I am using next to each other and load up my brush as shown.  That way when I paint the shading is already done.  After everything is dry I coated the piece with polyurethane to give it the same shiny look.  


Not bad for a free project.

Can't wait to hear what you think.

-Judy


Wednesday, October 29, 2014

Fall into Fall - It's a Party #192

Welcome to this week's Fall into Fall party.
Last week's party was filled with so many awesome ideas and inspiration.
Here are this week's features:

HOME DECOR:
33 Shades of Green  shares a tour of her beautiful bathroom.

FURNITURE TRANSFORMATIONS:
Clockwork Interiors transformed a boring brown garage sale find into this handsome masterpiece.

CRAFTY CREATIONS:
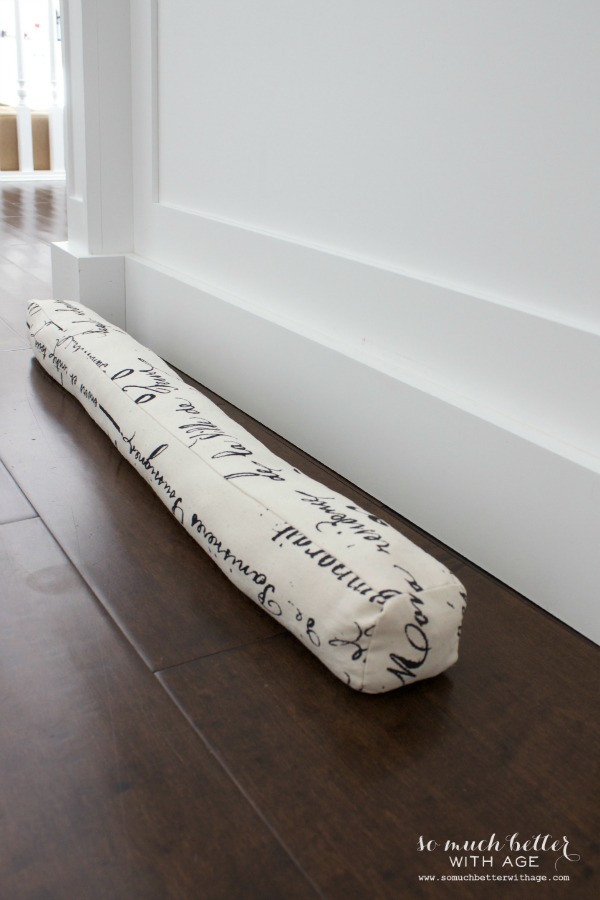
So Much Better With Age gives a great tutorial to create this boxy door draft blocker.

TASTY TREATS:
The Athlete Avocado shared a recipe for pumpkin cheesecake french toast bread bake.  Wow...yummy!


If you were featured, please grab an "I've Been Featured" button.  You can find my buttons by clicking on the buttons tab right under my header.  Now let's get started with this week's party.  I can't wait to see what you have been up to.  Link up anything you have been working on...home decor, sewing, crafts, organizing, baking, recipes, etc.  I will keep this link open through Friday.

A few rules:

1.  Please become a follower (if you already follow me on Google, I would love for you to follow me on Linky Followers as well).

2.  Please link back to the party.  This way word can spread about the party.  The more people at the party, the more fun we will have, and the more views your posts will receive.

3.  Please enter the link to your actual post, not just a link to your main blog page.

4.  Please visit others who have linked up.  Everyone works hard on their projects and blogs...let's show each other some love by visiting each other.  Let's have some fun and hopefully make a few new friends along the way.

Ok...Let's party!!

Monday, October 27, 2014

30 Minute Crochet Infinity Scarf

When the weather gets cooler, it puts me in the mood to crochet.  I was looking for a quick and simple project that would use one skein of yarn.  I have been really into infinity scarves this season, so I thought I would try my hand at crocheting one.  I scoured Pinterest for inspiration and saw tons of different infinity scarf patterns.  I couldn't really settle on one, so I made up my own version.

Here's what I used:

1 skein Lion's Brand Wool-Ease Thick and Quick
Crochet Hook Size N
Scissors


I crocheted this in the round.  You could crochet it as a long rectangle and then sew it together, but I found it easier to work in the round.

1.  Chain 75 stitches.  For more of a cowl chain less.  To be able to double loop your scarf chain more.

2.  At the end of the chain, slip stitch through the first stitch to make a circle.  Make sure your chain isn't twisted.

3.  Chain 3.  For round 1 double crochet starting at the 5th stitch from the hook (including your chain 3) Continue to double crochet in each stitch in the round.

4.  When you get to the end of the round slip stitch through the top of the first chain of three to join the circle.  

5.  Continue steps 3 & 4 for as many rounds as you like until you get to your desired width.  I did nine rounds in total.

6.  Once you get it to the width you like, tie off your ends and hide it in your work.

7.  For the tie I used the extra yarn left and chained another 20 stitches.  I then double crocheted back and forth until I ran out of yarn.  I sewed on a button and buttoned it on.


It took me about thirty minutes.  I love the thick and chunky yarn and a big crochet hook.  It makes for really quick work.

Can't wait to hear what you think.

-Judy


Thursday, October 23, 2014

MacKenzie-Childs Inspired Pumpkins

I've always loved MacKenzie-Childs.  They make some absolutely beautiful things.  Their pumpkins are no exception.  However their signature pattern is black and white and although very pretty, it doesn't go that well with my decor.  Not to mention their pumpkins range from $50-$175 each.

Unfortunately, when you shop for faux pumpkins this late in the season, it's impossible to find the ones with the pretty stems.  Those got sold out probably back in August long before I was even thinking about Halloween.
So I settled for this basic pumpkin from Michaels.  Using paint I already had on hand, I went to work.
The first coat of paint I applied was chalk paint I had in pure white.  It covers well and is a good base for any other colors.  
I used a pencil to draw out the grid pattern.  My pumpkin lines weren't even all around which made it a little more challenging.  I used a linen white and a golden brown color on the pumpkins.


Next I highlighted with gold and aqua. I painted the stem a gold as well.   When I was happy with all of my highlighting,  I coated the whole pumpkin using polyurethane to give it the shine the MacKenzie-Childs pumpkins have.  

So my pumpkins cost $5 each for a total of $10.  
Not bad and such a pretty look.
What do you think?  Can't wait to hear.

-Judy

Wednesday, October 22, 2014

Fall into Fall - It's a Party #191

Welcome to this week's Fall into Fall party.
Last week's party was filled with so many awesome ideas and inspiration.
Here are this week's features:

HOME DECOR:
Calypso in the Country shared her beautiful foyer all decked out for fall.

FURNITURE TRANSFORMATIONS:
D.D.'s Cottage and Design transformed an old secretary desk she found into this beauty.

CRAFTY CREATIONS:
My friend Marty from A Stroll Thru Life shared an awesome tutorial on how to make and reupholster an ottoman.  Great job!

TASTY TREATS:
Two Keck Girls  shared a recipe for pumpkin, sage and sausage pasta - yummy!

If you were featured, please grab an "I've Been Featured" button.  You can find my buttons by clicking on the buttons tab right under my header.  Now let's get started with this week's party.  I can't wait to see what you have been up to.  Link up anything you have been working on...home decor, sewing, crafts, organizing, baking, recipes, etc.  I will keep this link open through Friday.

A few rules:

1.  Please become a follower (if you already follow me on Google, I would love for you to follow me on Linky Followers as well).

2.  Please link back to the party.  This way word can spread about the party.  The more people at the party, the more fun we will have, and the more views your posts will receive.

3.  Please enter the link to your actual post, not just a link to your main blog page.

4.  Please visit others who have linked up.  Everyone works hard on their projects and blogs...let's show each other some love by visiting each other.  Let's have some fun and hopefully make a few new friends along the way.

Ok...Let's party!!

Thursday, October 16, 2014

DIY Pillows for Living Room

Sometimes when you really want to find a fabric that works in a room you can't find anything. Then there are those times you are just walking around JoAnn's and you stumble across the perfect fabric.  The latter happened to me last week.  I found this very pretty fabric in JoAnn's for $6.99 a yard so I bought one yard.  I was pretty sure it would go in my living room.  When I got home I was so happy to see that it really did have the perfect colors for the room.
Right away I got to work on some new pillows.  Because I wasn't 100% sure about the colors when I was standing in the store I only bought one yard of fabric.  
That's ok...I had some coordinating fabric I bought a while ago that worked and I sewed up some pillows using the same tutorial I used here.  Honestly, since I learned how to sew a pillow with a zipper, pillow making has become so much easier.  I whipped out three pillows in less than a half hour.  The blue/grey solid fabric picked up on those same tones in the floral fabric as well as the blue/grey in my Serena and Lily awesome throw from Home Goods.  
  One of the reasons I made these pillows is I wanted to simply how many different patterns I had on both sofas.  I think the more unified look is easier on the eye.
In order to achieve this, I really needed one more gold pillow.  I went through my stash of fabric and found enough of the gold fabric left to make one more pillow with a zipper.  Yay!
So what do you think of my new pillows?

Have a great day.

-Judy

Wednesday, October 15, 2014

Fall into Fall - It's a Party #190

Welcome to this week's Fall into Fall party.
Last week's party was filled with so many awesome ideas and inspiration.
Here are this week's features:

HOME DECOR:
Our Home Away From Home shared her beautiful bathroom transformation.  

FURNITURE TRANSFORMATIONS:

Groovy Green Designs transformed a head board into this super awesome creation.

CRAFTY CREATIONS:
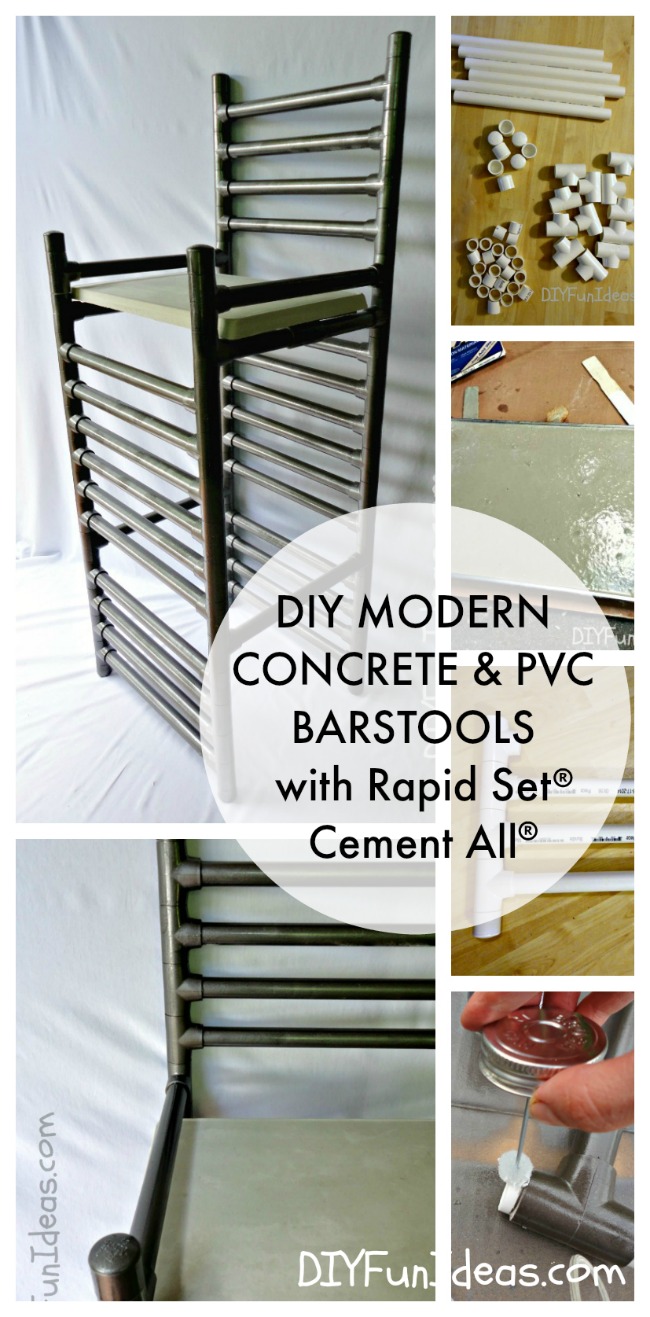
DIY Fun Ideas  shared a tutorial on how to create this DIY modern concrete and PVC barstool.  So cool!

TASTY TREATS:
Blissful and Domestic shares a video tutorial on how to make the perfect dinner roll.  

If you were featured, please grab an "I've Been Featured" button.  You can find my buttons by clicking on the buttons tab right under my header.  Now let's get started with this week's party.  I can't wait to see what you have been up to.  Link up anything you have been working on...home decor, sewing, crafts, organizing, baking, recipes, etc.  I will keep this link open through Friday.

A few rules:

1.  Please become a follower (if you already follow me on Google, I would love for you to follow me on Linky Followers as well).

2.  Please link back to the party.  This way word can spread about the party.  The more people at the party, the more fun we will have, and the more views your posts will receive.

3.  Please enter the link to your actual post, not just a link to your main blog page.

4.  Please visit others who have linked up.  Everyone works hard on their projects and blogs...let's show each other some love by visiting each other.  Let's have some fun and hopefully make a few new friends along the way.

Ok...Let's party!!

Wednesday, October 8, 2014

Fall into Fall - It's a Party #189

Welcome to this week's Fall into Fall party.
Last week's party was filled with so many awesome ideas and inspiration.
Here are this week's features:

HOME DECOR:
Calypso in the Country shares photos from a model home that she recently toured.  We all love a beautifully decorated model home.

FURNITURE TRANSFORMATIONS:
So Much Better With Age shared her chippy dresser transformation.  

CRAFTY CREATIONS:
An Extraordinary Day shares pumpkins and gourds made out of book pages.  What a crafty idea.

TASTY TREATS:
  
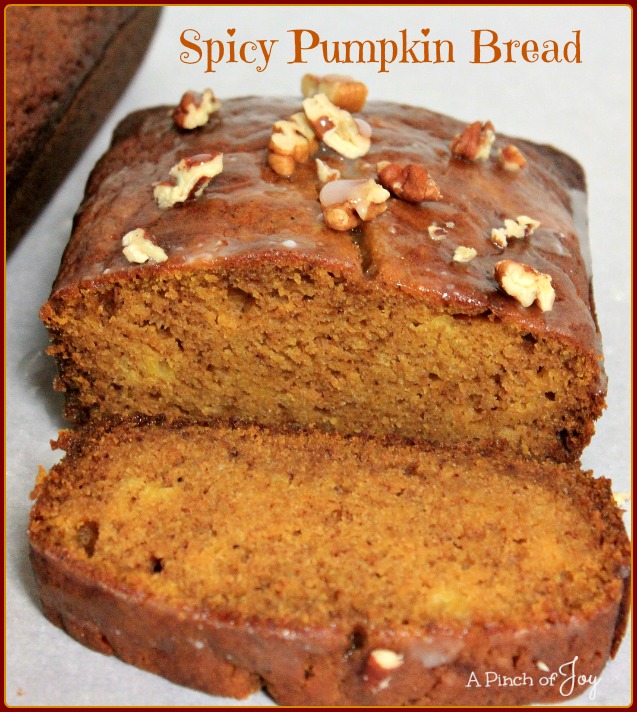
A Pinch of Joy shared a recipe for spicy pumpkin bread.  Perfect for the season.

If you were featured, please grab an "I've Been Featured" button.  You can find my buttons by clicking on the buttons tab right under my header.  Now let's get started with this week's party.  I can't wait to see what you have been up to.  Link up anything you have been working on...home decor, sewing, crafts, organizing, baking, recipes, etc.  I will keep this link open through Friday.

A few rules:

1.  Please become a follower (if you already follow me on Google, I would love for you to follow me on Linky Followers as well).

2.  Please link back to the party.  This way word can spread about the party.  The more people at the party, the more fun we will have, and the more views your posts will receive.

3.  Please enter the link to your actual post, not just a link to your main blog page.

4.  Please visit others who have linked up.  Everyone works hard on their projects and blogs...let's show each other some love by visiting each other.  Let's have some fun and hopefully make a few new friends along the way.

Ok...Let's party!!

Monday, October 6, 2014

Using What You Have - Transforming an Entertainment Center

I know that I'm not the only one out there with an entertainment center that fits the big tube televisions of the past.  You know the ones with the doors to "hide" the television.  


I looked into purchasing a new entertainment center...one specifically made to house a large flat screen television.  For starters, a new entertainment center is thousands of dollars.  Also, most of the ones I looked at would be wider than the space I have available, since it's the center unit that is wider to fit huge flat screen televisions.  Another factor I considered is, I have a two story family room so I feel I need the height of an entertainment center rather than just a console for a television.  Most importantly, the truth is, I still like my entertainment center.  What I didn't like is it not being able to fit a large enough flat screen in the wall unit.  

We had put a small flat screen into the unit a few years ago, but with the doors on, it only allowed a 36" television set.  After inspecting the unit carefully, and measuring and remeasuring, I decided I could remove the doors and upgrade to a 48" television, plenty big for the room.
First I removed the mechanism that moved the door.
However this left an unfinished piece of wood on either side.  It was screwed and glued down, so I didn't want to rip it off and cause damage to the unit.
Instead, I stained it.  Once I realized that I had stain that matched very well, I removed all of the other hardware and stained the wood below.
Tough to get a good photo of the wall unit without glare off the glass doors and television, but here is the new wall unit. You would never know that it once had doors.
This whole project cost nothing since we bought the television with anniversary gift money from my mother in law and all the stain and any other supplies we had in the house already.  That's what I call a perfect project.  

Have a great day.

-Judy

Wednesday, October 1, 2014

Fall into Fall - It's a Party #188

Welcome to this week's Fall into Fall party.
Last week's party was filled with so many awesome ideas and inspiration.
Here are this week's features:

HOME DECOR:
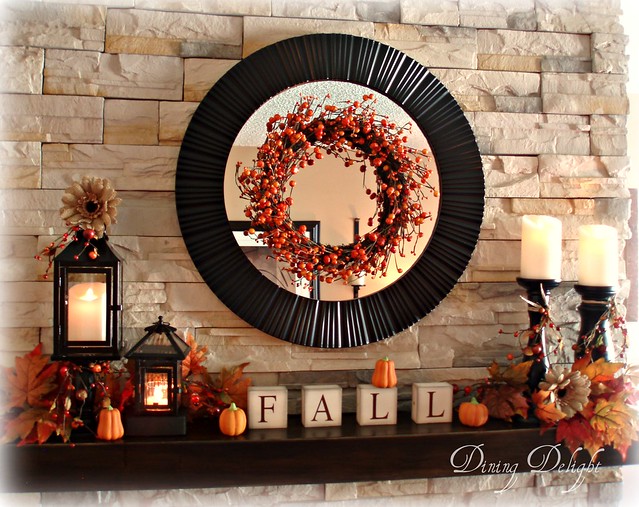
Dining Delight  shared her gorgeous mantel all decked out for the fall season.

FURNITURE TRANSFORMATIONS:
Victoria's Vintage Designs transformed an old vanity into this beauty.  Love the fabric!

CRAFTY CREATIONS:
Yellow Origami Bird  shared a tutorial for a purse card - super cute!

TASTY TREATS:
  Jodie Fitz shared a recipe for pumpkin pancakes.  How fun and yummy.

If you were featured, please grab an "I've Been Featured" button.  You can find my buttons by clicking on the buttons tab right under my header.  Now let's get started with this week's party.  I can't wait to see what you have been up to.  Link up anything you have been working on...home decor, sewing, crafts, organizing, baking, recipes, etc.  I will keep this link open through Friday.

A few rules:

1.  Please become a follower (if you already follow me on Google, I would love for you to follow me on Linky Followers as well).

2.  Please link back to the party.  This way word can spread about the party.  The more people at the party, the more fun we will have, and the more views your posts will receive.

3.  Please enter the link to your actual post, not just a link to your main blog page.

4.  Please visit others who have linked up.  Everyone works hard on their projects and blogs...let's show each other some love by visiting each other.  Let's have some fun and hopefully make a few new friends along the way.

Ok...Let's party!!

Related Posts Plugin for WordPress, Blogger...