I kept myself busy this past weekend making pillows. My parents asked me to make them two neck roll pillows for their bedroom.
These neck rolls are so easy to make (also called bolster pillows). It took about a half hour to make both pillows. Originally they wanted two to put on their bed.
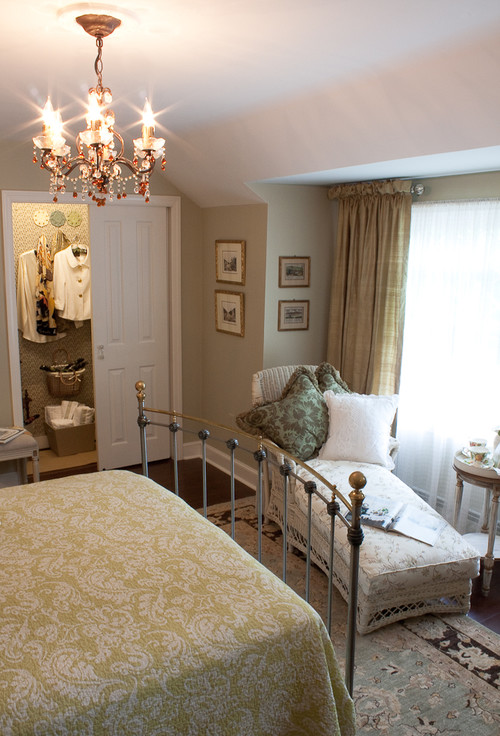
But, when they got this chair, they moved one of the pillows onto it instead. You can check out how we framed the mirror behind this chair
here.
I started with a neck roll form and measured around it and also measured the length. In my case the measurement around was 19" and the measurement from left to right was 14".
I cut my fabric 14 1/2" x 19 1/2" (the 1/2" being added for seam allowance). I like to use a square to mark the back of my fabric. This is the way I can insure straight lines.
To create the sides, you need to measure the diameter of the side. Mine measured 6". This meant half the diameter was 3". I added 1 1/2" to this measurement to fold over to make the pocket for the ribbon to go through. So the total for each piece would be 4 1/2" x 19 1/2" - I cut two pieces that size.
On each of those side pieces, I fold over the long edge about an inch or so (enough to be able to have ribbon put through.
Then with right sides together I sew the 19 1/2" ends together. Notice that the pocket that was just created it toward the center (that way when it is all on the right side, that will be the end).
Now is the time to add any embellishments. I sewed grosgrain ribbon onto the two seams I created when adding the end pieces.
I simply sewed around all four edges of the ribbon.
This time I left it at that because the fabric was a busy enough. You could add anything else you want. I folded the fabric in half and with right sides together (and making sure that the ribbon lined up together) I sewed it together being careful not to sew through the two pockets for the ribbon to go through.
Here is the old pillows I had made them (I just took the inserts out to make the new ones). You can see that I added a center band to this one, as well as a ruffled edge. This time they wanted something a bit more streamlined.
Once together, I took a safety pin and pinned it onto the ribbon. Then I threaded it through the pocket I had created on each side. Here's a tip - the larger the safety pin the easier it is to thread it through your pocket. This was the only pin I could find and it kept opening up and going through my finger...a little frustrating.
This is what it should look like when you have finished threading the ribbon through the end.
Simply pull the ribbons and tie a bow.
Simple as that. I love how it came out.
It looks perfect on their new chair. Let me know what you think. I always love and appreciate your comments.
The Swing into Spring party is still going on. You can click
here to join in the fun.
-Judy



 Another important bedroom storage solution is having a closet installed, especially in a small bedroom.