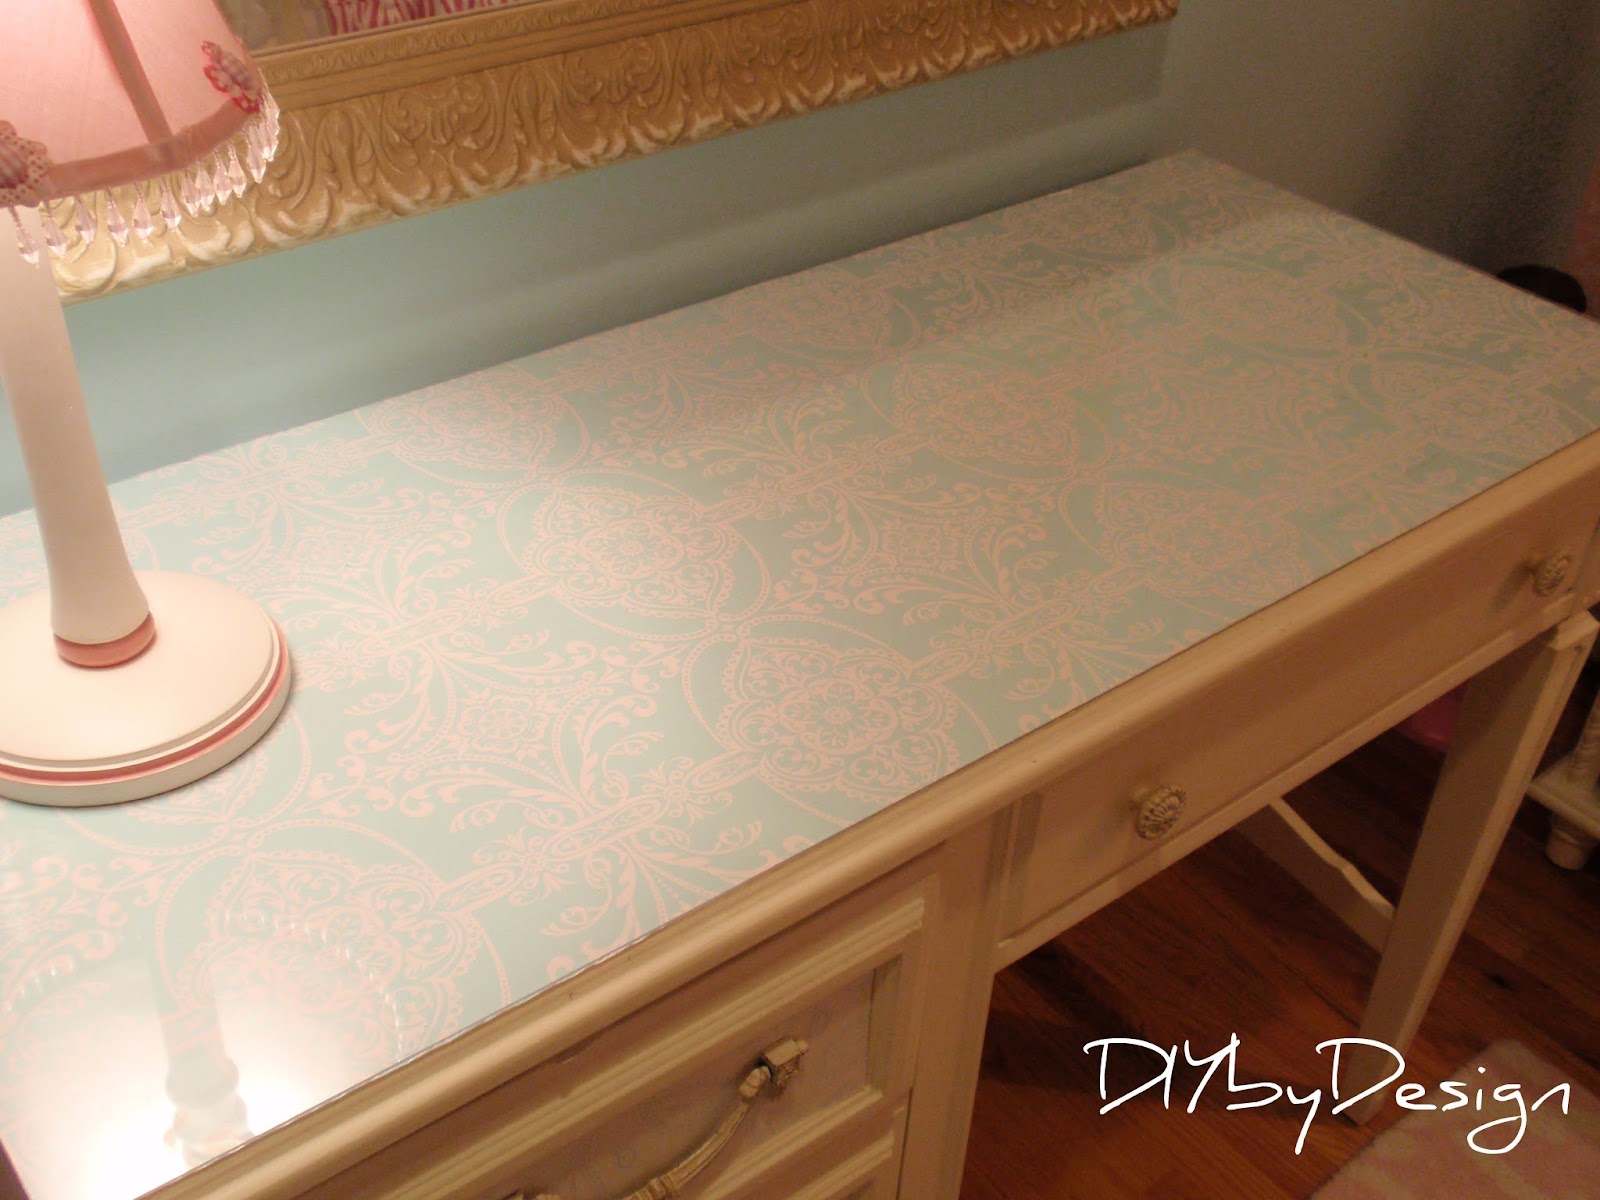
As you know I have been working on redoing my ten year old daughter's room for some time now. I have tried every furniture configuration you can imagine (thanks to those handy gliding furniture movers). I think I have the best layout to maximize space in her space challenged room. I think I have also made it a pretty, calming space for my ten year old taking into account the colors she wanted (it all started with her wanting a room with aqua in it) and that she wanted to keep her daybed. Here is the final reveal.
Much of what you see I made in her room.
That beautiful chandelier is a Schonbek we purchased for her a few years ago.
The bedskirt and the euro shams were easy projects. You can find out how I did these
here and
here. For now I flipped her quilt over to the striped side. The other side seemed to be too busy for the new pillows and bedskirt. For now I think it works. The lamp on the left is from Home Goods and the lamp on the right (on her desk) is from Target for the base (shabby chic) and Pottery Barn Kids for the lampshade.
The drapes are from Target's shabby chic line and were very reasonably priced. The curtain rod is from pottery barn kids. You can see a closeup of the rod and how to hang drapes like this
here.
The pink wall was stenciled by me. That wall alone took almost five hours. Click
here to see how I achieved the look of wallpaper with a stencil. The memo board was made by me. Click
here to see how I made it. Super fast and easy project for less than $20. The desk and chair I found up in my attic. I moved the desk next to her bed and it really opened up her room. Using fabric I already had I recovered that chair. Click
here to see how I transformed the chair.
 |
| Ultimately this desk got moved next to her bed as seen in the pictures at the top of the post. |
The word art I made as well. The flowers and hearts on the word art were made using paint samples from Lowes. You can check out how to make the word art
here. The vines and birds are decals from Home Goods.
I replaced the formica furniture she had (which was a hand me down from when we were first married) with a find I got at the Ethan Allen annual warehouse sale. I got the armoire for 40% off the regular price. It's a perfect fit for her room. I got humpty dumpty to come off the wall...my daughter wasn't willing to completely get rid of him...so for now he will sit on top of the armoire.
The banner behind her door was made by me a few years ago. I totally copied the idea from a banner than posh tots sells. I just did it for a fraction of the price. The little heart table with the dolls on it was painted by me as well. I got it at AC Moore when I was pregnant with my daughter. The "S" door hanging was also homemade by me. You can check out
here how I made it.
 |
up close picture of table...I stenciled her first and middle name on each leg
|
This is her wall of closets. Makes it tough for furniture arranging when one entire wall has closets. Also, I would love to remove the bypass doors and replace them with french doors. The downside to that is that the doors would then open up into her room...using up even more space in her space challenged room.
The birds and flowers on the doors are decals from Home Goods.

The mirror you see is from Home Goods. I didn't mind putting her beautiful armoire behind the door since you can see its reflection when you walk into the room in this mirror. This mirror is huge and heavy. It was only $39.99 at Home Goods! (I still think it had to be mis-marked - Home Goods was selling the same brand mirror in half the size for twice the price). The little side table is from Target's shabby chic line. The lamp shade was embellished by me. You can check that out
here.
The chair in her room didn't start looking like that.
It started out looking like this.
The chair was reupholstered to look like this. Pretty amazing, right?
The "dream" and "imagine" are also decals from Home Goods costing $9.99 (the rest of the decal was used on the other side of the room near the memo board).
The picture I already had in the house (technically it was under a bed waiting to reappear somewhere in the house). It seems to go well with the soft feel of her room.
Her door sign started as a heart shaped piece of wood bought from AC Moore. I decoupaged scrapbook paper on it, painted letters and used my hot glue gun to attach them. I then used industrial strength sticky back velcro to attach it to the door (I used regular strength first and it fell off the door within two weeks-too heavy I guess).
Here's the before and after:
 |
| Before |
I think I am done...or at least for the moment. Let me know what you think of her room now. I'd love your feedback.
-Judy