Pages

Showing posts with label trash to treasure. Show all posts

Thursday, December 27, 2012

Hurricane Sandy Transformation

I hope you all had a wonderful Christmas.  Ours was just perfect, spending it with family and friends.   

 As many of you know, we live in the New York, and so many people in this area were dramatically effected by Hurricane Sandy.  My brother lives in Staten Island, and although he sustained minimal damage to his home, so many parts of Staten Island were not so lucky.   He is friends with a family whose basement was completely flooded.  They lost so much, however, they were able to salvage a few items after the storm, one of which was this doll cradle.  They have a young daughter, Riley,  who lost most of her toys to the storm, so my brother asked if I could work a little magic on this cradle.
 It started out as an old wood doll cradle.
I lightly sanded it, then sprayed it with primer and several coats of white spray paint.
Next, I started to decorative paint it.  I don't know this family at all, but I was told that the little girl liked pastel colors.  
I was also told that she really liked the chair I had transformed for my niece
I took that information and ran with it.
Obviously the old "cushion" wouldn't do anymore.
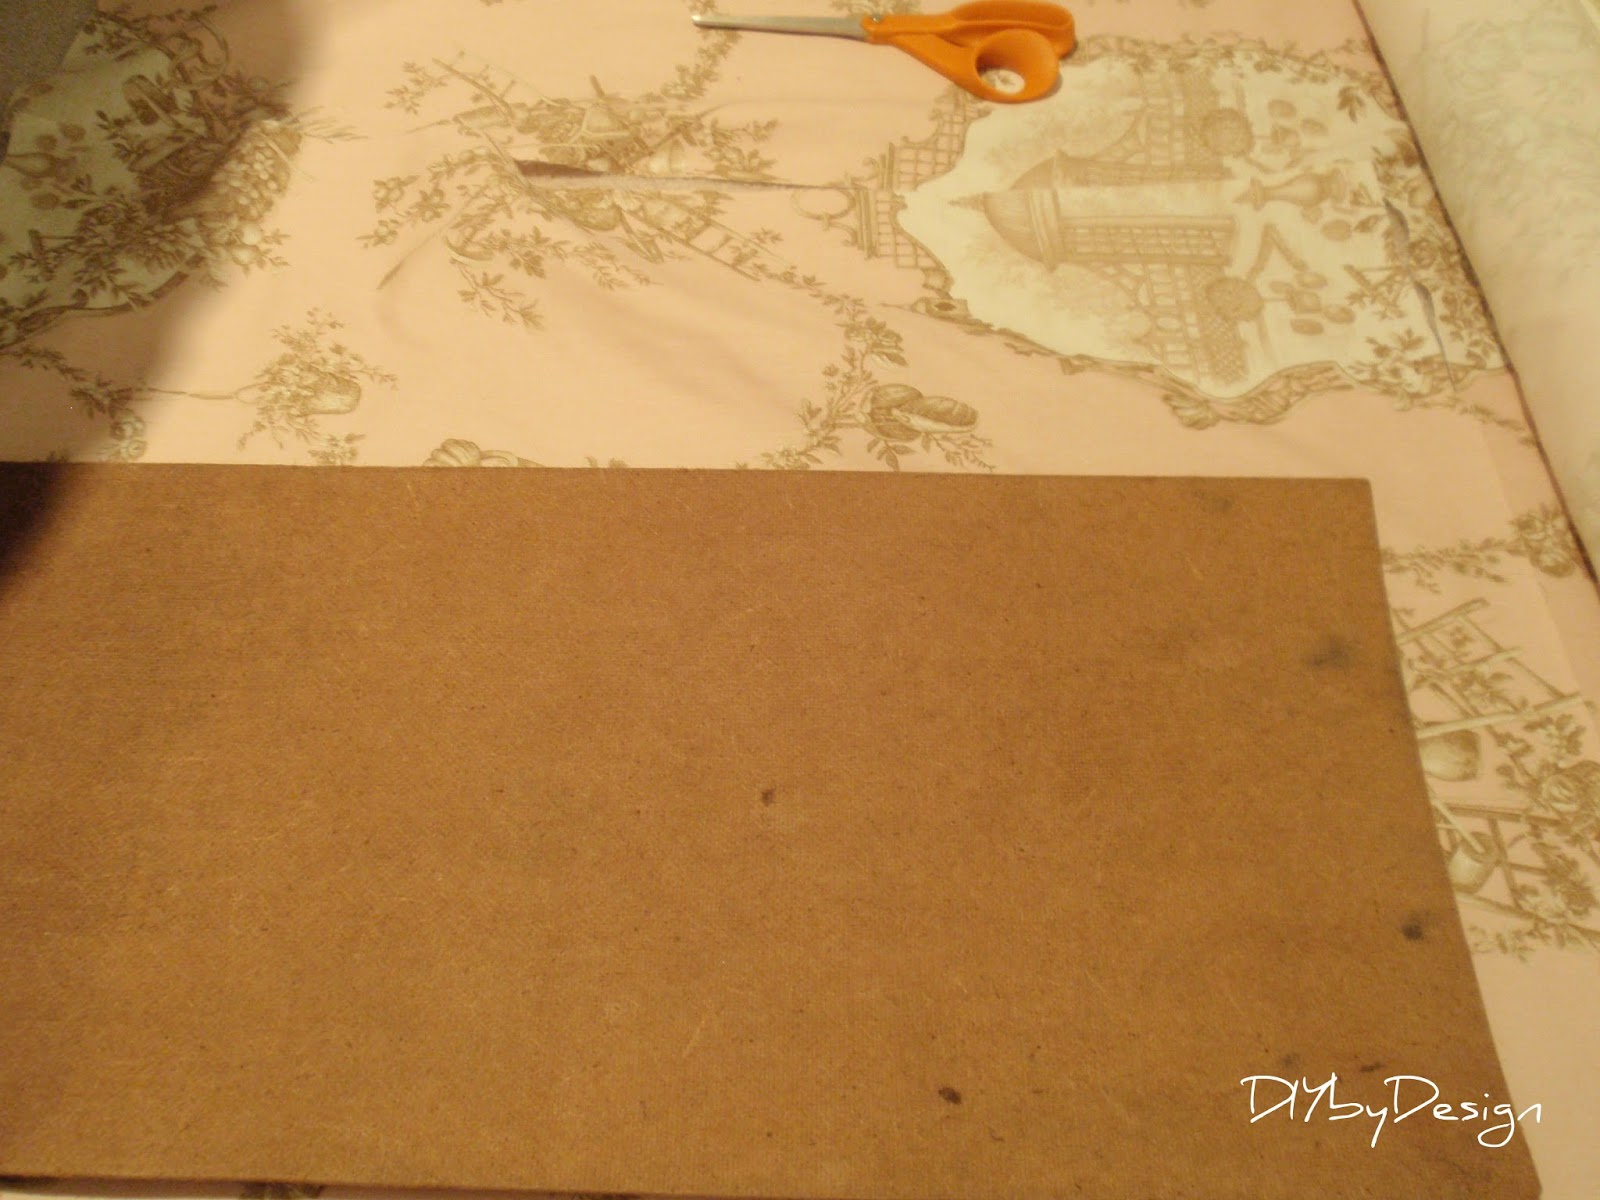
I covered a board with batting and some toile fabric I had in a pale pink and cream.
My hot glue gun made it easy to cover with batting and fabric.
I used my Silhouette machine to cut her name out of pink vinyl.
Isn't it so cute?
Here's one more look at the transformation.
I hope Riley will enjoy her "new" cradle and that it will bring a little joy to her and her family in an otherwise tough time.

Can't wait to hear what you think.
-Judy
Pin It

Tuesday, November 27, 2012

End Table Makeover

Well, technically it's a media cabinet, but we have always used it as an end table.
This end table was from my husband's Grandmother home.  

It was in rough shape when we got it.  It was right before I started blogging - literally (and I shared the makeover of everything we inherited in my fifth post - yes my actual fifth post ever).  I had just finished completely stripping and sanding down a big dresser that we also inherited which took me a full day to sand.  I remember hand sanding the top of this and anywhere on it that needed it and then just adding stain to the damaged areas. 
Here is a closeup of the top (after the first time I fixed it up).  It has bothered me for a while now that is was such a blotchy finish. I think I had just run out of steam after working on the big dresser.  The idea of sanding down another entire piece made me a little sick at the time.  Lol
 I decided to give this piece a new life this past weekend.
I ordered myself a new color (well, new to me) of chalk paint - Louis Blue.
I am in the process of infusing some color into our finished basement.  
These are the drapes I made for my basement. 
 I found my color inspiration for this furniture directly from the fabric.  
This time I completely sanded the top using an electric hand sander.
I painted the outside Louis Blue and the inside Old White.
I wasn't taking any chances this time and used a pre-stain wood conditioner on the top before staining.
I love how beautiful the top looks now.  I stained it in a combination of pecan and mahogany - which is what I had in the house already (only a touch of mahogany to make it a bit darker).
The hardware is the same, although it looks ten times better now that you can actually see it.

I used a little Paris Gray to bring out the details and then used a clear wax followed by a dark wax.

I am in love with this now.  The transformation was so dramatic that my husband and kids couldn't figure out where this piece of furniture was in the house prior to the transformation.  It was so dark and blah they never even noticed it.  

It looks so good that I decided it works even better on the other side of the room.


I can't wait to hear what you think!!

Here's another look at the before and after.

Don't forget to stop back tonight for my Fall into Fall party.

The link opens at 8pm EST.  
Hope to see you then.


-Judy
Pin It


Sharing with Savvy Southern Style

Tuesday, October 4, 2011

Trash to Really Cute Treasure

This is one of my most dramatic trash to treasure makeovers so far.  My sister-in-law had saved a rocking chair from when she was a child.  The chair was broken and in many pieces.
She wanted me to see what I could do with it so that her 2 year old daughter could have it for her room.
First things first - I called my dad and asked for help in putting Humpty Dumpty back together again.  First step was to give the chair a good sanding.
Next step was to use a deglosser to remove the shiny finish on the chair.
Then using wood glue, each spindle was glued into the base of the chair.
Now that the chair was repaired and sturdy, it was my turn to start making it pretty.
I started by spraying several coats of white primer onto the chair and then white spray paint.
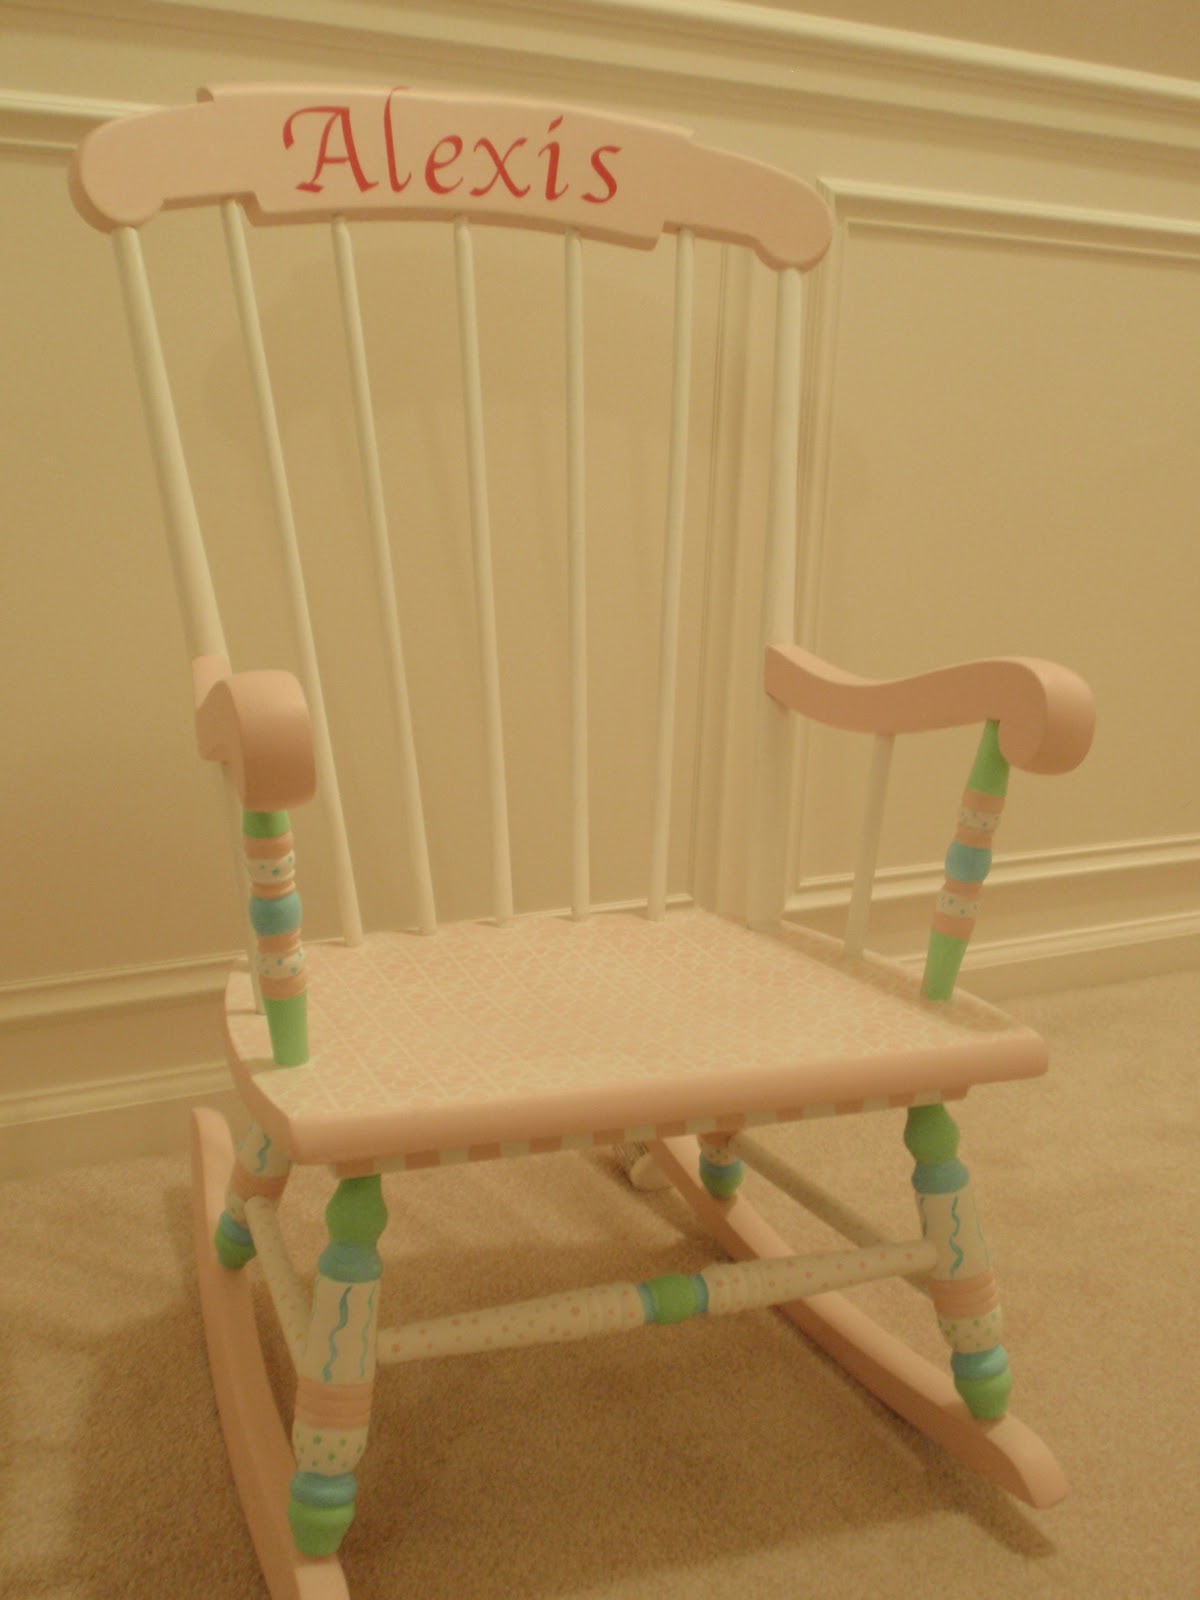
Then using craft paint I started to paint.  I had a basic idea as to what I wanted to do, but it evolved over the six hours I spent painting it.  

Some stripes here...some dots there...I was going for whimsical.

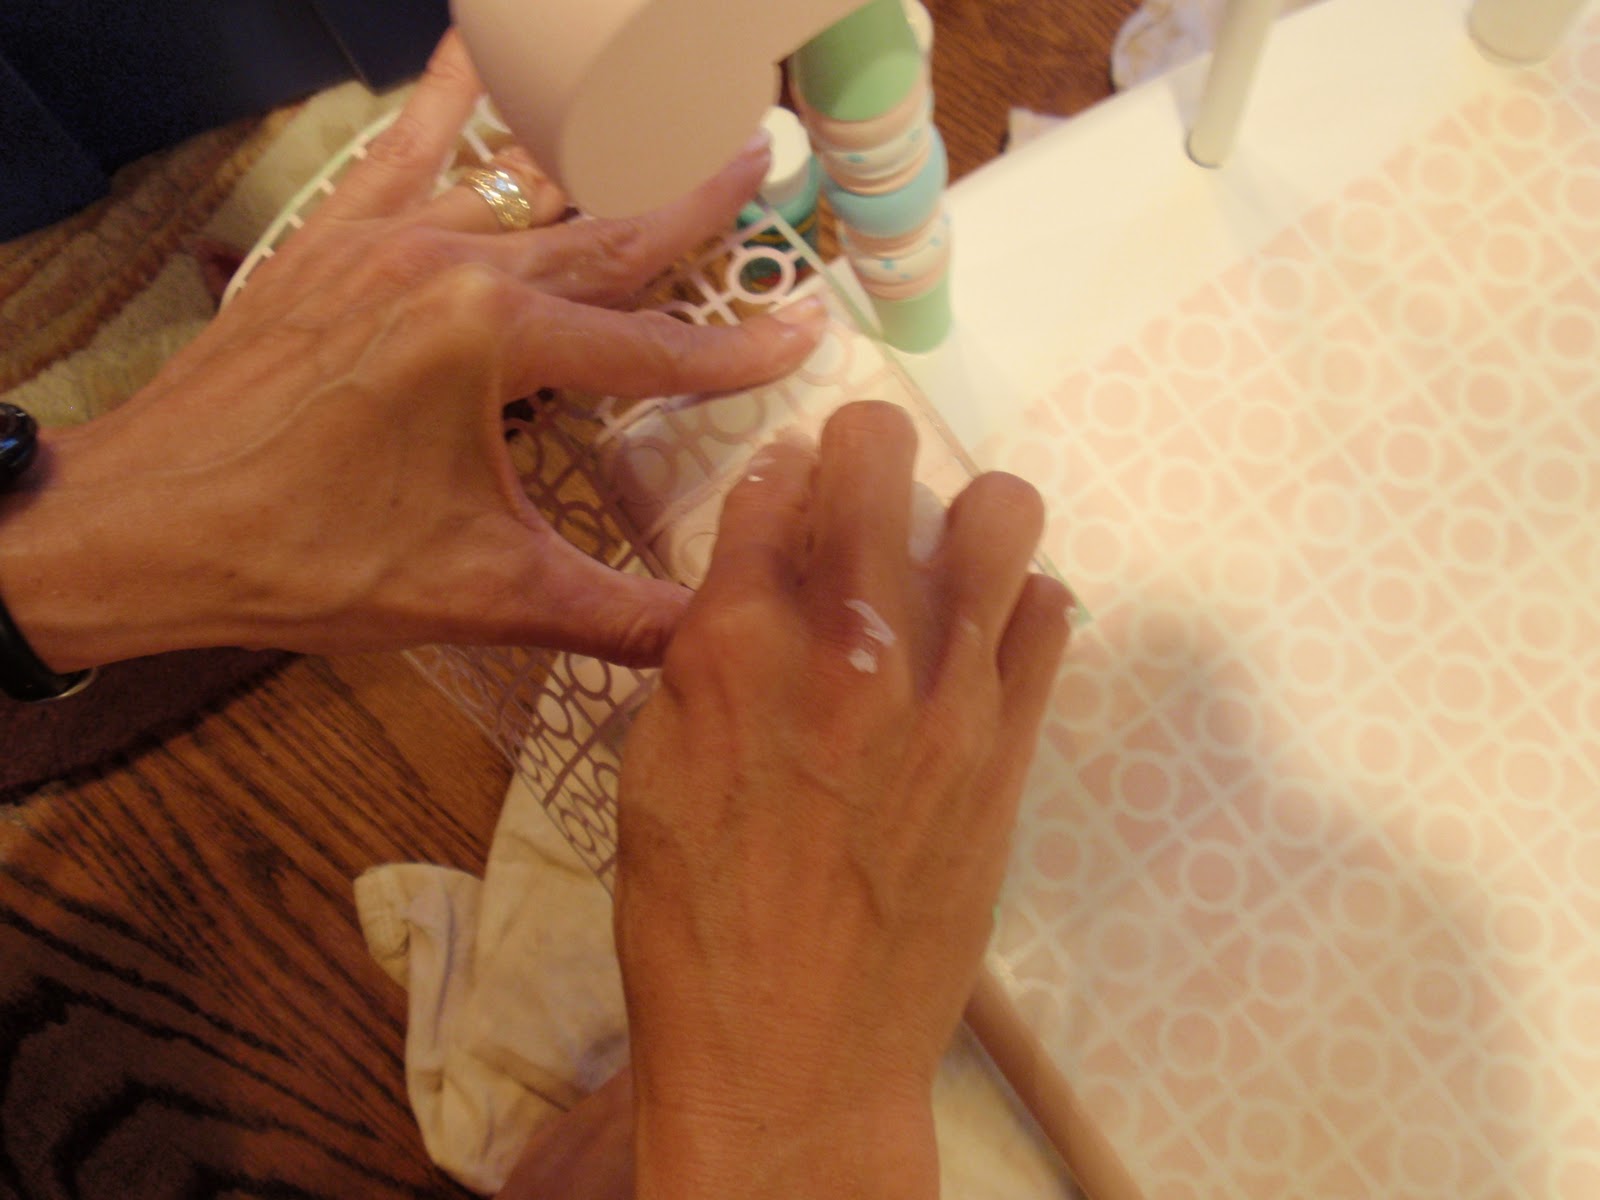
For the seat I used my Silhouette machine and created a stencil using scrapbook paper.
Then using petal pink paint I began stenciling.
I stenciled the center and then lined up the pattern to continue over the entire seat.
Again, using my Silhouette machine, I cut out my niece's name out of pink vinyl.
Here are some shots of the finished rocker.

How sweet for a little girl's room.
I can't wait until she sees it in person!
I'm looking forward to hearing what you think.

Don't forget to stop back tonight for my Fall into Fall party.  The link opens at 8pm EST.
Hope to see you there.

-Judy

Thursday, September 8, 2011

Craigslist Desk Makeover

I have been on the hunt for a desk for my daughter's room for months now.  
Currently she uses a parsons table we had in the attic.  It fit great, but it has no storage which was a bit of an issue.  
On my hunt on Craigslist, there were several criteria that  the desk had to meet.  For starters it needed to have drawers.  It also needed to be no wider than 42".  Most desks seem to be 48".  With her current room furniture arrangement, a 48" desk just wouldn't work.
Then last week I came across this desk on Craigslist.  They were asking $40 for this Thomasville desk and chair.  After making a deal to pay $30 over the phone I went to pick it up with my dad (my rule of thumb is never go pick up a Craigslist purchase alone).  When I got there I discovered that it wasn't technically a Thomasville.  It was a Huntley by Thomasville, which apparently is a lower line of furniture that they made twenty years ago.  It still seemed to be well made, and I considered walking away from it, but for $30 how could I go wrong.  So in the end I packed it up into my mini van and away we drove.
When I got home I started the disassembly.  When I flipped the chair over to remove the seat it turned out that it wasn't even screwed on.  It was only glued.  I could remedy that.
Another potential issue was that the top seemed to be made of formica.  If not formica, something that had a tough top coating as there wasn't a scratch or dent on the top and the piece is 21 years old.
 The top desk drawer had a painted floral motif.
Luckily that sanded off very easily.
Now it was time to start painting.  I used Annie Sloan chalk paint in Old White which I had in the house already.  My goal was to not spend anymore than the $30 I purchased the desk for.  I used a regular paint brush for the entire desk.  Then after it dried I could see the brush strokes on the top of the desk, so I sanded it all off and used a sponge brush instead on the top only.  It worked perfectly.  I do love that the chalk paint seems to adhere to any type of surface, including whatever the top of this desk is made of.
For the chair, I had a half a can of spray paint in Heirloom White left over from a past project.  By the way...the Heirloom White spray paint is almost exactly the same color as the Old White chalk paint.  I used the spray paint as a base coat which made it so easy to paint something so curvy.  Then I used the old white as a second coat, but didn't have to be perfect in my painting as the two colors are almost identical.
Then I finished the desk off using the clear wax.  I applied it to the desk with the wax brush and then buffed it using a cloth. I also used the cloth to apply the wax to the top of the desk to avoid anymore brush strokes.
I updated the knobs using a silver sharpie pen.  
I used the sharpie to highlight the details of the knobs and handles.
Finally I reupholstered the chair using fabric I had on hand, just waiting to be used on a project like this.  I used screws to attach the cushion.

Here is the finished product:
I love how it came out.
Now my daughter has a beautiful desk with plenty of storage, which will leave the top more available for work to be done.

One more look at the before and after:
I can't wait to hear what you think of this.  I always love and appreciate your comments.

-Judy

Related Posts Plugin for WordPress, Blogger...