Pages

Showing posts with label embroidered pillow. Show all posts

Thursday, May 30, 2013

Embroidered Pillow


The other day I shared with you an embroidery project I made.  It's one of my favorite phrases and I transferred it to this fabric and embroidered it.

 I decided to take that project a bit further and turn it into a pillow. 
The embroidery looked a little plain all by itself.  I took left over felt and cut out a couple of owls and a branch and embroidered it onto the fabric as well.
Aren't they cute?
Then I folded the fabric right sides together and sewed it together.  I turned it right side out and stuffed it with a pillow form.
For the two sides, I folded the fabric under and hand-sewed it together using more embroidery thread.
Here's a close-up...
I can't wait to hear what you think of my cute little pillow.

-Judy

Pin It


Follow my blog with Bloglovin

Tuesday, May 28, 2013

How to Transfer Text to Fabric for Embroidery

I hope you all enjoyed your Memorial Day weekend.  What a crazy weather weekend it was.  Friday and Saturday were freezing and raining here in New York.  In fact, upstate New York actually got snow!!  Sunday warmed up just a little bit and Monday was the nicest of the weekend.  With such huge swings in temperature, I guess it's no wonder that I woke up with a nasty cold yesterday.  Ugh.  

Since I wasn't feeling so well last night, and since the Bachelorette was on (yes...it's a guilty pleasure of mine and mindless enough that I can do two things at once), I thought it was a good night for some embroidery.  I have been wanting to do something with this phrase I saw on Pinterest.  I printed out the saying in a font I liked and then wanted to transfer it to embroidery fabric.
The embroidery fabric and hoop were sent to me courtesy of Wholeport, an online crafting supply store.  The embroidery fabric is a pale blue and has some sparkle to it.  I took the paper with the phrase printed out on it and held it behind the fabric.  Then I held it up to the window (it was sunny and bright outside) and traced over it using a pencil.  I know...a very sophisticated way of transferring...but it works well and easily.    :)
Then I started to embroider.  I used a navy embroidery thread for the small words and pink for Love Story.  I was finished embroidering before the season premiere of the Bachelorette was over.  It's far from perfect, but that's what I like about it.   For me to create perfection, I have to use my embroidery sewing machine.  My plan is to turn this into a pillow.  
Stop back later this week to see what I have done with it.  

Does anyone else embroider?  What have you created lately?


The party opens at 8pm EST.  Hope to see you then.

-Judy

Pin It


Sharing with Savvy Southern Style

Friday, March 30, 2012

Embroidered Bolster Pillow

Ever since I received an embroidery sewing machine for Christmas, 
I have wanted to make a new bolster pillow for my daughter's room.
Honestly, I don't need much of an excuse to make something girly and new for her room.
I bought a flat twin white sheet from Walmart for $5.00.
Twin sheets are so perfect for making projects like this and you can't beat the price.
I'm getting better at using my embroidery machine.  I found out that if you read the directions and actually follow them to the letter that the machine really works wonderfully.  Lol
I just chose a pretty font and let my machine do the rest.
I used actual embroidery thread this time (in my first few attempts with the machine I was using regular thread).  I love the sheen of the embroidery thread.  Embroidery thread is significantly more expensive than regular thread, but I definitely see the benefit. I used regular thread in the bobbin.  
Once it was done I laid out the design I wanted around it.
I tend to work on the floor in my hallway when I have to lay out sewing projects.
Using ribbon and ric rac I had already, I adhered it to the fabric using Fabri-Tac.  To me, this is the absolute best fabric glue out there.  It adheres immediately.  I decided to use fabric glue rather than sewing it on because I didn't want stitch lines.  Once all my ribbon was adhered, I sewed it right sides together to the size of my bolster pillow.
I really chose the easy way out this time and simply gathered the ends
and held it in place using a hair tie.
 I only had to finish off one end of the fabric since one side was the finished edge of the sheet.
I then tied a bow on each end with pink polka dot ribbon.
Here is the finished bolster pillow.
Here is a close-up.
I LOVE LOVE LOVE how this came out.
It picks up the colors in my daughter's comforter perfectly.
I can't wait to hear what you think of this project.

I'm really loving my embroidery machine!!

Don't forget to get together your spring projects, recipes and decor this weekend for the
Bunny Blog Hop on Monday.  Remember there will be an awesome giveaway at the party as well.
It's going to be a hopping good time!!

Have a great weekend!
-Judy


Friday, January 20, 2012

The Summer Cottage

A few weeks ago The Summer Cottage sponsored a giveaway here at DIYbyDesign.  The Summer Cottage is a wonderful Etsy store that creates gorgeous custom pillows.   Kelly was the lucky winner.  Karen, the owner of The Summer Cottage, just sent me over photos of the custom pillow that Kelly won.
The pillow was created for Kelly's daughter's playroom that has a zebra motif.
 Kelly worked with Karen to discuss the look she wanted, and Karen created this custom design.
Everything was custom from the fabric choice to the style of embroidery.

Every detail is perfect.
I want to thank Karen from The Summer Cottage once again for sponsoring the giveaway.  I hope you will all stop by Karen's Etsy shop to check out all of her gorgeous pillows.

I'm off to put the finishing touches on our home gym.
Can't wait to reveal it to you all next week.
Have a great weekend.
-Judy

Thursday, July 21, 2011

Embroidered Pillow

I love sewing pillows...but sometimes you come across a perfect pillow and just have to buy retail.
Image from Pottery Barn
I was in Pottery Barn and came across this embroidered pillow.  I have been wanting to add a little blue to my living room.  This pillow has all the colors of the living room plus a little blue.  Isn't it gorgeous?

I bought two - I just love them.  I think it gives me that little bit of summer look I was craving in this room.

Of course the new additions required me to do some switcheroos of all the other pillows.
I'm happy with the final result...at least for the summer. Lol

Let me know what you think.  I always love and appreciate your comments.

Thursday, March 31, 2011

Neck Roll Pillow Tutorial

I kept myself busy this past weekend making pillows.  My parents asked me to make them two neck roll pillows for their bedroom.
These neck rolls are so easy to make (also called bolster pillows).  It took about a half hour to make both pillows.  Originally they wanted two to put on their bed.
But, when they got this chair, they moved one of the pillows onto it instead.  You can check out how we framed the mirror behind this chair here.
I started with a neck roll form and measured around it and also measured the length.  In my case the measurement around was 19" and the measurement from left to right was 14".
I cut my fabric 14 1/2" x 19 1/2" (the 1/2" being added for seam allowance).  I like to use a square to mark the back of my fabric.  This is the way I can insure straight lines.
To create the sides, you need to measure the diameter of the side.  Mine measured 6".  This meant half the diameter was 3".  I added 1 1/2" to this measurement to fold over to make the pocket for the ribbon to go through.  So the total for each piece would be 4 1/2" x 19 1/2" - I cut two pieces that size.
On each of those side pieces, I fold over the long edge about an inch or so (enough to be able to have ribbon put through.
Then with right sides together I sew the 19 1/2" ends together.  Notice that the pocket that was just created it toward the center (that way when it is all on the right side, that will be the end).
Now is the time to add any embellishments.  I sewed grosgrain ribbon onto the two seams I created when adding the end pieces.
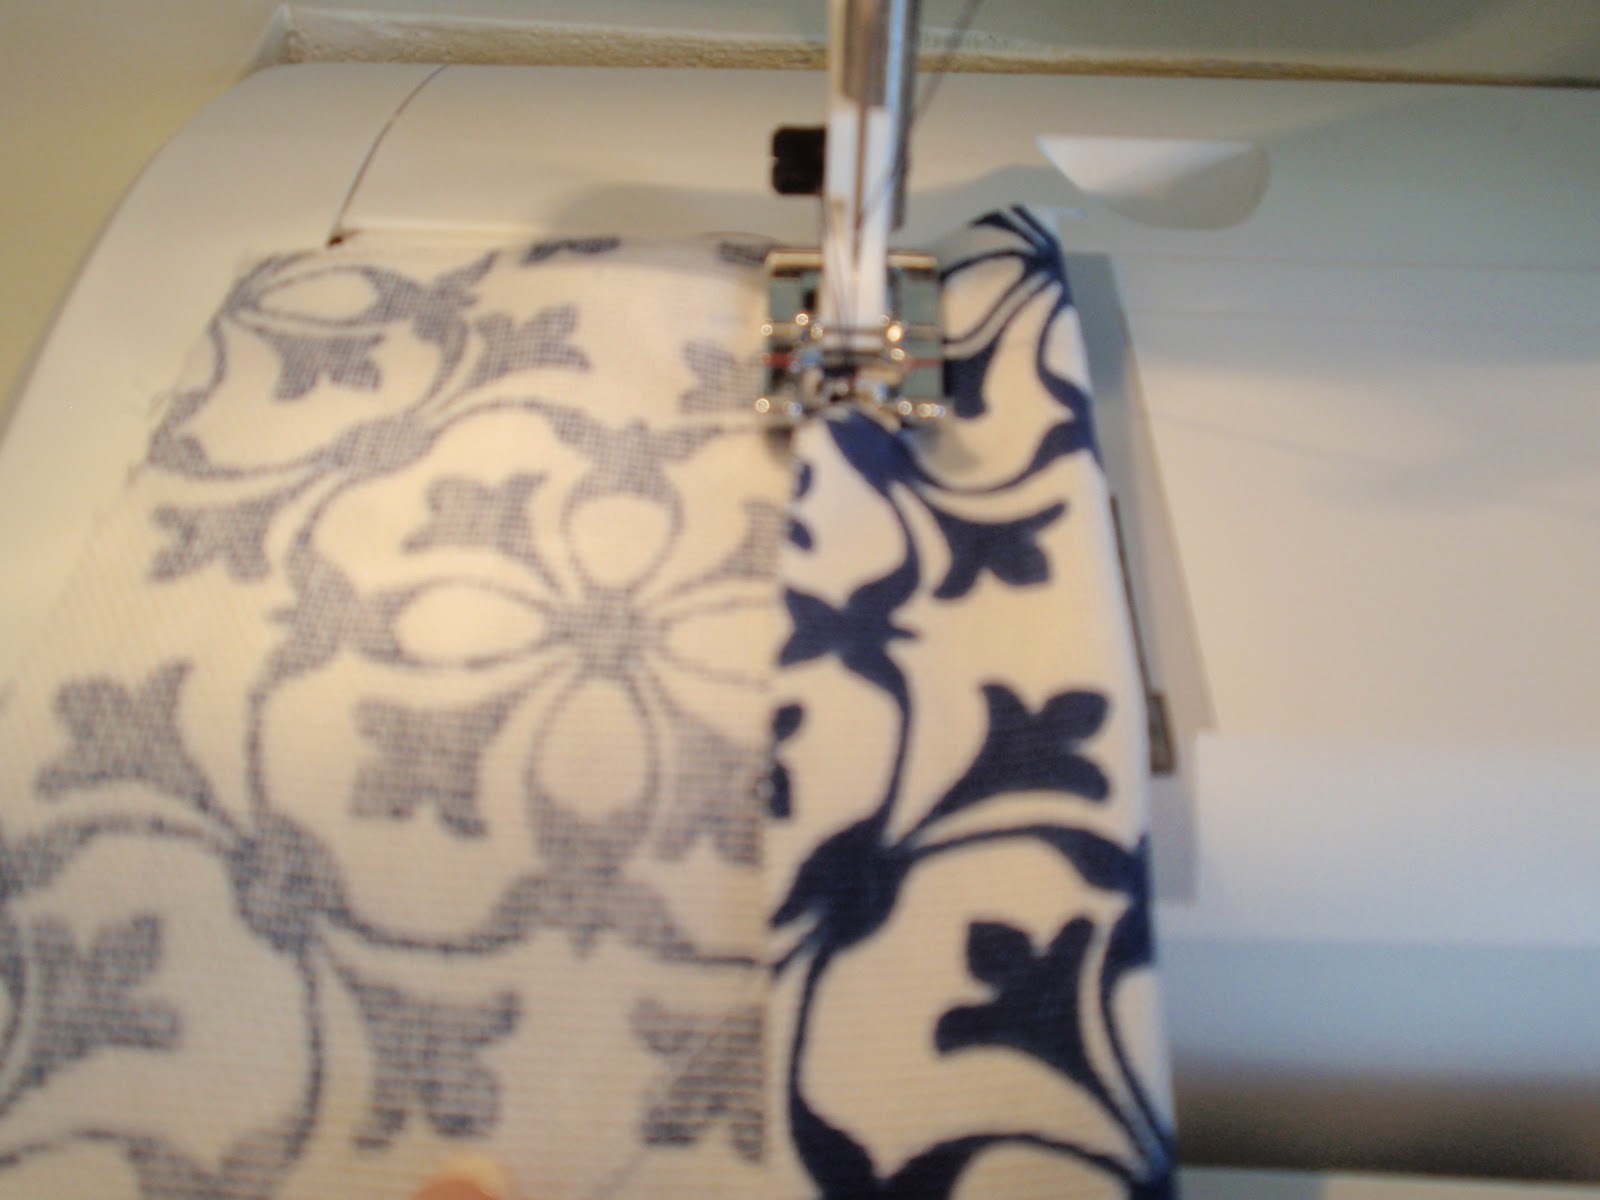
I simply sewed around all four edges of the ribbon.
This time I left it at that because the fabric was a busy enough.  You could add anything else you want.  I folded the fabric in half and with right sides together (and making sure that the ribbon lined up together) I sewed it together being careful not to sew through the two pockets for the ribbon to go through.
Here is the old pillows I had made them (I just took the inserts out to make the new ones).  You can see that I added a center band to this one, as well as a ruffled edge.  This time they wanted something a bit more streamlined.
Once together, I took a safety pin and pinned it onto the ribbon.  Then I threaded it through the pocket I had created on each side.  Here's a tip - the larger the safety pin the easier it is to thread it through your pocket.  This was the only pin I could find and it kept opening up and going through my finger...a little frustrating.
This is what it should look like when you have finished threading the ribbon through the end.
Simply pull the ribbons and tie a bow.
Simple as that.  I love how it came out.
It looks perfect on their new chair.  Let me know what you think.  I always love and appreciate your comments.
The Swing into Spring party is still going on.  You can click here to join in the fun.

-Judy
Related Posts Plugin for WordPress, Blogger...