Pages

Showing posts with label scrapbook. Show all posts

Thursday, August 29, 2013

iPhone Box Turned Monogrammed Jewelry Box

If there is one thing my house does not have a shortage of is iPhone boxes.  With two teenagers (I can't believe I have two teenagers) it seems like we are always in the Apple store with somebody upgrading their phone.  The iPhone boxes are extremely sturdy boxes and I thought I could make it into a cute little jewelry box.
I started out with the iPhone box and a piece of scrapbook paper (yikes...blurry photo).
Using Mod-Podge I adhered the paper to the top and sides of the box only.
I find that it's easiest to line it up with one side, glue that side on and continue around the box.
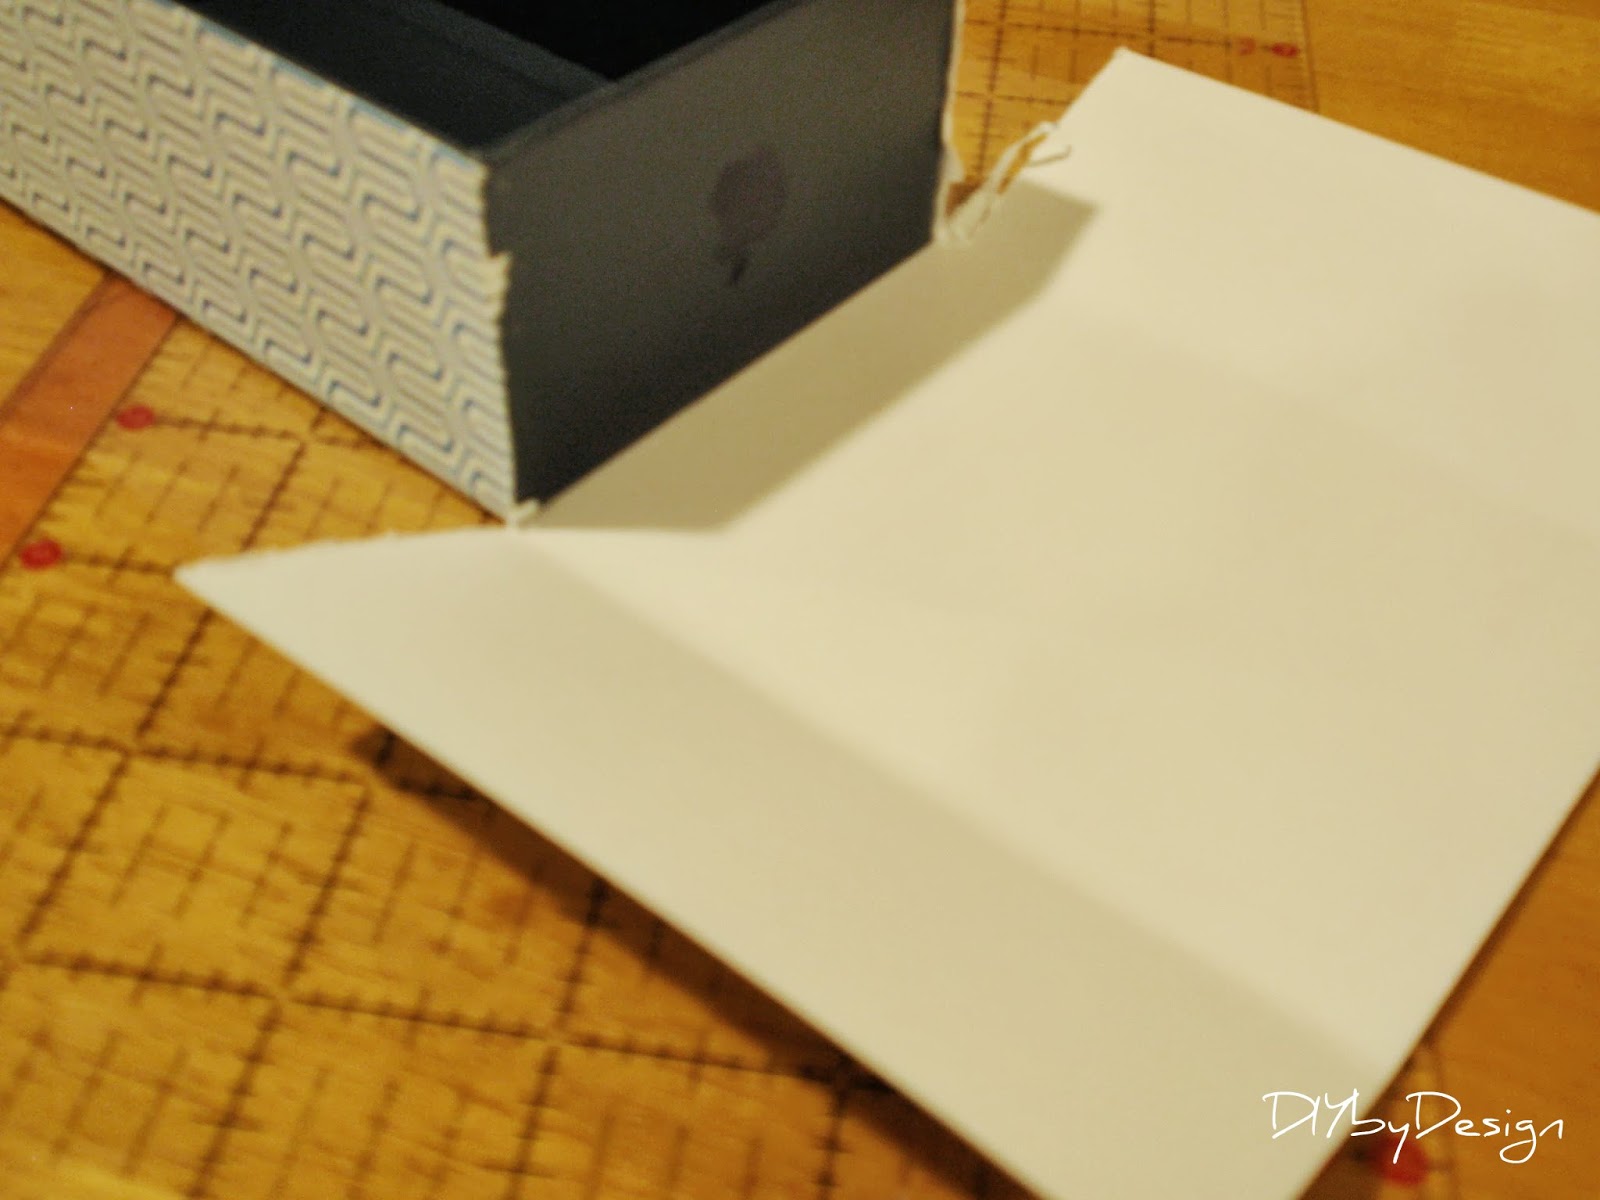
For the two smaller sides I cut along the folded edges and glued it and cut it to size.  I used a small utility knife to make the edges perfect.
 The box was coming along, but everything looks better with a monogram or initial on it.  Using my Silhouette program I created this initial and printed it out on card stock (you want to use card stock rather than regular copy paper so that you can't see through the paper to your patterned paper).
I cut out the initial and used a glue stick to adhere it to the top.
The inside of the iPhone boxes already have these dividers so there was nothing to do on the inside.
What do you think?
I bet you have one of these boxes hanging around your home too.


-Judy

Pin It


Tuesday, May 22, 2012

Scrapbook Paper Tray

I love pretty scrapbook paper.  My new favorite place to but scrapbook paper is Home Goods. 
 I bought this 90 page book of scrapbook paper for just $5.99.  
With new paper in hand, it was time to come up with a new project.  
I took two coordinating sheets and glued them together using a glue stick
 to make a single double-sided sheet.
Then on all four sides I folded the paper in (about the width of a ruler).  
I also used the ruler to score the paper to make a perfect edge.
Once all four sides were folded in, I took the corners and punched a hole.
Using pretty brads I had in the house, I attached the four corners.
You could just call it a day here, but of course, I can't leave well enough alone.
Instead, I punched holes all around the top spaced approximately one inch apart.
Then with yarn I had (that matched exactly), I crocheted an edge all around the tray.
Once I was done crocheting, I didn't love how the corners looked poking out.
So I just tucked each corner into one of the holes I had made for the crocheting.

You could use these pretty paper trays for anything.  I am using mine on my bedside table and filled it with all the essentials I use each evening before I go to sleep.

I can't wait to hear what you think of my pretty paper tray.

Don't forget to stop back tonight for my Swing into Spring party.


The party opens at 8pm EST.  Hope to see you then.

-Judy
Pin It

Monday, March 19, 2012

Paper Bow Tutorial

When wrapping a gift, it's always nice to add a pretty bow.  Here's a simple tutorial for you to create one out of things you already have in the house, in just minutes.
I made this bow using scrapbook paper.
  I used thin scrapbook paper, rather than cardstock,
as it is much easier to work with for this project.
I made this bow out of a magazine page.
Here's how you do it...
You will need to cut your paper into 9 strips all 3/4" wide.  The first three are the full length of the page (in this case 12").  The next three strips are 1" shorter (11"), the next two strips are 2" shorter (10") and the last strip is 3 1/2" long.
Next I twisted each strip as shown (it sort of looks like a figure eight).
The 3 1/2" strip I rolled and glued it into a circle.
I stapled each one to create the figure eight.  
You could staple it or tape it or glue it.  It was just faster for me to staple it.
Then I took the first three full length figure eights and laid them one on top of the other alternating direction.  I glued each one together using a glue stick.
 Then I continued in size order gluing each one on one and a time.
  I ended with the circle glued to the center of the bow.
It's really that simple.  You will never buy a store bought bow again.
I hope you will try this project.
Have a great day.
-Judy
Pin It

Tuesday, January 24, 2012

Valentine's Day Vignette and Tutorial

I just love Valentine's Day.

In creating my Valentine's Day vignette for my front entryway, I knew I wanted to spell out the word LOVE.  In my head I pictured using building blocks of some sort.  I searched through the house and couldn't figure out what to use.   After some thought,  I came up with the idea of creating paper boxes out of scrapbook paper.  
Then using my Silhouette machine I cut out the word love out of white vinyl from a template I purchased over Christmas when everything was 50% off at Silhouette.
I then made more paper boxes, in various sizes, out of Valentine's Day paper 
and filled a glass canister with them.
I tied a pink grosgrain ribbon that was from a Pottery Barn Kids 
gift my daughter received a few years ago (I always save ribbon).
I swapped out flowers and brought these from upstairs.  However, something still seemed to be missing.  I wanted to create a type of wreath.  I wanted something a little different.
That's when I came up with the idea of using an embroidery hoop I had and creating a wreath out of that. 
I used pink fabric I had from my daughter's room, and hand embroidered the word LOVE using a heart for the "O".  I then cut out two love birds out of hot pink felt and hand sewed those on as well using embroidery thread.  I cut off the excess fabric from around the hoop.  I hung it using tie-dyed ribbon and using a paper rose to hide where the loop screws together.

The perfect greeting for everyone who enters my home.


The boxes are really easy to make.  Here's all you have to do...
You start with your favorite scrapbook paper.  I used a 12" x 12" for my LOVE boxes and 6" x 6" for the smaller boxes in the canister.  The only rule is it must be a square piece of paper.
Then I folded the paper in a series of folds.  I thought it would be easier to show you "in person" rather than in just photos.  So, below is a step by step video tutorial on how to fold paper to create paper boxes...it's my very first video tutorial.  I hope you will check it out.


Hope to see you tonight at my Winter Blues Wednesday party that opens at 8pm EST.  

-Judy


Pin It

Friday, February 18, 2011

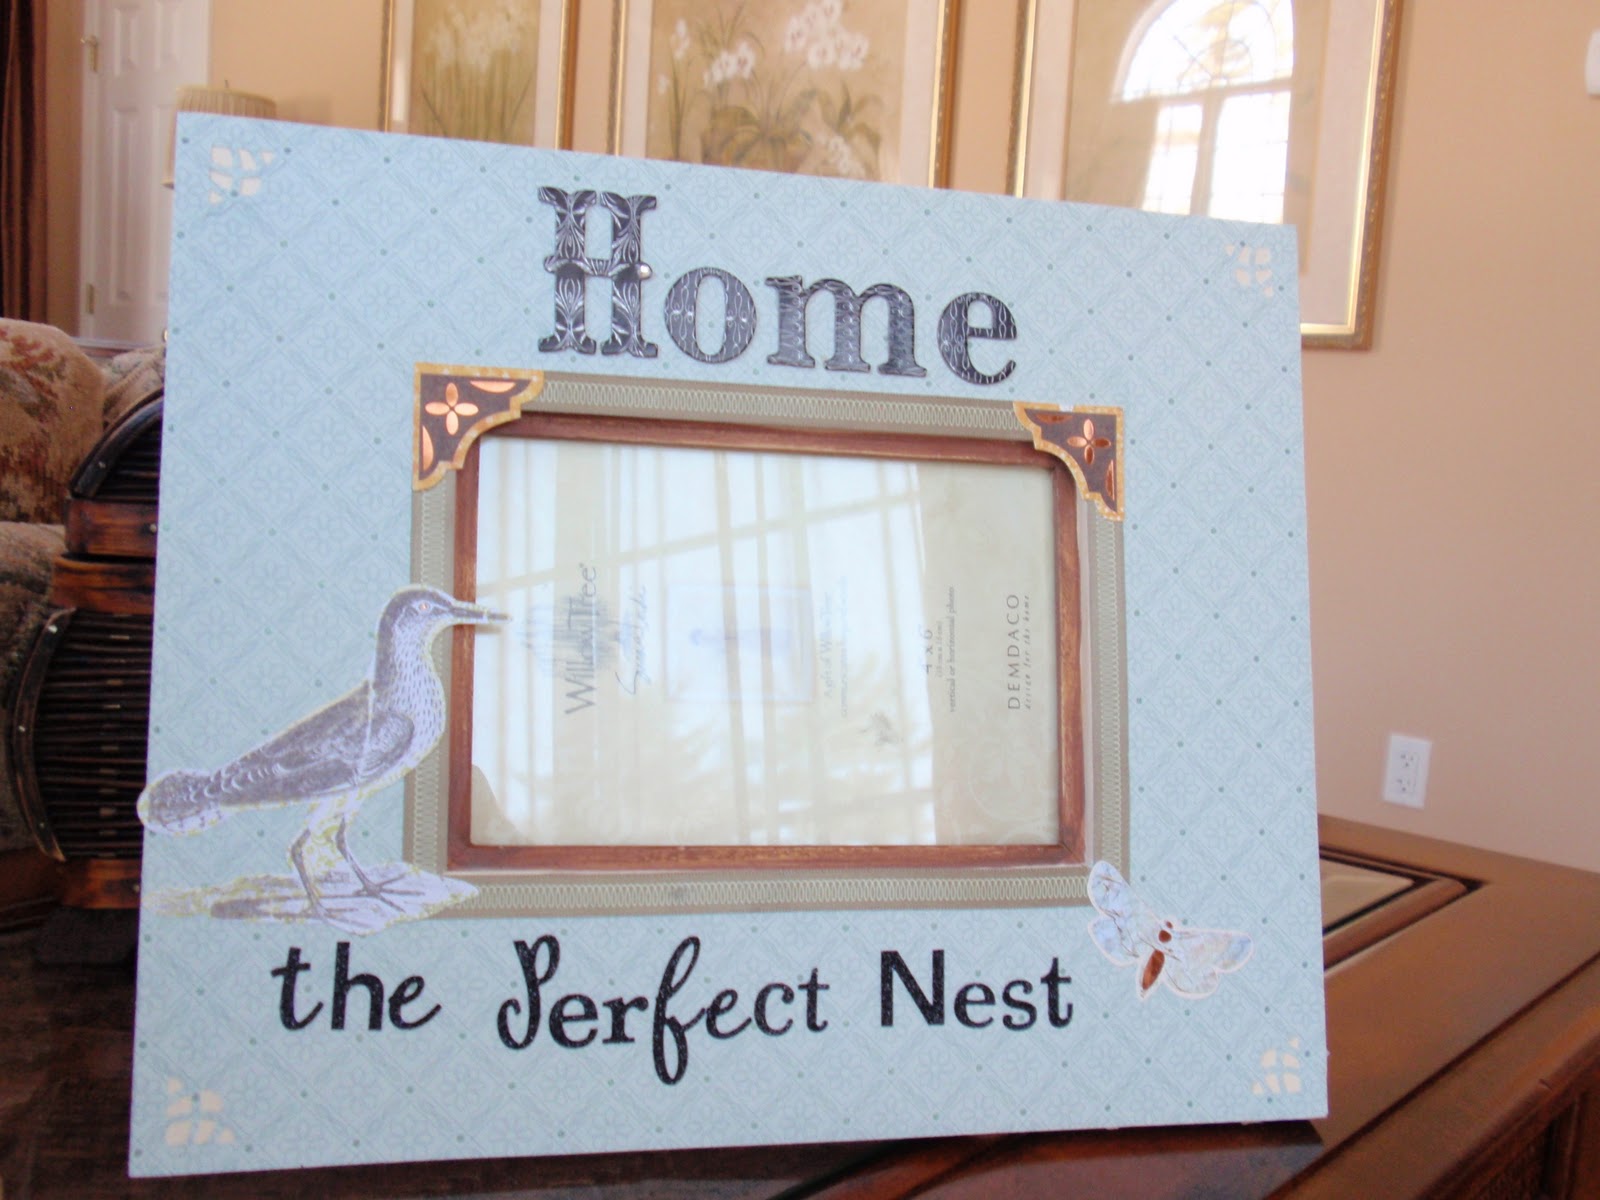
Home...The Perfect Nest

I found this frame in the clearance aisle of Home Goods for $3.00.  What I liked about it was that it was flat and it would be easy for me to make it into something a little more special.
I started by looking through my stash of scrapbook paper and letters.
Now which paper to pick?
This one was cool, but not exactly the look I was after.
I liked this one.  It had a blue/green color and the darker dots are raised.
I took the frame and the paper and placed them both upside down on a cutting board.  Using my knife I cut around the frame to make the paper the exact size.
I then used the same knife to cut away the center of the paper as well.
Using a corner cutter, I clipped each of the four corners of the cut paper.
Using Mod Podge I glued the paper onto the frame.  I only glued the back.  I didn't apply any Mod Podge to the top because I liked the texture of the paper and didn't want to affect that.

I used adhesive ribbon to cover the edges around the center section.
You can see better in this picture the four corners that I used the corner cutter on.
I used adhesive letters (which I had to add a little glue to since they are so thick and didn't really stick too well).
Some more embellishments and I was done.  Now I just have to find the perfect picture.

I love the frame now.  It was such a simple project.  Let me know what you think.  I always love and appreciate your comments.
Don't forget the Winter Blues party is open through tonight. You can still link up your projects.
Have a great weekend.
-Judy
Related Posts Plugin for WordPress, Blogger...