Pages

Showing posts with label pottery barn kids. Show all posts

Monday, November 5, 2012

Pottery Barn Kids Carolina Table Grows Up

We bought the Pottery Barn Kids Carolina play table for our kids ten years ago.

The table is solid wood and extremely well made.   My kids are 12 and 15, and since the table is only 22" high, it is just too low for them now and it is rarely used these days. 
 The table was expensive at the time (not to mention the four chairs we bought for it). 
 I think the table may actually be less money these days.
The table is still is perfect shape and it seemed a shame that it was just sitting in the basement.
I turned the table over to check out exactly how the legs were attached.  I realized that I could probably easily replace the existing legs with longer legs.  I went to Lowes and found these 28" legs that I loved. 
I bought four legs and a kit I thought I would need.  As it turned out I really only needed to buy the legs.  I was able to use the existing screws from the original legs on the new legs.  
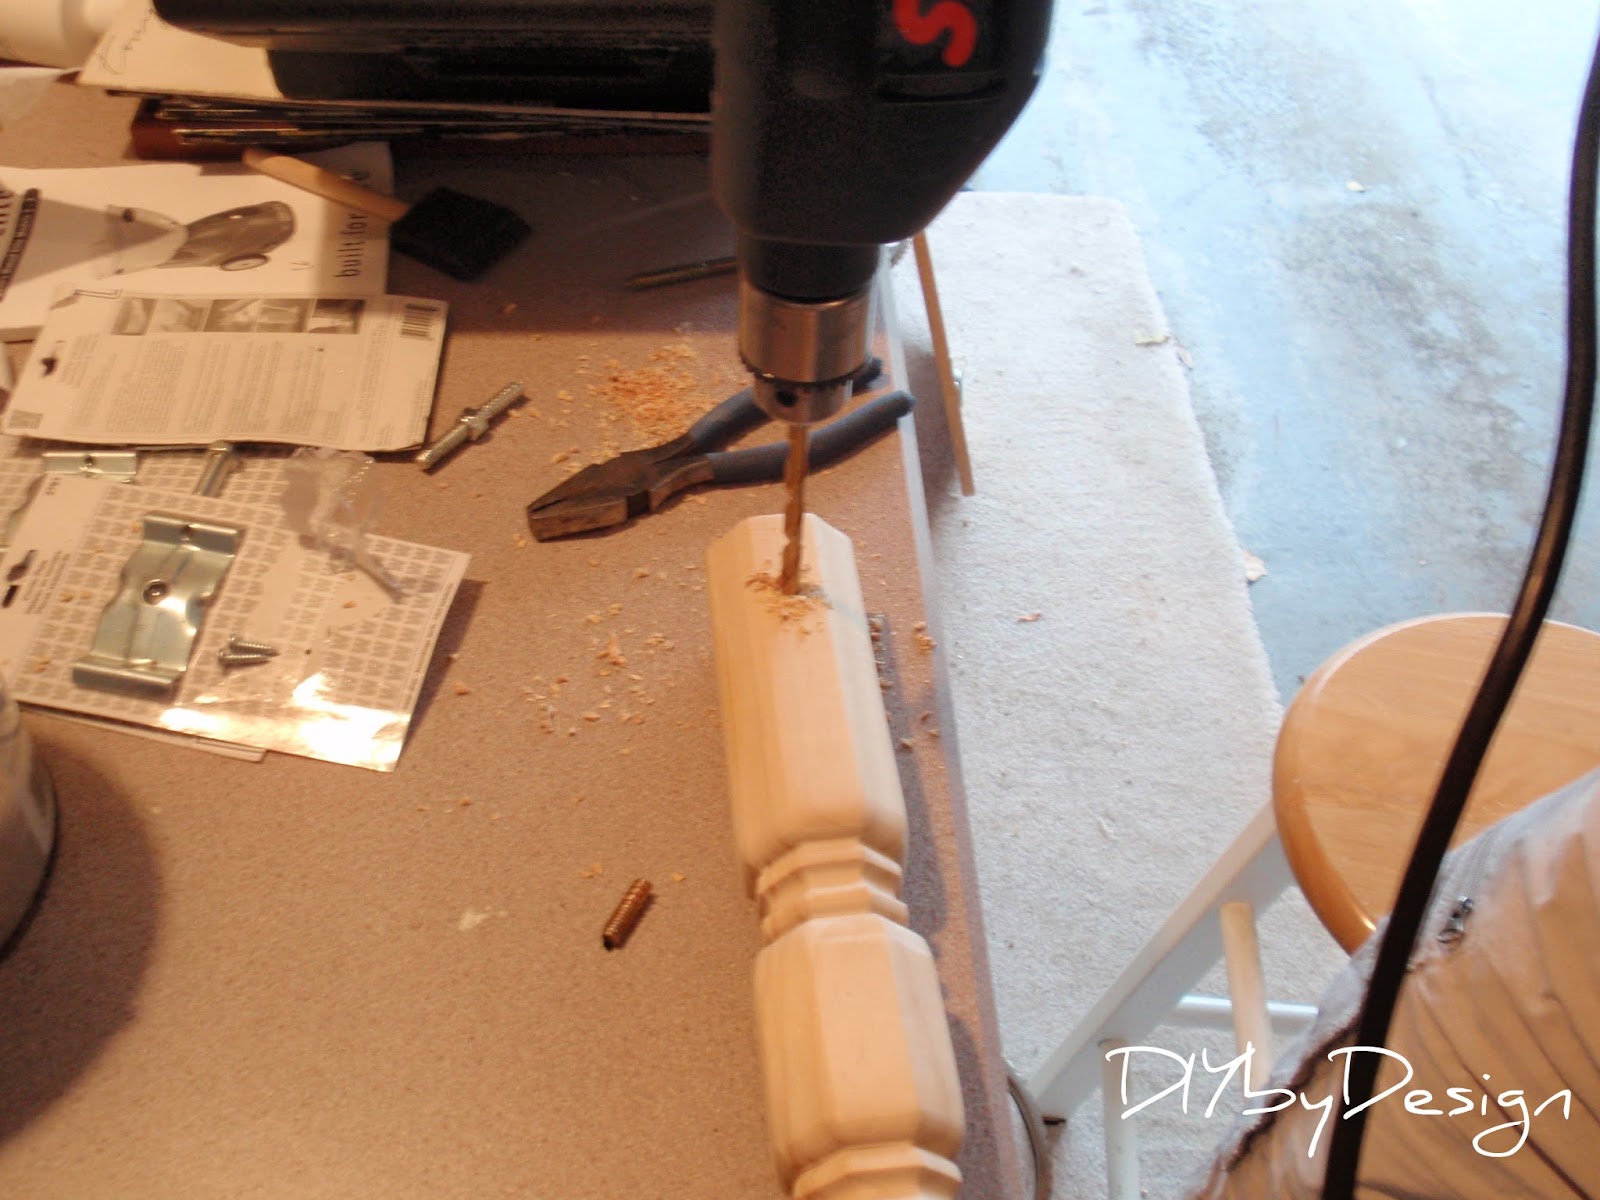
All I had to do was take the leg and hold it in place on the table and mark off exactly where the hole would need to be drilled.  
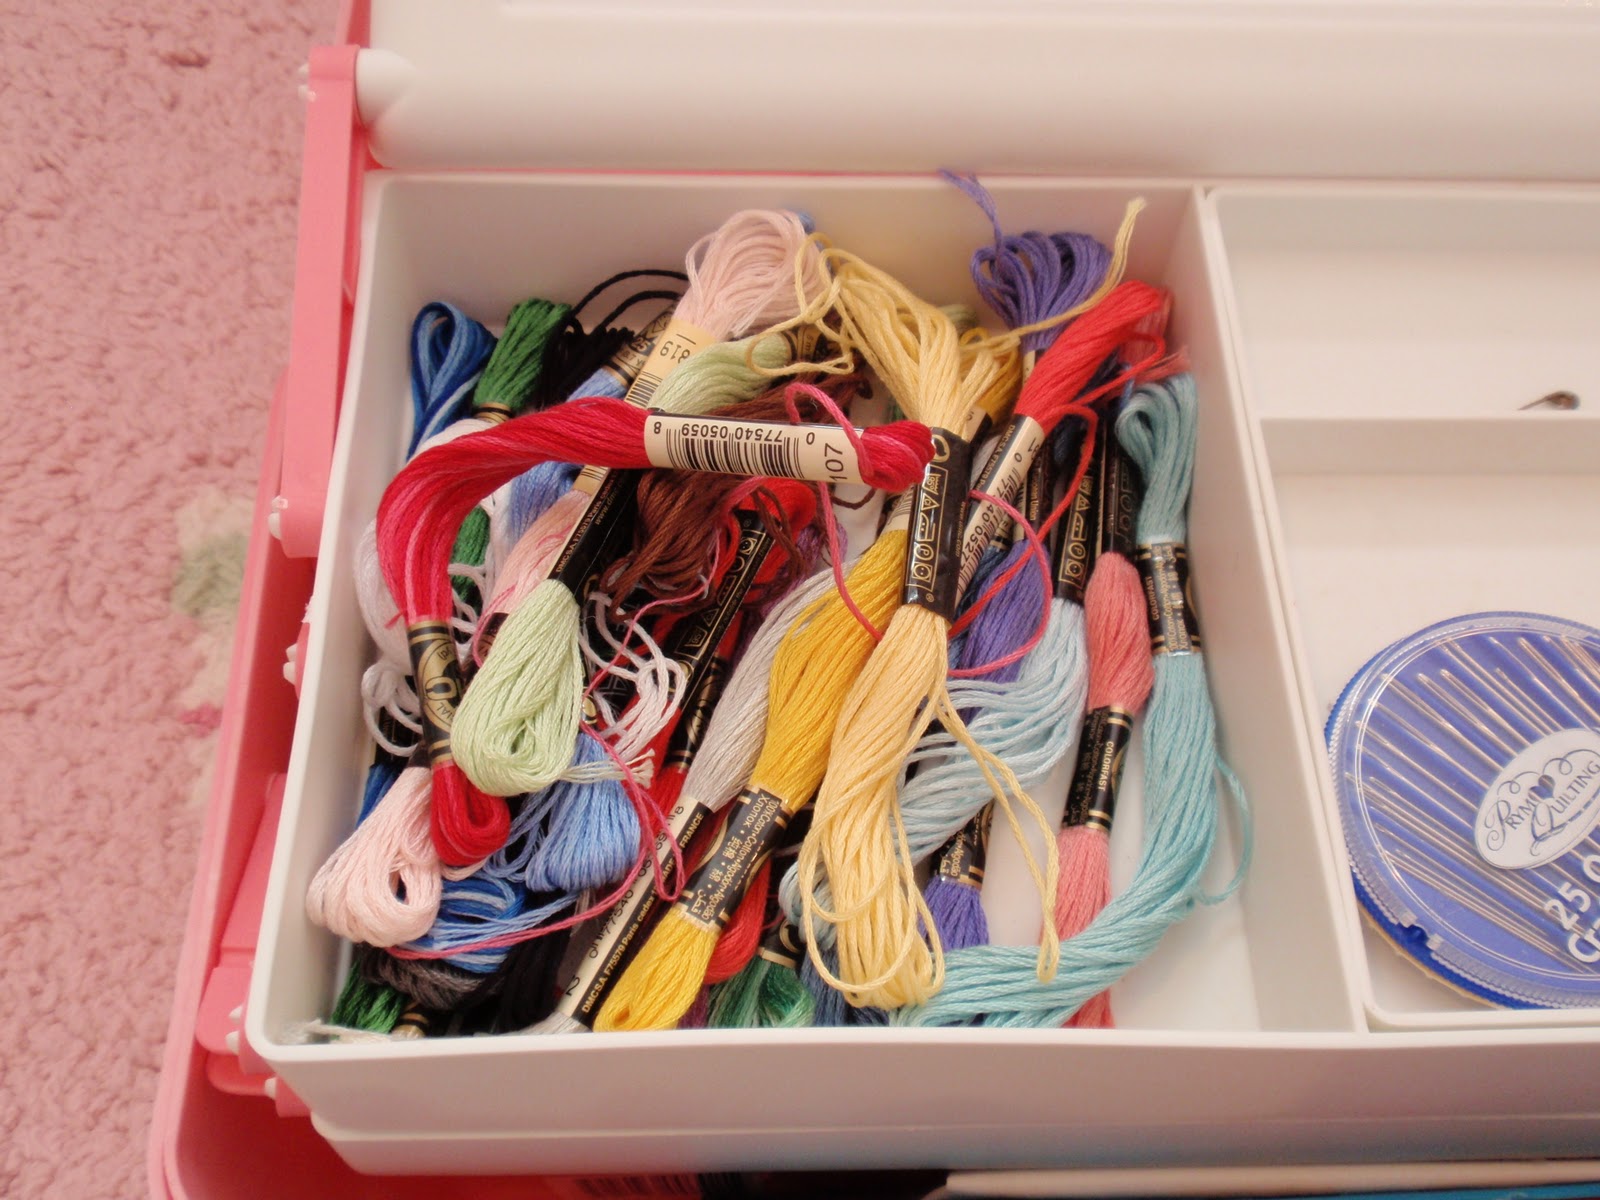
The new legs screwed on easily.  It is a perfect size sewing table.  
I am so excited to be able to have a real use for this table.  

 I debated for a few days whether or not I would paint the legs a different color or try to match the stain.  I was able to find the perfect stain match at Home Depot - Pecan Satin

...so I decided to stain the legs.  

Here is the Carolina Table all grown up.

I know so many of you must have these Pottery Barn tables.
When your kids or grandkids outgrow them, you now know that you can turn them into an adult-sized  table you can use.  

Total Cost - $40
4 table legs - $8.00 each
stain - $8.00

Now if I could only figure out a way to make the PB Kids Carolina chairs larger. :)

Can't wait to hear what you think.
-Judy
Pin It


Sharing with Between Naps on the Porch

Tuesday, July 26, 2011

New Fall Line Coming Out

I love Pottery Barn Kids.  I like to check out their website from time to time to see what's new.  Here's some of my favorites from their new fall line (I haven't seen the catalog yet - not sure it is even out yet for the fall).

Darcy Desk and Vanity - Image Pottery Barn Kids
Image from Pottery Barn Kids
I love everything in this room...from the walls to the rug to the bed.  
Image from Pottery Barn Kids
This is the new Darcy Caned bed.  Very pretty.  I also love the jumbo framed pinboard in the background...very hackable, right?
Image from Pottery Barn Kids
 These crystal prism knobs would transform any ordinary dresser into something gorgeous.
Stark concepts has teamed up with Pottery Barn Kids - I just love these new area rugs.  

Don't forget to stop by tonight at 8pm EST for my Sizzle into Summer party.  Hope to see you then.

-Judy


Tuesday, February 8, 2011

A Pottery Barn Knockoff

I love Pottery Barn Kids.  Their catalog is filled with so many fun things.  A great place to get inspiration for a crafting project.
Image from Pottery Barn Kids
I love these owl bookends.  I knew I could create these with fabric I already had in the house.
This is the bedskirt from my daughter's crib (she's almost 10 now).  I have always loved this fabric.  I have saved it and used it on a few projects for her room.
I started by drawing the outline of an owl on a piece of paper.  I just did it freehand and then tweaked it until it was just right.
After cutting out the owl shape out of the crib bedskirt fabric, I cut out the chest of the owl from a sheet of felt.  I have sheets and sheets of felt in all different colors.  I bought them when they were on sale for $0.15 each.
I then cut out the wings, eyes, nose etc out of more felt.

I cut out the eyes in layers of color.
Next it was time to embroider all of the pieces onto the owl.
First I embroidered the grey part of the eye to the green and beige.
I also embroidered on the chest, feathers, nose and eyes to the floral fabric owl.
When I cut out the pink wings, I cut out two per side.  I embroidered them together leaving an opening at the top to stuff them a little.
I couldn't find my stuffing, so I used a piece of batting I had and tore it apart a little.
With both wings stuffed, I laid the wings onto the owl, pinning them in place before sewing the back side of the owl on.  The right side of the picture is correct.  I don't know why the wing on the left is so far over in the picture.  It was moved to the edge before I sewed it.

With right sides of the owl together, I pinned the owl sides in place.
Using my sewing machine I sewed the owl together leaving the entire bottom section open.  Remember, it's going to be a bookend.
I needed to cut out an oval to serve as it's base.  I sewed this base all around the bottom of the owl leaving a small section...just enough to fit a funnel inside.  Why a funnel...because I will be stuffing Mr. Owl with white rice.  I needed something that would make him weighted.  Rice works for me.  But before filling him with rice, I stuffed his ears with some batting.  That way they would stay pointed.

I had to pour the rice in somewhat slowly to avoid the funnel getting clogged.
The finished product is too cute...don't you think?
Mr. Owl is a perfect addition to my daughter's bookcase.
The best part was that I had everything in the house already.  A tip if you're going to try this one...when you draw out your owl, make him a little wider at the bottom than you normally would.  Mine is a little thinner than I'd like, but still cute.

Let me know what you think of my version of Mr. Owl.  I always love and appreciate hearing from you.


Also, don't forget that I will be having my second blog party tomorrow.  The link will open up tonight at 8pm EST.  Last week was a great success.  I hope you will all join in for the fun.

-Judy
Related Posts Plugin for WordPress, Blogger...