This is a little table my father built as a Christmas Tree stand years before I was born.
When my husband and I first got married, we too used it as a Christmas Tree stand, for our very sad, Charlie Brown-like Christmas Tree. Since then, it's been sitting in my basement storage room collecting dust. I have been wanting to make an ottoman for a while, and this little stand was screaming to be made into an ottoman. So what was I waiting for...let's make an ottoman.
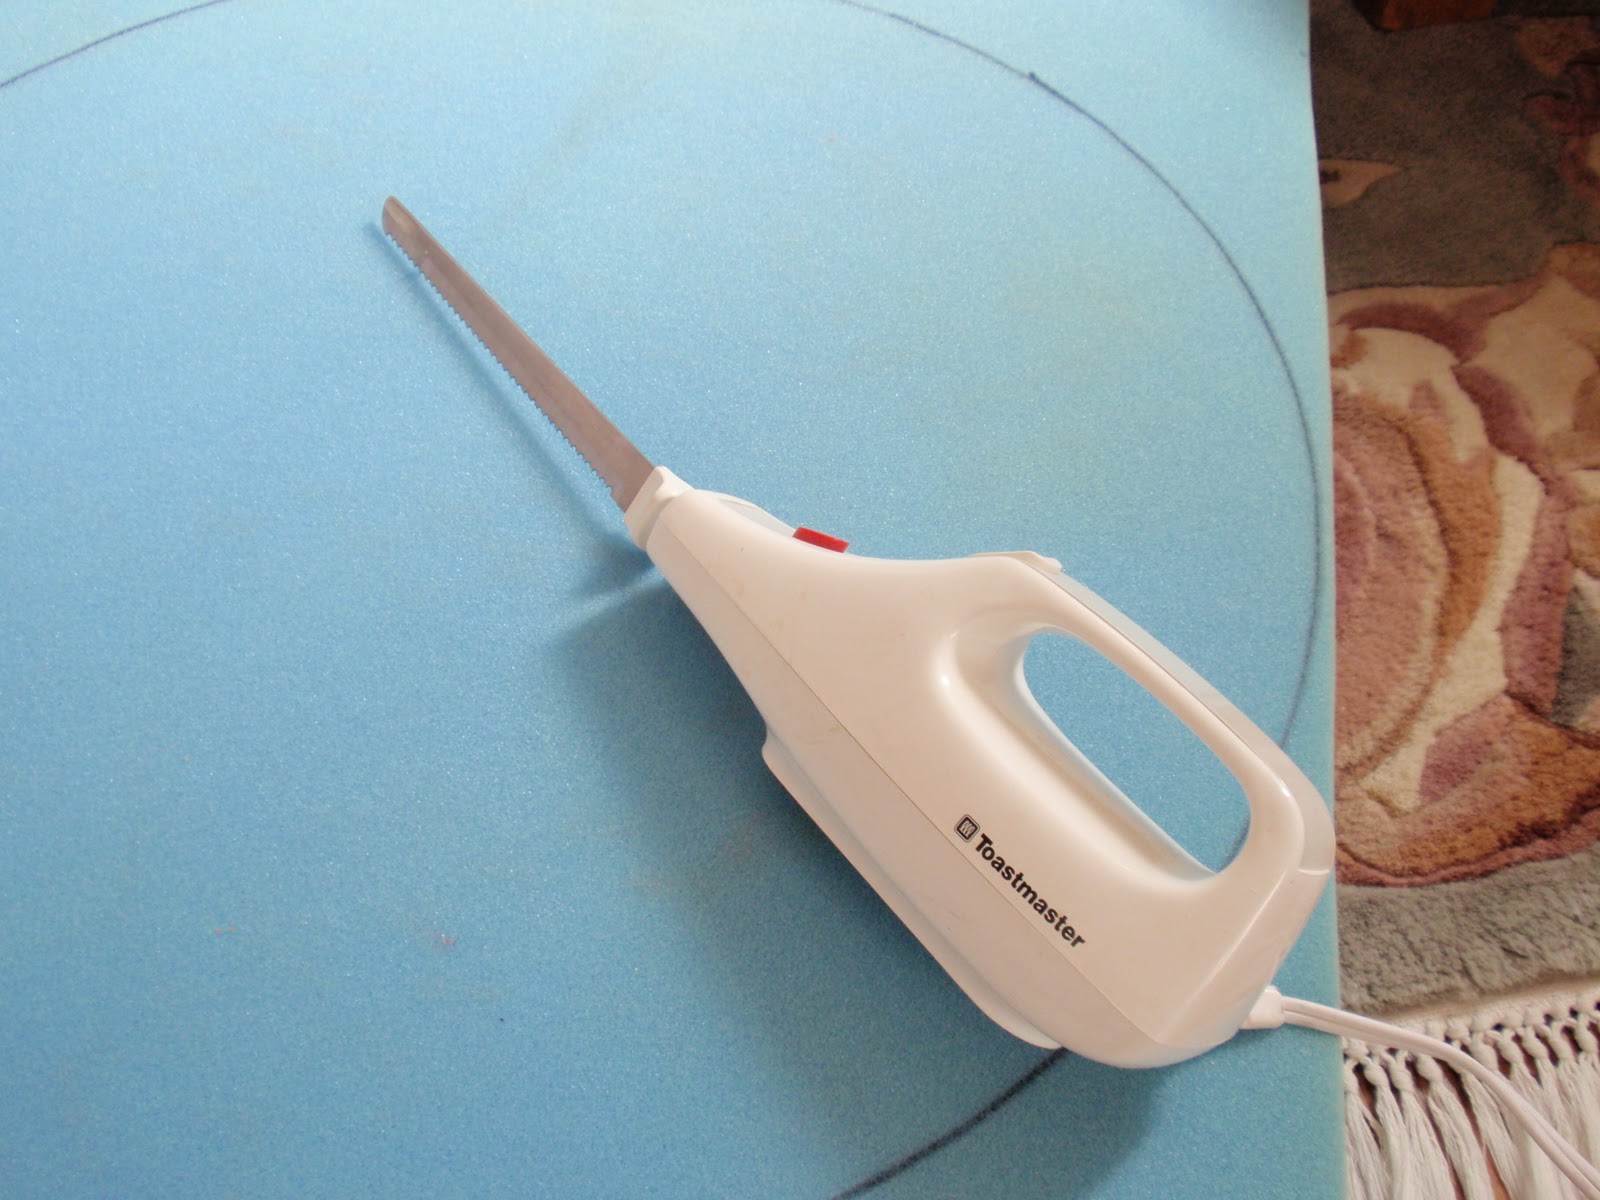
In the garage I had an old egg crate foam mattress cover. I traced the shape of the stand onto the foam.
Using an electric bread cutter, I cut out two circles out of the foam. So easy to cut foam this way...it cut like butter.
Interlocking the foam I laid it on top of the stand.
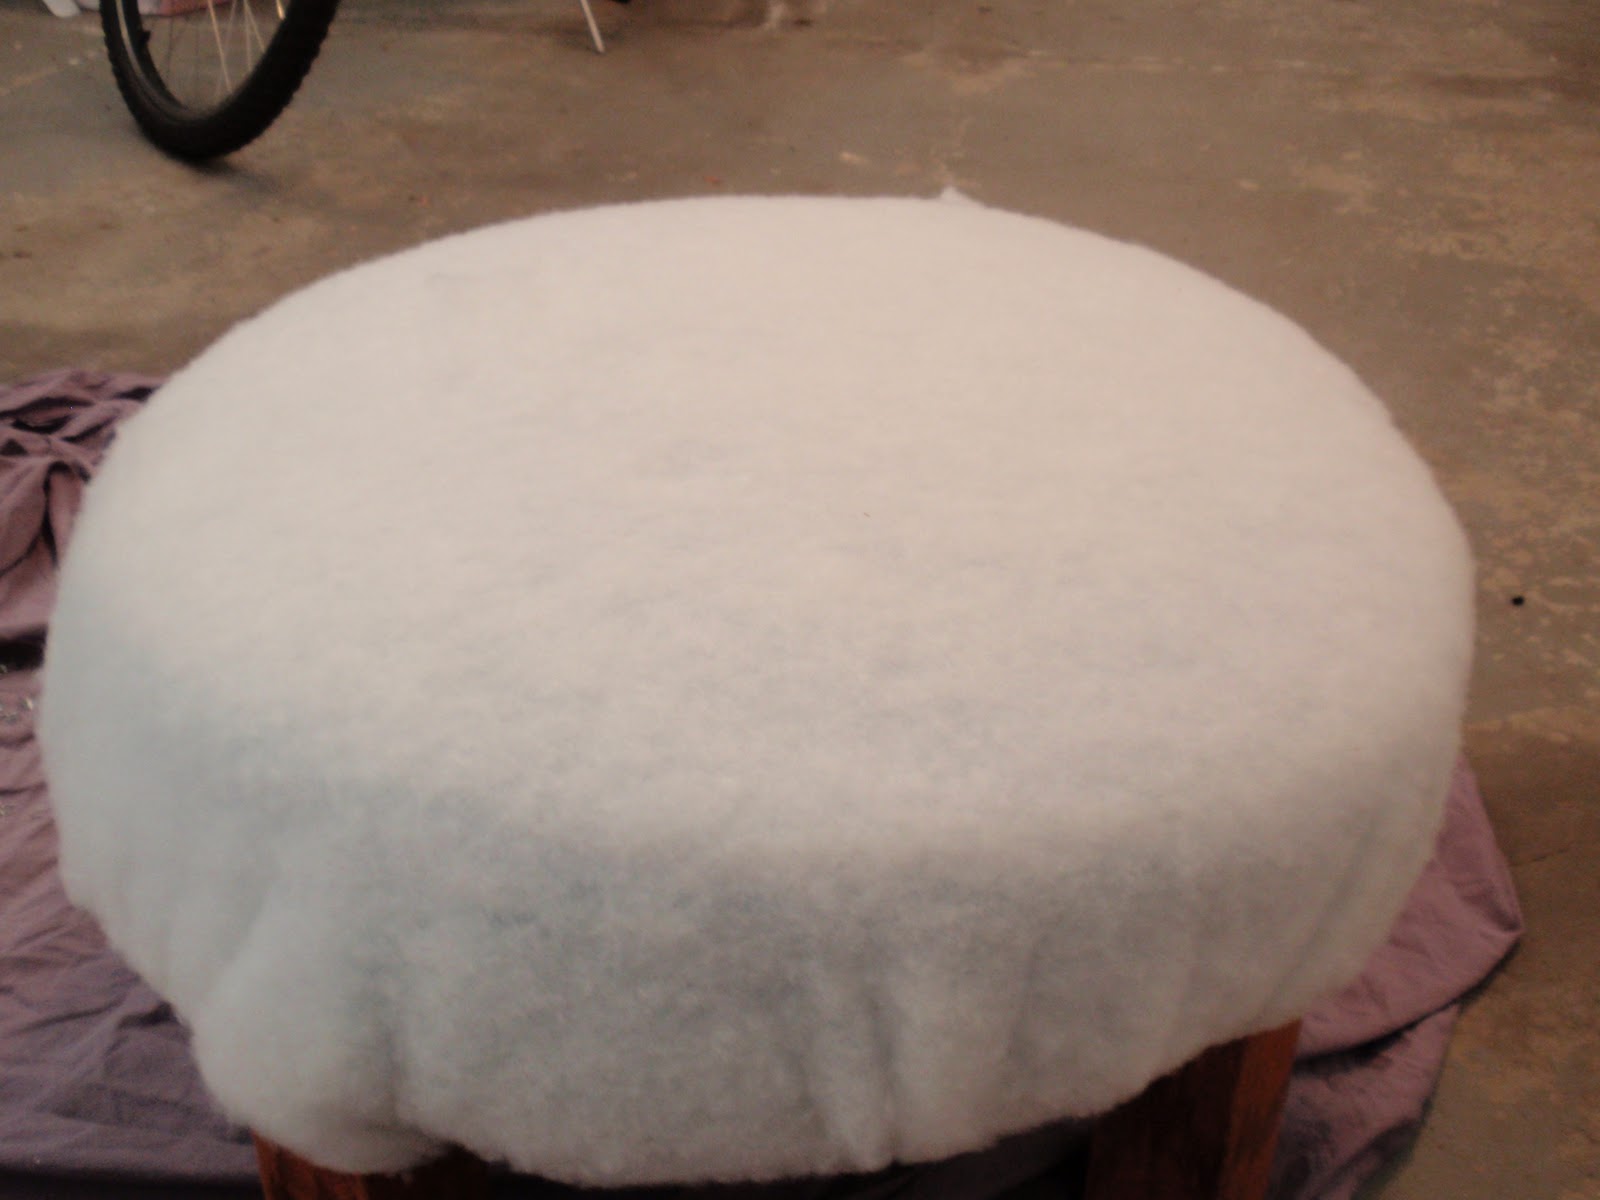
Next, I wrapped batting over the blue foam and around the stand and stapled it to the bottom of the stand.
The batting helped make the cushion more uniform around the edges. Because the foam was two pieces interlocking, the edges dipped in. This made it more like a solid piece of foam.
Using left-over fabric (I only had two yards left), I traced a circle on the wrong side of the fabric the circumference of the ottoman.
I then cut cording the length of the circumference of the circle. Using the zipper foot attachment on my sewing machine, I created welting out of the same fabric.
I then cut the sides and attached the two ends to make one continuous circle. I pinned the cording between the circle and the sides - right sides together. I then sewed all three layers together.
I slipped it over the top of the ottoman. Keep in mind, I only had two yards left of the fabric, so I couldn't make the welting by cutting the fabric on the bias. I think that's why it's not laying as flat as I would like it. Also, a smaller cording might have been easier to hide any flaws in the way it laid. All in all, I was happy that it fit so well...so it was time to work on the skirt.
I cut strips of fabric a little longer than the length I needed. I hemmed one edge. The other edge I folded over and using nail head trim, tacked the skirt, pleating it as I went along. I didn't measure my pleats, I just made it look good to the eye.
Here is the finished ottoman. I think it came out super cute.
Here is a close up of the pleated skirt. That turned out to be the easiest part.
Now it sits in front of the soaking tub in my master bathroom. I've always wanted an ottoman in my bathroom and now I have one. The best part is I had everything on hand already...so it didn't cost me anything.
Let me know what you think of my ottoman. I always love and appreciate your comments.
Don't forget to stop back tonight at 8pm EST when my Swing into Spring party opens up. Hope to see you then.
-Judy
passionately artistic


 This project has been featured at: