Pages

Showing posts with label Christmas 2013. Show all posts

Tuesday, December 24, 2013

The Kids Table - Christmas Treat Boxes

We host Christmas Eve, so I have been putting the finishing touches on everything getting ready for the big night.  To save time tomorrow, I set the kids table tonight.  The chocolate owl placecards from Thanksgiving were a big hit, so I wanted to do something with chocolate for Christmas as well.


I used my Silhouette machine and found this in their online shop.  I had double sided Christmas scrapbook paper I bought last year which worked perfectly.
After everything was cut out, I started assembling.
I made little chocolates and put them in little snack bags.  I was able to fit three in each box.
I then created this little tree for the centerpiece...
and put it under a cloche.  Everything looks a little more special under a cloche.
I used trays I bought at Pottery Barn Kids years ago since we only have five kids at the kids table this year.  We are having my son sit at the adult table this Christmas Eve.  He was wondering if there was any type of initiation ceremony we planned for him since it was his first year sitting there.  Maybe I should come up with one.  Lol

Hope you all have a wonderful Christmas and holiday season.

-Judy

Pin It

Monday, December 16, 2013

Christmas in the Dining Room 2013

Welcome to my dining room all ready for Christmas Eve.  


This is the only time of the year that I actually almost like the paint color on the wall.  The rest of the year I try to figure out what color I can re-paint it.  


This year I decided to go with a traditional red and white tablescape.  The runner is from Pottery Barn a year or so ago.  
The red berry topiaries were used on my mantel for years, but this year I changed it up and so these were available in the dining room.  I placed them on mirrored bases.  Everything looks a little more glamorous on a mirror.  The candelabra is from Home Goods.  

One of my favorite things is my new "Family and Friends" napkin rings.  They are antique silver and remind me of something that has been passed along through generations.  They were on sale and I had a rewards certificate so they actually cost me very little.  
I still love my china pattern after all these years.  It's Lenox Hancock.  The plates on top are from Pottery Barn last year...The Twelve Days of Christmas.  Having twelve in the main dining room makes these an easy choice for Christmas.  We do the traditional Italian feast of the seven fishes on Christmas Eve and these plates will be used for one of the first courses.  I wanted to add color with the napkins, but didn't really want to go and buy linen napkins, so instead I used paper.  One less thing to wash and they actually look fine.  It's like mixing high and low when you get dressed.  It makes the cheap thing look way better when you mix it with something expensive.  

Can't wait to hear what you think of my dining room.
Are you almost ready for Christmas?  
I have a few more things to pick up, and much wrapping to do, but I'm getting close.


-Judy

Pin It

Friday, December 13, 2013

Christmas Tree and Staircase

I wanted to share my Christmas tree and staircase in my front entry today. 
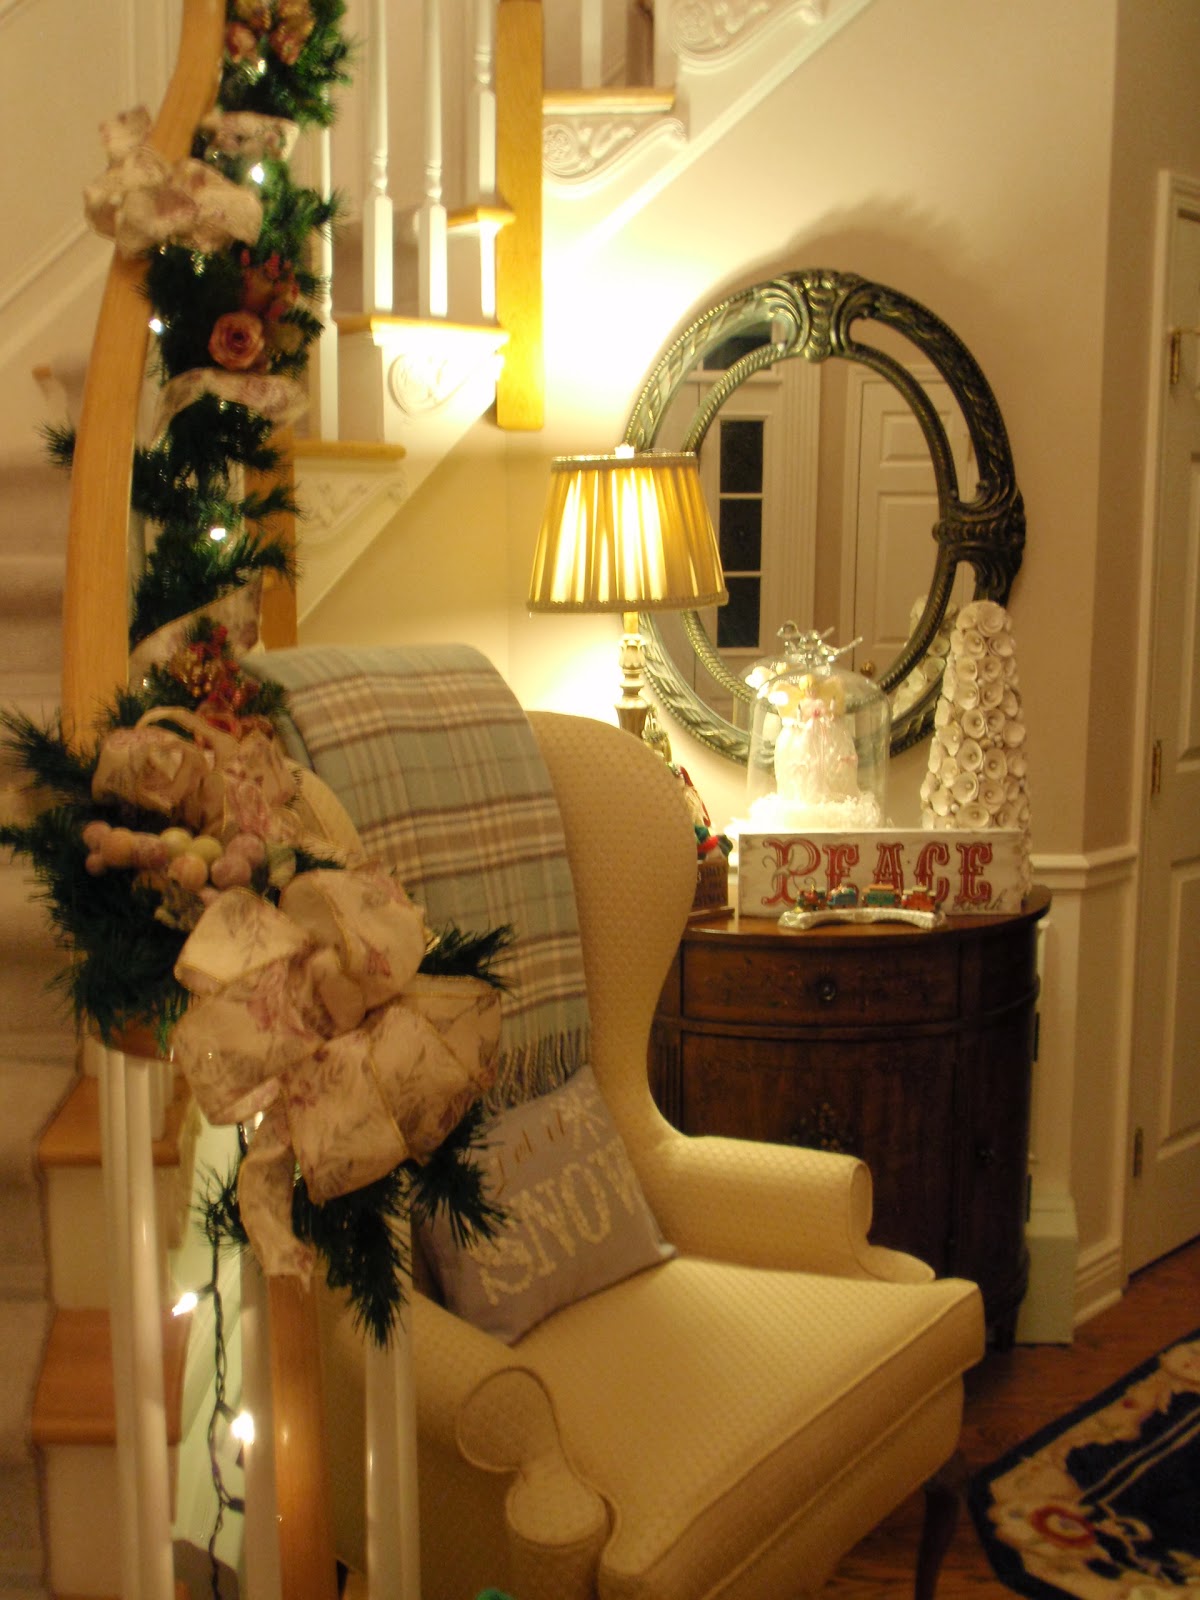
One of my favorite new things this year is the Let It Snow pillow I bought from Pottery Barn.

My original plan was to do a copy cat project for this pillow.  However, when I went to buy buttons, I found out that it would cost almost as much to make this pillow as it was to buy it from Pottery Barn.   So when I saw that the pillow had gone on sale, I grabbed it.  Who knew buttons were so expensive?
I added a plaid wool throw onto the back of the chair, also from Pottery Barn.  It really gives that cozy, warm winter feeling to the entry.
The garland on the railing has white lights strung throughout.
Intertwined are roses and berries and ribbon.
I have bows throughout as well.  These bows I made.  You can check out how easy it is to make a bow here.  

Finally our Christmas tree.  It stands almost ten feet in our great room.
The tree is wrapped in ribbons and bows as well and is filled with ornaments which we have been collecting for years.  Each year when we vacation, we always pick up an ornament.  

Have a great weekend.

-Judy

Pin It

Monday, December 9, 2013

DIY Christmas Stocking Tutorial - A JoAnn Celebrate the Season Project

I have thoroughly enjoyed being a part of the JoAnn Craft Store celebrate the season challenge.  
As soon as I was asked months ago to participate, I knew exactly what I wanted to create for the Christmas season...new DIY Christmas stockings.  
This project is so much easier than you would think.  
If you can sew a straight line, you can make these stockings.  
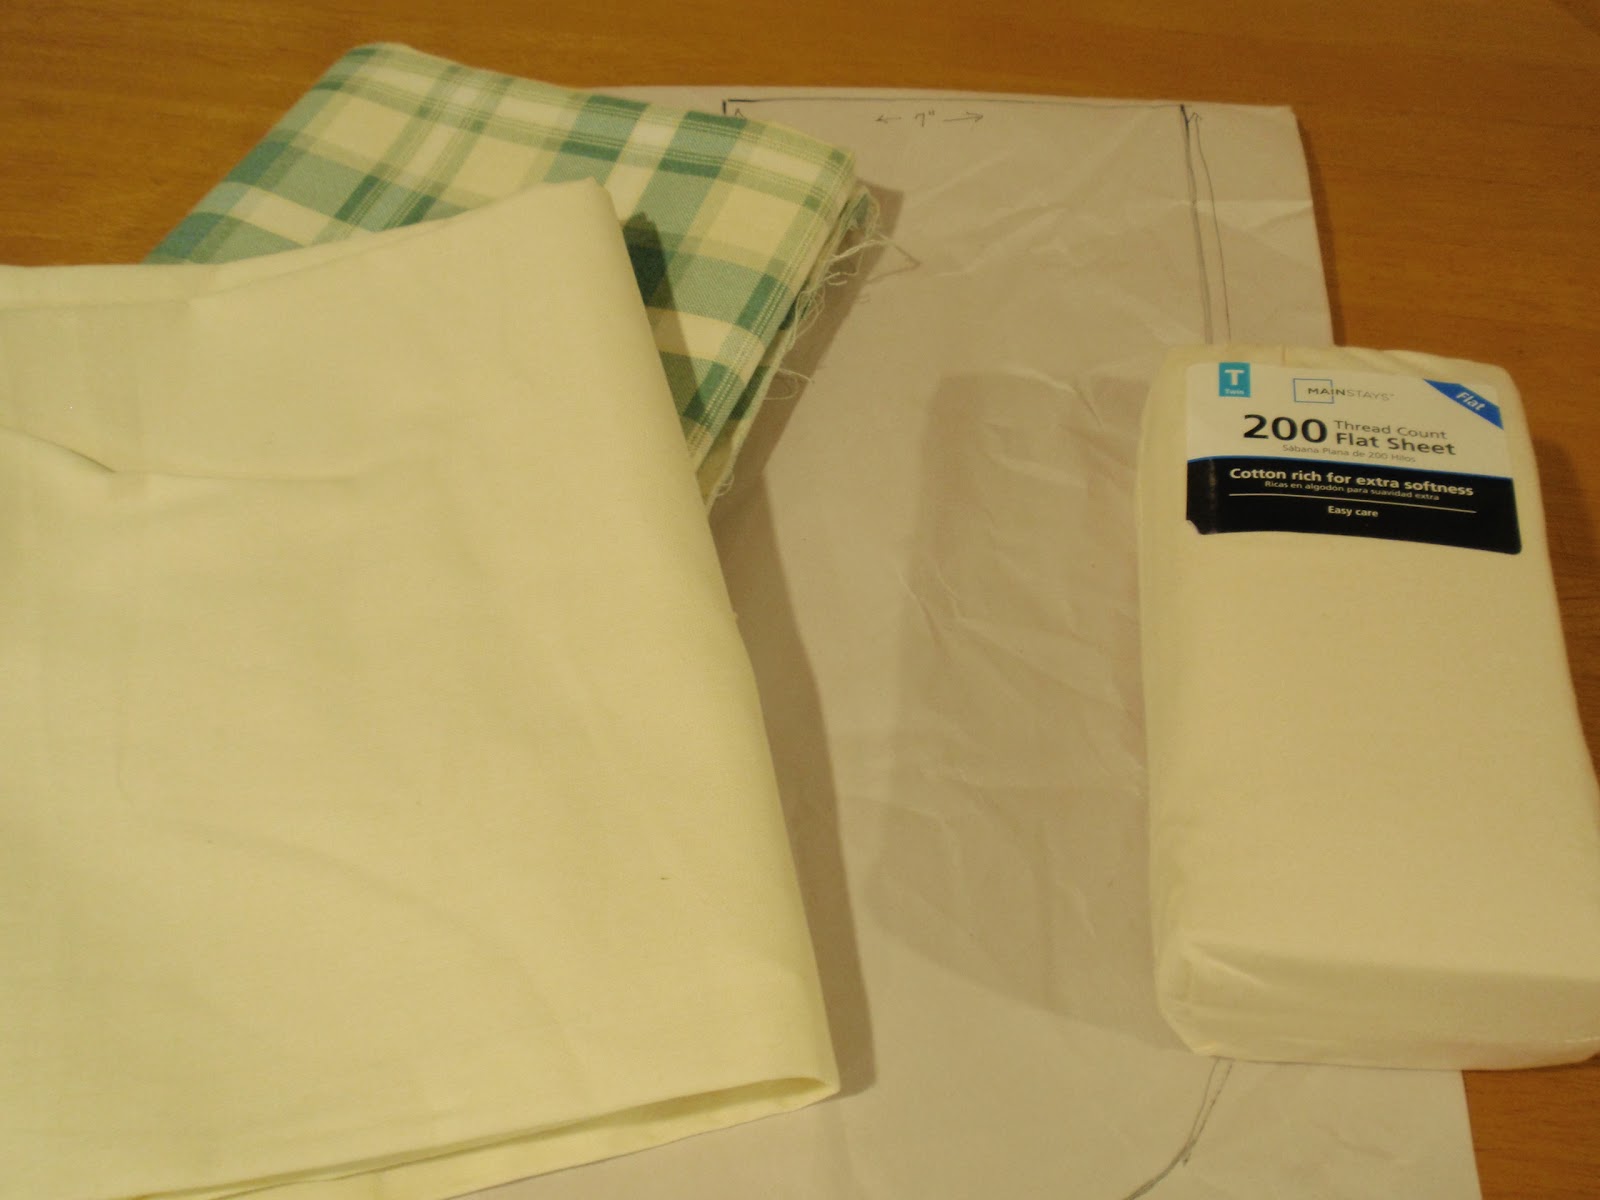
First things first, I gathered my supplies.  I went to JoAnn Fabric and Craft store and picked out this beautiful plaid fabric and a coordinating cream fabric.  I also picked out beautiful trim to match.  Joann's has some of the most beautiful fabric and trims to choose from.  To line the stockings I decided to use a flat sheet I had purchased at Walmart some time ago but had never used.  Flat sheets are a great way to line projects, including drapes.  I created a pattern on large paper (which was used to wrap my dishes I bought for Thanksgiving from Bed Bath and Beyond).  I used my old Pottery Barn stockings as a guide and traced around it onto my paper.  The stocking pattern measured 9" across the top and 15" to the heel of the stocking.  I also made a pattern for the cuff which measured 10" x 16".
I cut two stockings from my fabric and two from my lining fabric and one from my coordinating fabric for the cuff.

Then I started layering...lining first, then plaid stocking face up, then plaid stocking face down and then lining fabric again.  Then I sewed around the stocking leaving the top open.
Next I cut a piece of coordinating ribbon and pinned it to the lining only of my stocking.
For the cuff, I folded my fabric lengthwise, right sides together and sewed a seam.  I then unfolded my fabric and folded it this time width wise (to form the 5" cuff).  Next I slipped the cuff over the stocking as shown above.  Be sure to keep the seam either on the side or as shown so that it does not end up on the front of the stocking.  Carefully pin the cuff at the top of the stocking to a layer of lining and stocking fabric all the way around.
I picked a pretty flat trim to add to the edges of my stocking cuff.  I love using this fabric glue...it grabs super fast and has always worked well for me.  I started in the back and glued the trim all the way around, ending it on the seam in the back.
It was that easy.  The first stocking took me about an hour, just because I was trying to make sure I liked the size, etc.  The next three took less than a half hour total to complete.
Finally, hang your stockings by the chimney with care...and hope that St. Nicholas soon will be there.

Can't wait to hear what you think of my #fabulouslyfestive stockings.

To check out more holiday craft ideas, you can go to Joann Celebrate the Season.

Also, be sure to stop back tomorrow.  I have a very special giveaway planned.
Hope to see you then.

-Judy

Pin It

Disclaimer:  I was given a gift card to JoAnn's to purchase my supplies, however, the opinions I have expressed are entirely my own.

Sharing with Savvy Southern Style

Sunday, December 8, 2013

DIY Christmas Tree Using Eco-friendly Glue

I love doing DIY projects anytime of the year, but especially at Christmas time.  The possibilities are endless.  Usually my glue gun is my best friend with the projects I create. Glue guns are often a pain to work with, literally, with the risk of burning my finger (something I do often when using my glue gun).
I wanted to create a couple of DIY Christmas trees for my mantel this year.
Instead of using my regular glue, I tried Glu6.  This is the coolest glue ever.  It is an eco-friendly glue made 100% from recycled styrofoam.  This non-toxic glue is perfect for DIY projects, arts/crafts, school projects and even home repair.  
For this project, I bought two cardboard cones from my local craft store and Christmas wrapping paper from Home Goods.  Using my new eco-friendly glue, I simply cut paper to size and glued it onto the cardboard cone.  The glue held immediately and was super easy to work with.  It also has no odor which is a total plus.  For the bottom of the cone, I wrapped the paper around and added more glue to adhere it.  
I used brass candlestick holders I had as the base of my Christmas trees.  I simply placed the cones on top of the candle stick.  Nothing could be easier than that.
My Christmas trees make a great addition to my Christmas mantel.  

If you want to try this awesome glue, you can buy it here.  
For a limited time, you can get 30% off of the Glu6 combo pack.  
I love that I am doing something good for the environment as well as it being a great product.


-Judy

Pin It

Disclaimer:  I was sent Glu6 to review, however, the opinions I have expressed are entirely my own.

Thursday, December 5, 2013

Rockefeller Center Tree Lighting

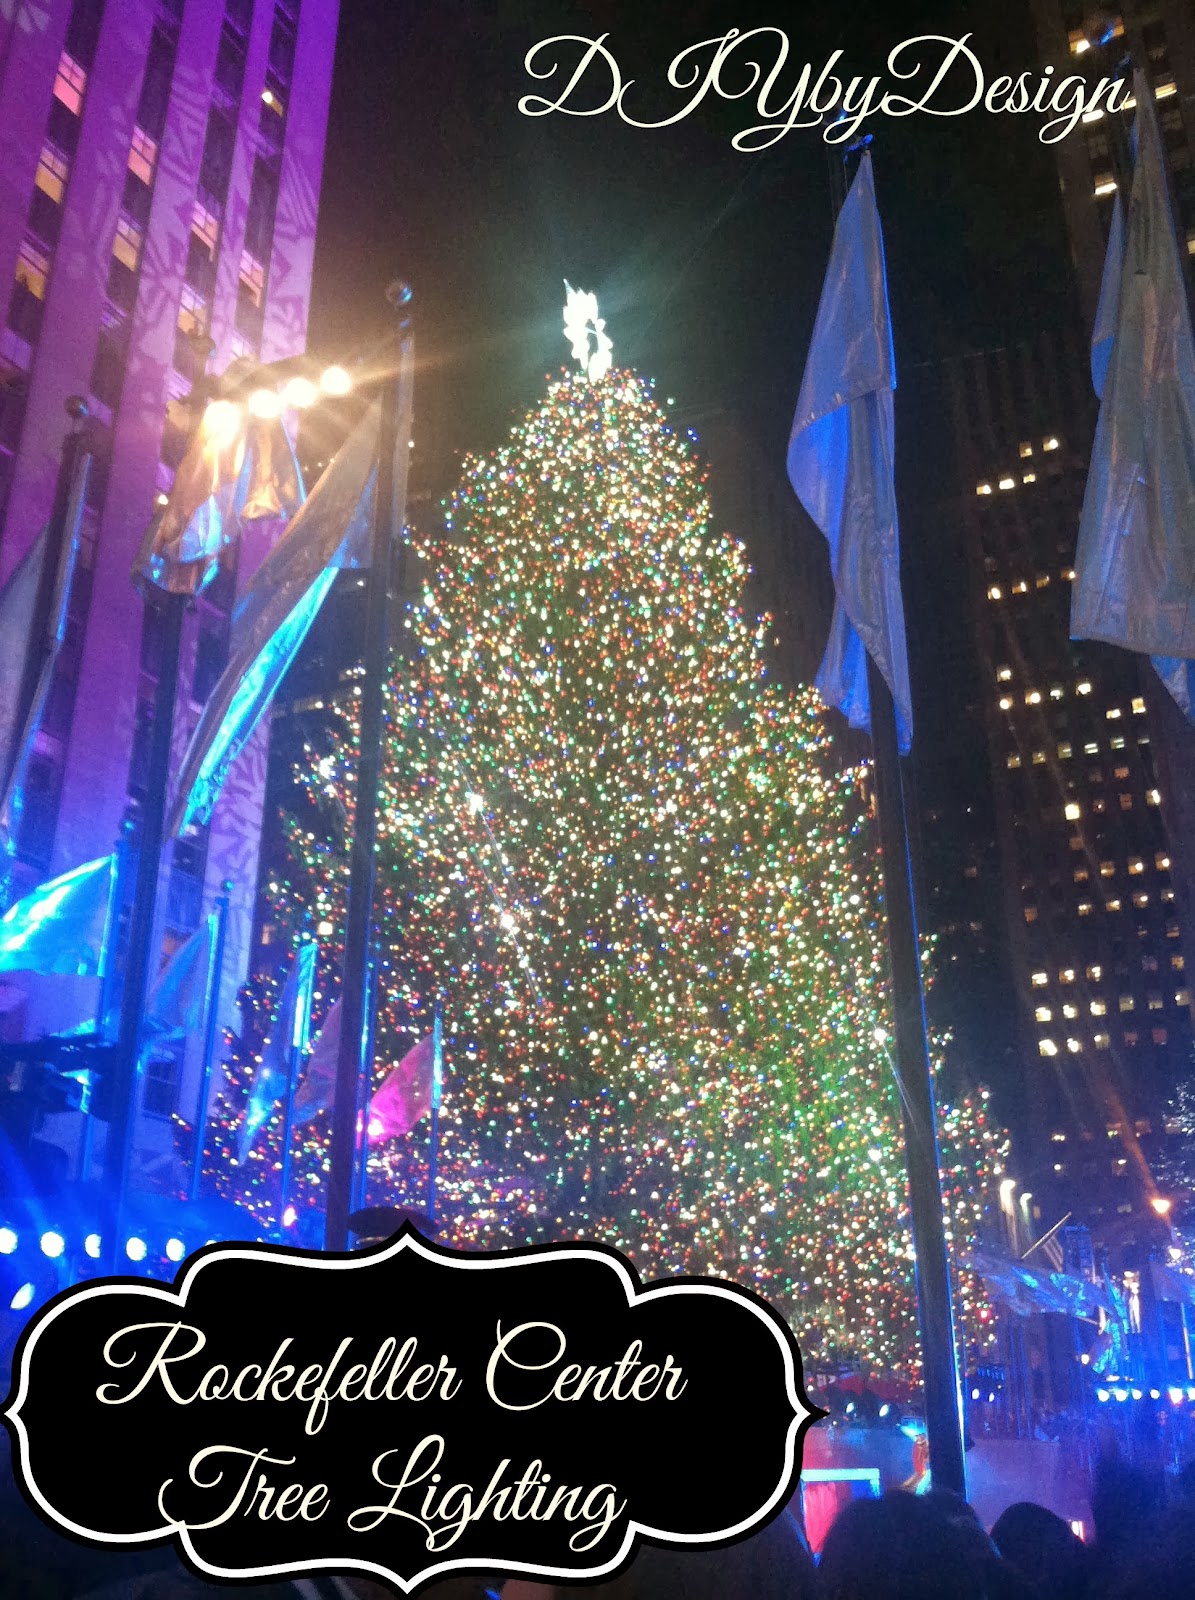
Last night was one of the biggest parties of the year!  Most of the time I take for granted living so close to New York City.  My husband works in the city, so we don't go in that often on the weekends.  This time of year there is so much going on in Manhattan.  New York is full of holiday traditions.  The lighting of the Rockefeller Center tree is amongst the biggest.

We were invited to one of the best parties of the year last night.
I just love a VIP pass.  We were able to walk in a secret back entrance into Rockefeller Center, past huge crowds, and the party was held in the restaurant that lead directly onto the Rockefeller Center ice skating rink.  
It was 50 degrees last night, so it was an absolutely perfect night for the tree lighting.  We had access to anywhere we wanted to stand.  We walked up the stairs to get a great view for when the actually lit the tree at 9pm.  

Plus we were trying to be strategic in our positioning, since this is the crowd we were going to have to get through after the lighting was over.  
It really was a magical night and made me happy to be a New Yorker.

Look at the gorgeous favor we received at the end of the evening!
We got one each.  What a gorgeous addition to our own Christmas tree.

Did anyone watch the Rockefeller Center Tree lighting on television last night?


-Judy

Pin It
Related Posts Plugin for WordPress, Blogger...