Pages

Tuesday, June 25, 2013

DIY Glass Bead Candle Holder - Guest Post Uniquely Undone

I'd like to welcome Kate from Uniquely Undone today.  Enjoy!

I saw a really cute project from Dollar Tree and was motivated to try this myself!!! Not only is it easy as pie, but it's really cute and looks lovely at night!!

My supply list:

  • colored glass stones (one bag per candle jar)
  • clear glass candle jar
  • glue gun
  • patience


Idumped out the stones and sorted them by color to make it easier to keep a pattern going. 

Sorting made it easier to place the darkest blue pieces
twice in one row since they were the least abundant!
These weren't necessary to sort,
since there were only three colors.


Then, I began gluing! The oblong stones were placed horizontally and vertically in whatever manner I could fit them!!


The round stones were easier to place in a row with two dark blue stones per row. There was a tight squeeze at the end of a row, and I had to overlap a stone...but on the finished product, you've never even know it wasn't a super snug fit!!


If you've ever worked with a glue gun before, you'll be well aware of the "stringage" you get!! These strings were easily pulled right off, so don't panic!!


Also, I came across a few misplaced stones, and was pleasantly surprised at how nicely the dried glue peeled right off of the stone.


And here are the finished products!! Cute as can be!!


 post signature

Check out my other DIY crafts here!!


DON'T FORGET TO STOP BACK TONIGHT AT 8PM EST 

FOR MY SIZZLE INTO SUMMER PARTY

Hope to see you then!
-Judy

Monday, June 24, 2013

Decorating a Front Porch - Guest Post with Little Brags

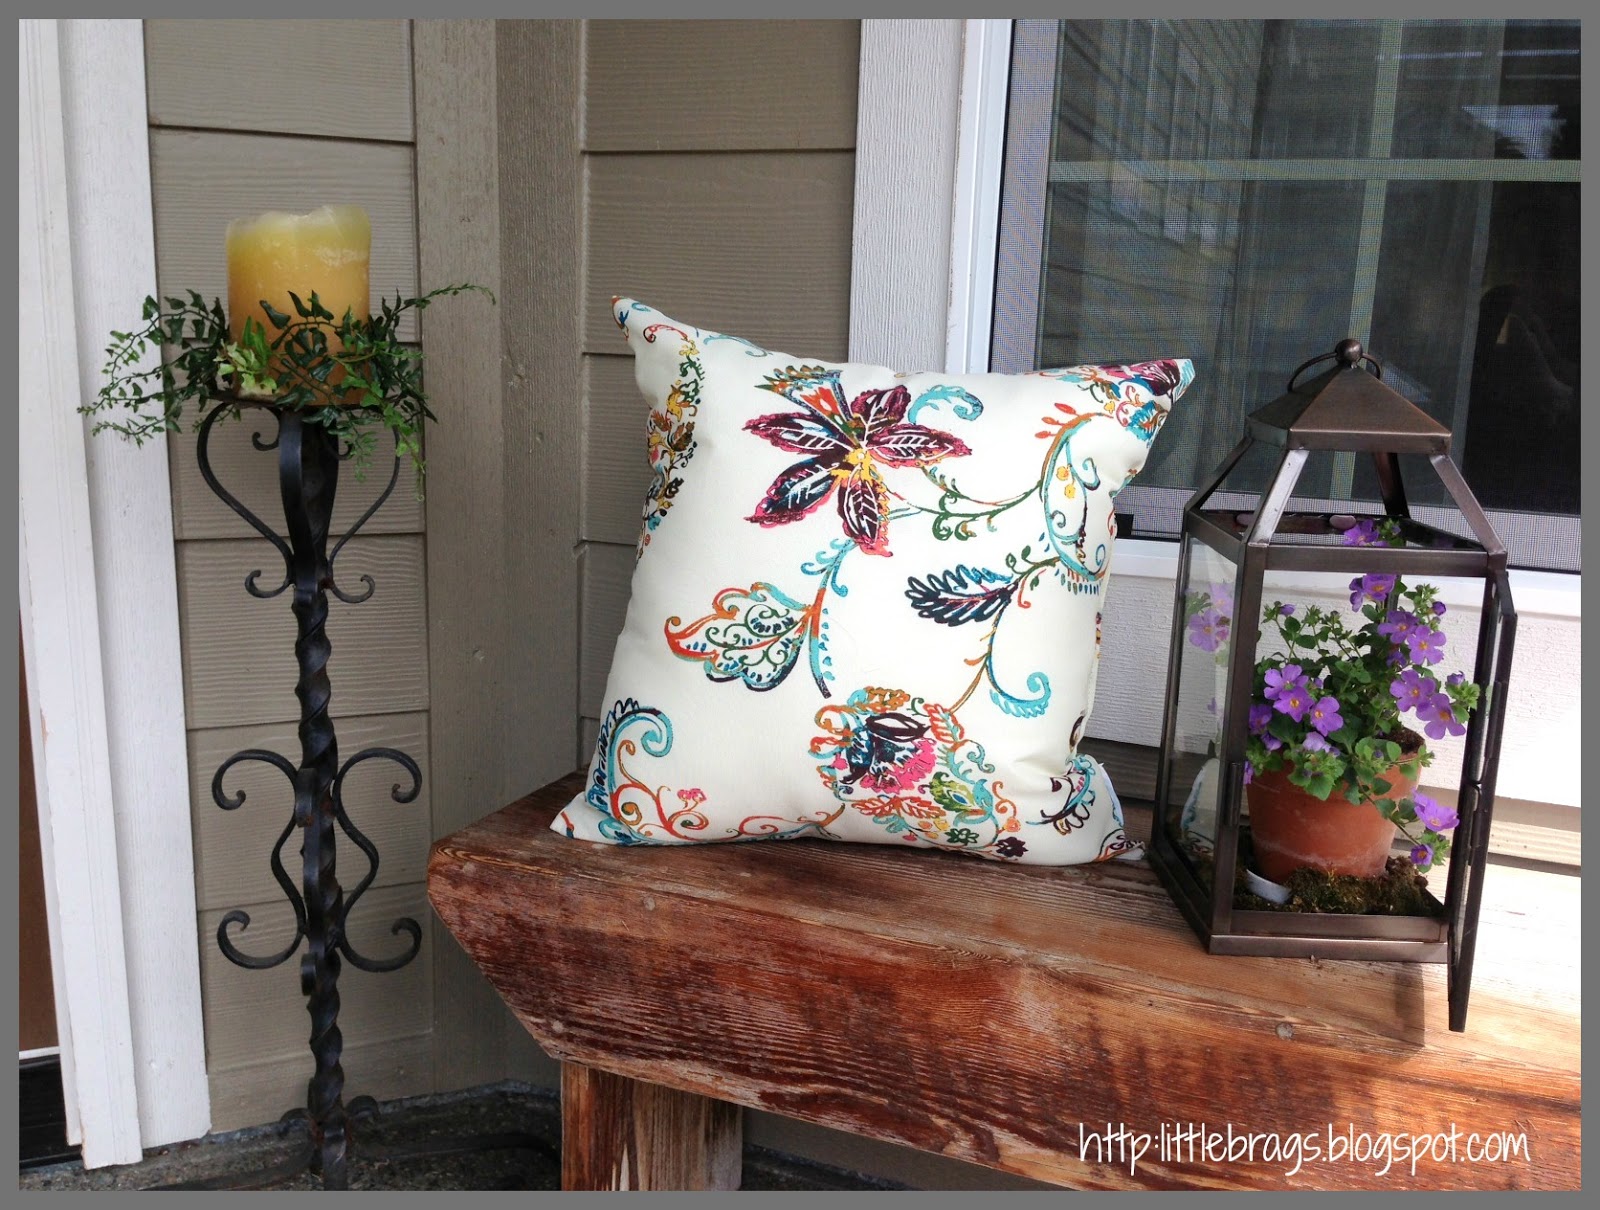
 Hello to all of you "DIY By Design" readers! My name is Christine and I have a Blog called "LITTLE BRAGS". First of all I want to thank Judy for having me. I have been blogging for only a few month now and this is my first guest post (needless to say I am a bit nervous). I decided to share my Front Porch with you today. It seems to me that this time of year everyone itches to get outdoors to spruce up things. So hopefully I can inspire you a bit. I would be thrilled if you come over for a visit.

Hello Everyone, I've been busy pressure washing my front this weekend. I also hung up a Lantern with rope on my front arch.
 
Here is the whole picture
I also bought some new outdoor pillows at World Market to freshen things up for the Spring-Summer, here is their link http://www.worldmarket.com/
It's nice to freshen things up
 especially when it's all clean after pressure washing
 
I also got some new flowers, the spring tulips and daffodils were all done blooming and got put in the dirt for next year


These potatoe/onion baskets are too large for my pantry, so I found a new use for them
        Here is the front door
 Many of you have already seen these old shoe parking crates from a previous post, sorry for the repeat
 
 And I saved the best picture for last....here is our Newfoundland Bruce taking a snooze with his buddy Bugsy this afternoon....zzzzzzzzzzzz 
 Aren't they adorable?????
 Enjoy the rest of your Sunday Peeps

 Like Me On Facebook Little Brags on Facebook

Follow Me On Pinterest http://pinterest.com/christinevd/

Follow Me On Google Friend Connect Google Friend Connect 

Thank you Christine for sharing your beautiful front porch.


Friday, June 21, 2013

Hawaii Here We Come

By the time you are reading this we should be on our way to Hawaii.  

I have guest posts all lined up for the next two weeks so be sure to stop by each day to check those out.

Don't forget to stop back and join in my Sizzle into Summer party each Tuesday at 8pm EST.

I will be checking via Facebook, Twitter and Instagram while away. 
 Hope you will stop by and say hi there too.

-Judy


Thursday, June 20, 2013

iPad Pillow Tutorial

I made this a while ago, but it has been one of my most popular posts, so I thought today would be a good day to share it again.  It's a quick and easy project and used in our house on a daily basis. Both of my kids have the iPad 2.  It has turned out to be one of the best things we have ever bought them.  They literally use it everyday for so many different things.  My daughter uses hers each and every night often while laying in bed.  She is always trying to find a comfortable way to hold her iPad.  It got me thinking that it would be good if she had a something that she could have on her lap...sort of like a lap desk.  Here's a pillow I made just for her iPad :
Here's how I did it...
I found these mini fabric packages and ribbon at AC Moore.
Using a 12"x16" pillow form I already had, I measured to make an envelope pillow.

I didn't feel like taking out the iron and ironing board, so instead I plugged in my flat iron and ironed out the creases in the fabric.  It's a trick I often use.  It heats up quickly and really works.
I cut the peace sign fabric to 12 1/2" x 16 1/2" (which leaves a 1/4" seam allowance all around).  I laid the cut peace sign fabric over the pillow form.  Then using the iPad as my guide, 
I pinned ribbon to all four corners.
This will be what keeps the iPad in place on the pillow.  Then I sewed the ribbon to the length of the pin, making sure I left enough open space to fit the iPad under once sewed.
Then for added interest, I added a coordinating ribbon that I adhered using fabric glue.  I then cut the edges of the green ribbon on an angle (not shown in this photo).

I then cut two lengths of pink fabric - each 16 1/2" x 9".  Again using my flat iron, 
I ironed a hem on each length and used fabric glue to adhere it. 
I then pinned the fabric, right sides together and sewed around all four sides on my sewing machine.
I then placed my pillow form inside.
I then placed the iPad under each of the four blue ribbon corners.
The only thing left was for my daughter to enjoy her new iPad pillow.
Now I just have to find some fun fabrics to make one for my son too!!

I can't wait to hear what you think.  I always love and appreciate your comments.


-Judy
Pin It

Wednesday, June 19, 2013

Sizzle into Summer - It's a Party # 122

Welcome to this week's Sizzle into Summer party.  Although summer doesn't officially begin for a few more days, it's time that it began here at DIYbyDesign.  The weather is finally summer-like here in New York and school is winding down and vacation is only a few days a way.
Last week's party was filled with so many awesome ideas and inspiration.  
Here are this week's features:

HOME DECOR:
Lilikoi Joy  revealed their new master bedroom makeover.  I am in love with this entire bedroom.  You must stop by and check out all of the before and after photos.  It's not to be missed.  Stunning!

Common Ground  shared her gorgeous garden wheelbarrow tablescape.  She was inspired by a picture in a magazine, but her creation is even more beautiful.

FURNITURE TRANSFORMATIONS:
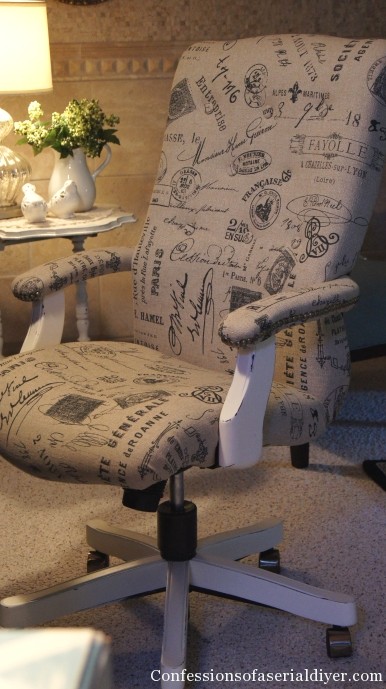
Confessions of a Serial DIYer transformed a thrift store office chair into this beauty.  I love the fabric and the nail head detail on the arms.  Awesome makeover!
House of 34 transformed a rocker she found at an antique show into this beauty.  She shares step by step how she reupholstered it.

CRAFTY CREATIONS:
The Old Post Road shared a tutorial on how to create a dorm room headboard.  Great step by step tutorial for anyone with college-bound kids.
Design Dreams by Anne  shared a tutorial on how to create a potting bench.  Love it!

TASTY TREATS:
Sara Howe shares her recipe for a pina colada protein smoothie.  Yummy!
Jodie Fitz shared her recipe for snickers ice cream pie.  I have got to try this!


If you were featured, please grab an "I've Been Featured" button (you can now find my buttons by clicking on the buttons tab right under my header).  Now let's get started with this week's party.  I can't wait to see what you have been up to.  Link up anything you have been working on...home decor, sewing, crafts, organizing, baking, recipes etc.   I will keep this link open through Friday.


A few rules:
1.  Please become a follower (if you already follow me on Google, I would love for you to follow me on Linky Followers as well).  

2.  Please grab my party button above and display it either on your sidebar or somewhere in your post.  This way word can spread about the party.  The more people at the party, the more fun we will have.

3.  Please enter the link to your actual post, not just a link to your main blog page.

4. Please visit others who have linked up.   Everyone works hard on their projects and blogs...let's show each other some love by visiting each other.  Let's have some fun and hopefully make a few new friends along the way.

Ok...Let's Party

-Judy

Related Posts Plugin for WordPress, Blogger...