Pages

Wednesday, December 21, 2011

Fall into Fall - It's a Party #44

Welcome to this week's Fall into Fall party.  I am so excited to see what you have all been up to.  Last week's party was filled with awesome inspiration and ideas.  Here are this week's features:
After I saw this post done by a wee Meenit, I know exactly what I am going to do with my daughter's skates that don't fit her anymore.  This is such a beautiful alternative to a wreath.
This is a very clever idea from Mom on Timeout.  She changed out her existing gallery wall by wrapping each of the frames like a gift.  Awesome idea!!
I hope you will all take a moment to stop by and read the story by Antique Chase of how she came to own this gorgeous armoire.  It's a love story...very cleverly written.
Do you know I crochet?  I only seem to crochet in the winter and since it's getting cold outside, my crochet needle is back out.  Love this shrug that California Dreaming created.  
I think I will be trying this.
Love this Santa photo over music.  Hope you will stop by and see how Larissa Hill Designs created this beautiful artwork.

If you were featured, please grab an "I've Been Featured" button (you can now find my buttons by clicking on the buttons tab right under my header).  Now let's get started with this week's party.  I can't wait to see what you have been up to.  Link up anything you have been working on...home decor, sewing, crafts, organizing, baking, recipes etc.     I will keep this link open through Friday.


A few rules:
1.  Please become a follower.  

2.  Please grab my party button above and display it either on your sidebar or somewhere in your post.  This way word can spread about the party.  The more people at the party, the more fun we will have.

3.  Please enter the link to your actual post, not just a link to your main blog page.

4. Please visit others who have linked up.   Everyone works hard on their projects and blogs...let's show each other some love by visiting each other.  Let's have some fun and hopefully make a few new friends along the way.

Ok...Let's Party

--Judy

Tuesday, December 20, 2011

Bringing a Little JOY to the Kitchen

With Christmas just days away, I wanted to add a bit of joy to my kitchen.
Literally...
I bought these oversized letters from JoAnn's.  They were on sale for $1.99 each.  Using Christmas scrapbook paper, I laid each letter upside down on the backside of the paper and cut around the letter with an exacto knife.  Then I used mod podge to adhere it to the front only. 
I used gold paint and painted the sides and back of each letter.  I intentionally decoupaged the front first so that if any gold got on the edges, it would just add to the final effect.
Last, I applied the lightest coat of mod podge to the top of the letters 
and then sprinkled gold glitter on each letter.
I added my JOY to the top of the refrigerator in the kitchen.
This project took less than fifteen minutes.  I've never seen paint dry as fast as it did on these letters.  Can't wait to hear what you think.


Don't forget to stop back tonight at 8pm EST for my Fall into Fall party.


Also, my Alexander Creative giveaway is still going on.  Click here to enter.

-Judy

Monday, December 19, 2011

Alexander Creative Giveaway and Threaded Creations Winner Announced

Hope you all had a great weekend!  To start, I would like to announce the winner of the Threaded Creations Giveaway...the winner of the $25 store credit, according to Random.Org, is...

 #18 Debra who said:
 Hey Judy, i follow, and it didn't take 
too much searchng to find that minky dot 
and turquoise pillow that needs to be in my house.

Congratulations Debra!!

Today's giveaway is sure to excite you.  
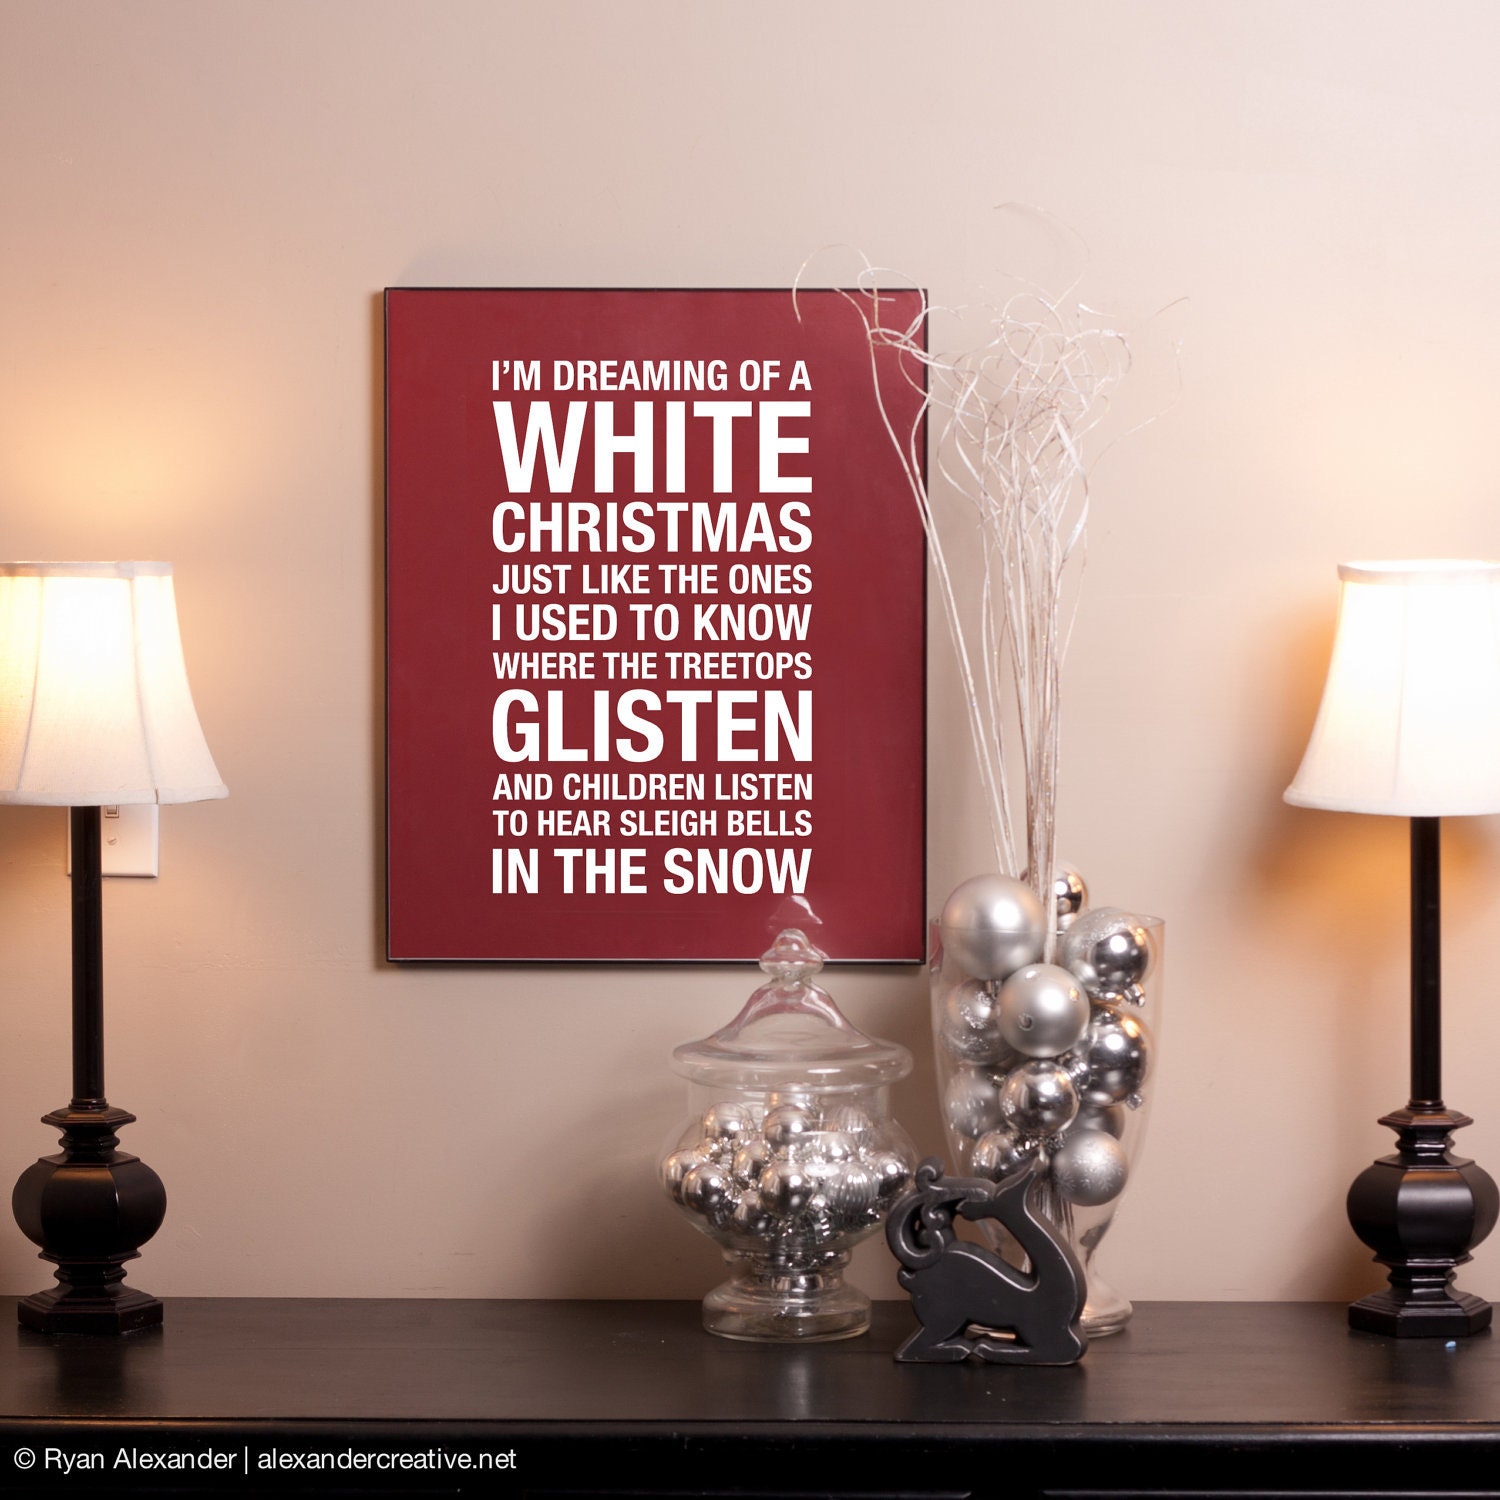
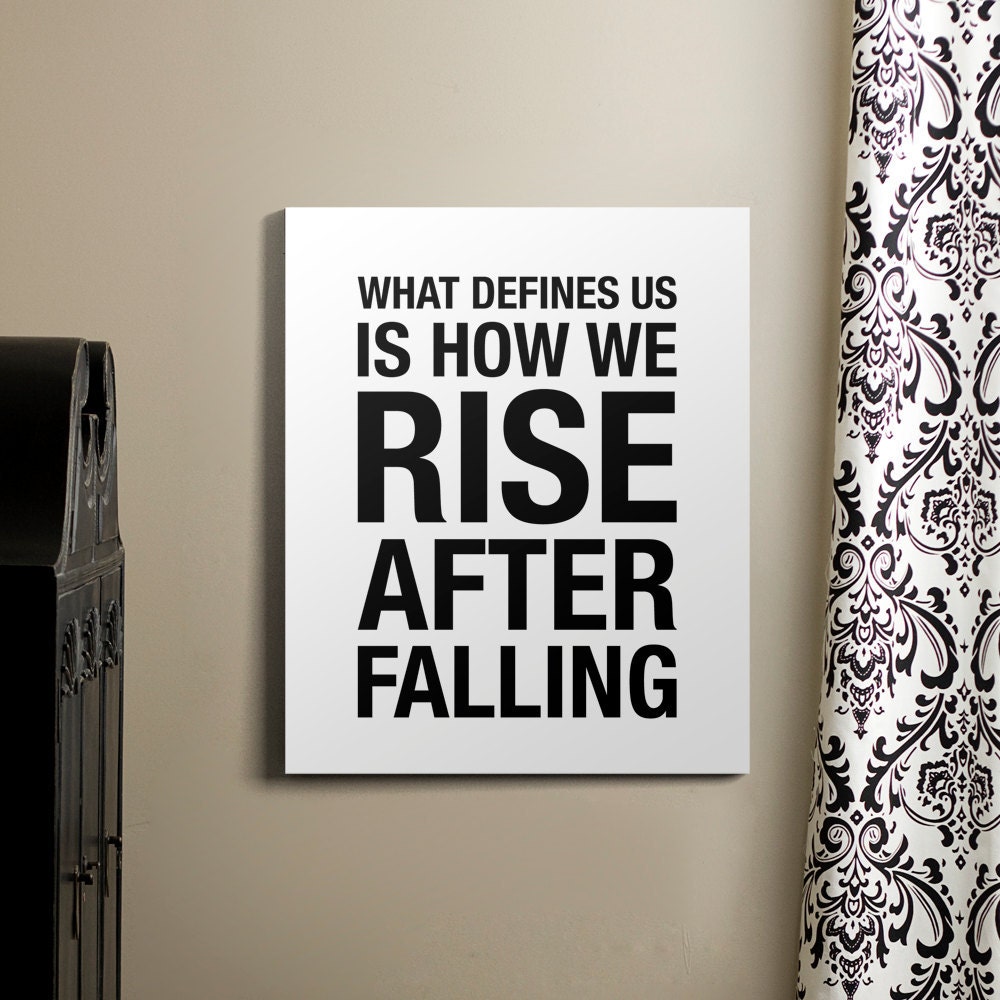
It comes to you courtesy of Alexander Creative, one awesome Etsy shop.  This Etsy shop creates simple and modern subway art for your home that make a positive and meaningful statement of your values.
How about creating some family rules:

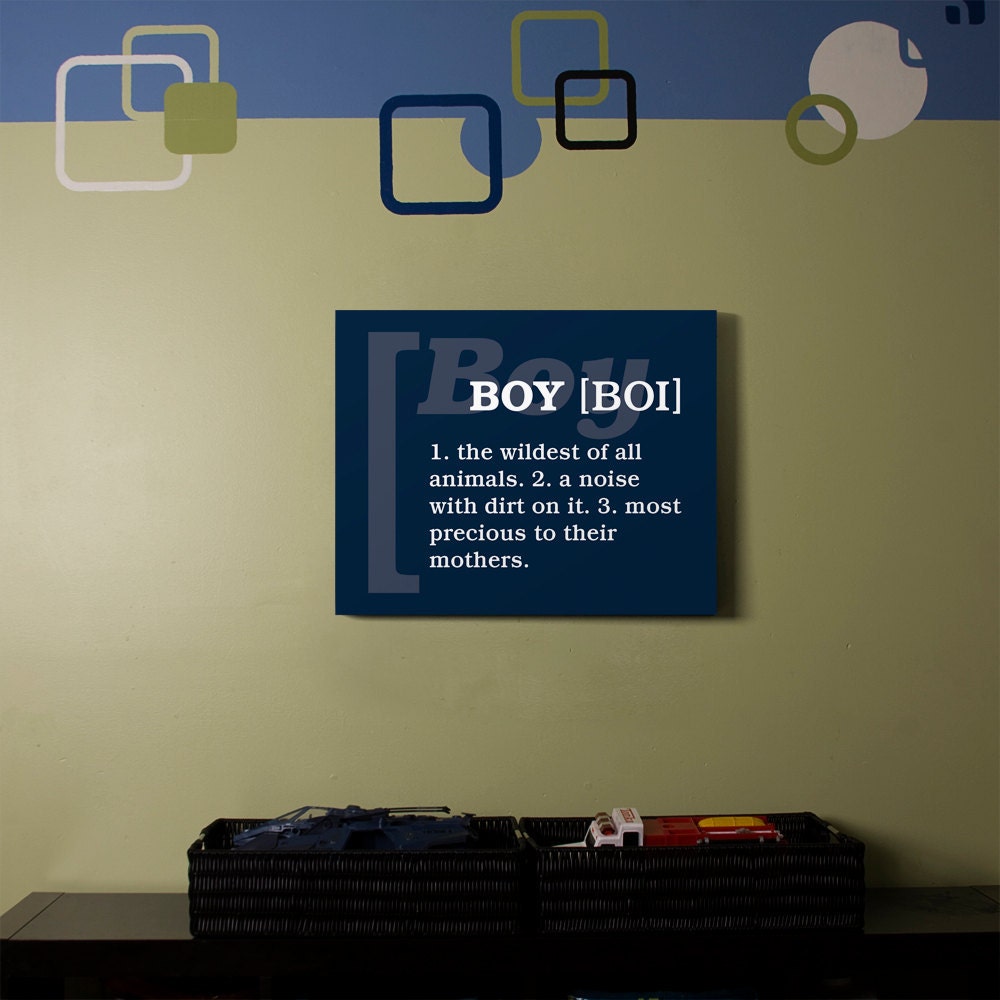
Or how about some cute artwork for your little boy's room?
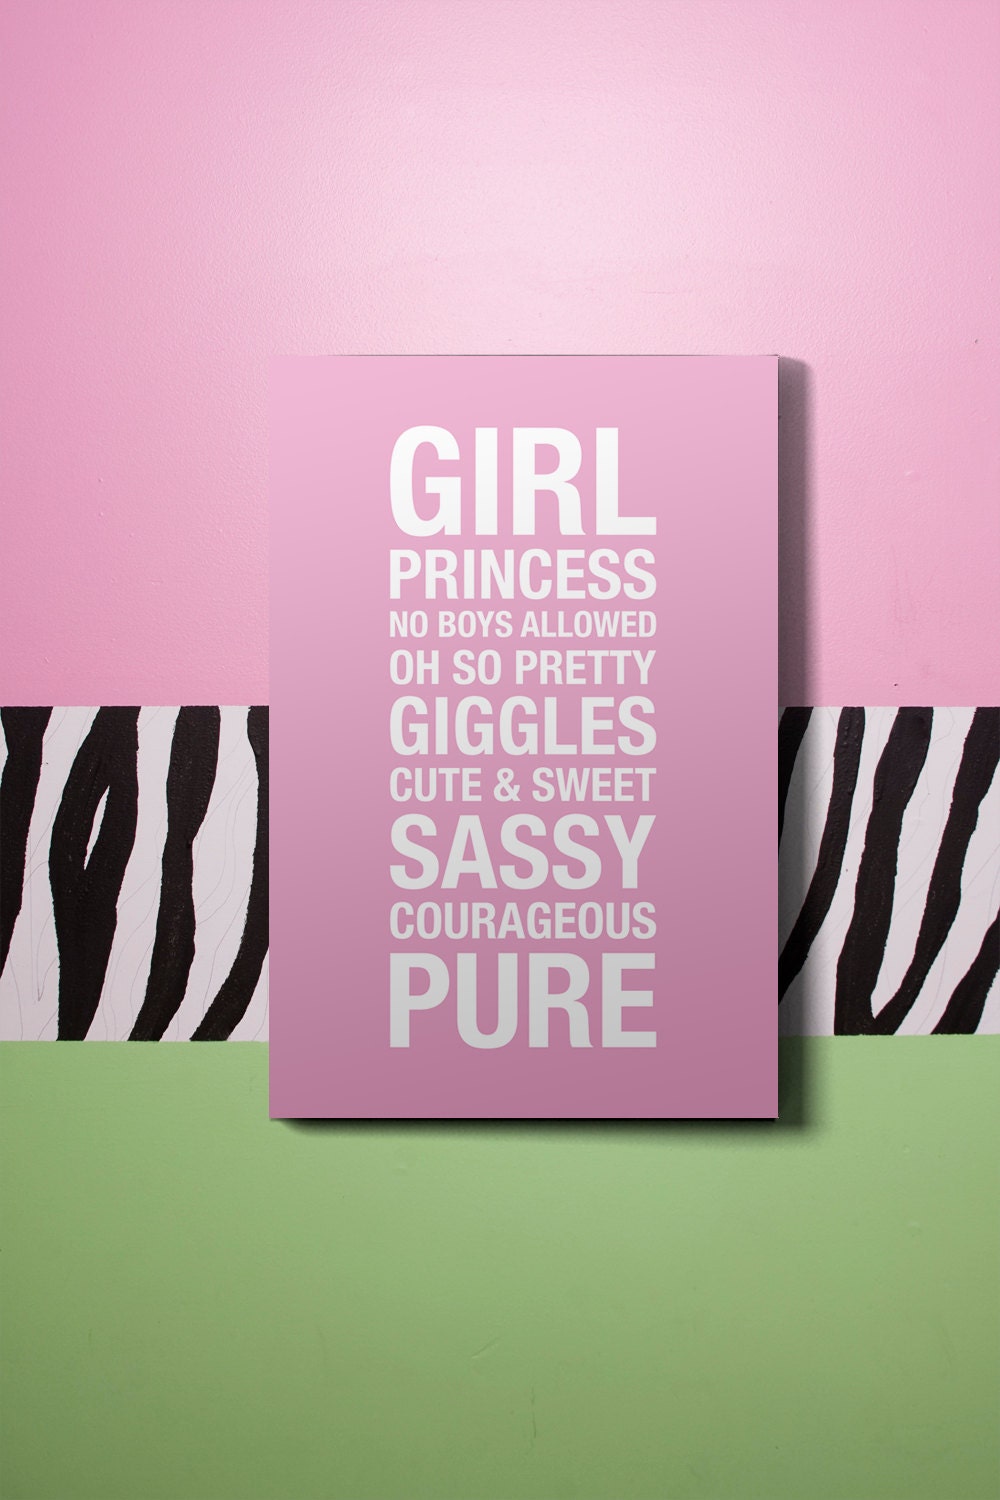
or little girl's room?
The possibilities are endless with Subway Art available at Alexander Creative

Alexander Creative is graciously offering on lucky DIYbyDesign reader a $30 store credit

To Enter:

You must be a follower of DIYbyDesign.  If you are already a follower, please consider following me on facebook as well.  

Mandatory:

1.  Head on over to Alexander Creative and come back here and leave me a comment letting me know what you would choose.  

Additional Entries:

2.  Like Alexander Creative on Facebook and come back here and let me know that you do.  

3.  Tweet, post on Facebook or blog about this giveaway and come back and let me know that you did.

That's up to three entries.  A $30 store credit to Alexander Creative could buy some awesome artwork either for a loved one...or yourself.  Good luck!!

The giveaway will close on Sunday December 25th at 11:59pm EST.  You must leave a separate comment for each entry in order to maximize your chances to win. Must be 18 years or older.  Open only to residents in the 48 lower states.  If your email address is not linked to your Google account, please make sure to include your email in your comment so you can be contacted in the case you win.

-Judy

Friday, December 16, 2011

Christmas Home Tour 2011

Welcome to my Christmas Home Tour 2011.  
Thank you so much for stopping by.  I am very excited to show you around.  
First stop...my entryway:
My favorite view of my entryway is when it is all lit up at night.
Here it is in the daylight.

I combine garland with lights, bows, flowers and sugared plums.  These bows are so easy to make.  Just click here for the tutorial.  


Next stop on the tour...my mantle:


I love decorating my mantle.  I create this look in layers starting with green garland I wrap in white lights.  

Then I add ribbon, bows, flowers and sugared fruit.  
The PEACE stocking holders and stockings are from Pottery Barn from a few years ago.

Next stop on the tour...my dining room:


I'm keeping my tablescape a little more simple this year.  

I treated myself to the twelve days of Christmas plates from Pottery Barn.  I think they are so pretty.
The table runner is also from Pottery Barn.  The "BELIEVE" blocks you see in the background I made. You can click here for the tutorial.

Last stop on the tour...the main attraction...my Christmas tree:

We have a two story family room in our home and our tree stands at 10' tall.  
We love gathering around the tree.  It's such a cozy spot.


I love how the tree is visible all the way from the front door.
Our tree is filled with ornaments we have collected over the years.  Some ornaments date back to when I was a child (like the paper mache mouse in this photo). 
Other ornaments are from family trips we have taken.  We always buy an ornament to add to our tree whenever we go on vacation.  
We also have been collecting these snowmen from Hallmark for the past eight or so years.
They are so cute and they all sing different Christmas songs.


Finally...let's not forget what Christmas is really about...

I'm linking up to Nester's Tour of Homes.

-Judy

Thursday, December 15, 2011

Fabric Covered Letters

I am taking a day off of Christmas posting to share with you a project I did for my daughter's room.  
A few weeks ago I shared with you the Pottery Barn Teen inspired style tile board 
I made for her room.
After I hung it up, it just didn't look complete.
It seemed a little high and to be just floating there.
Then I remembered that I had bought these letters from Target a few months back.  They were on clearance for only $1.48 each!  My daughter's name is Sydney, but Target only had a few letters left so I could only get a S, Y and a D.  That was okay because so many people call her Syd anyhow and she really likes that nickname.  I didn't know what I was going to do with these letters when I bought them, but when I saw how awkward the memo board looked all alone, I knew exactly what I would do with them.
At first I thought I would cover them with scrapbook paper.  But then I realized it would look so much cooler if I used fabric.  So, I started by using the left over fabric from the style tiles and ironing on fabric interfacing I have on hand that I use with my Silhouette machine.  I then laid the letter upside down on the backside of the fabric (the part with the interfacing on it).  
Then using an exacto knife on a cutting board, I carefully cut around the letters.  I didn't trace it first, I was just very careful not to move my letters until I was done cutting.  The interfacing keeps your cuts perfectly clean with no fraying of fabric.   
Then using Mod Podge, I adhered the cut fabric onto the front of the letters.  I only applied the Mod Podge to the back of the fabric (not the face of the fabric). 
Fits perfectly!
This project was done for a total of $4.50!!  Using leftover fabric and things I had in the house, I made very custom letters for her room.  She loves it.  It certainly adds to the tween vibe of her new room.
Plus it allowed me to lower the style tiles so that my daughter can reach them better (I covered the hole in the wall from where I originally hung the board with the letter Y-faster than patching the hole - Lol).  

So incredibly easy but with a really professional end result.  I want to make more of these!!

I hope you will let me know what you think of this project.

-Judy
Don't forget that there is still time to enter the Threaded Creations giveaway.  Click here to enter.

Wednesday, December 14, 2011

Fall into Fall - It's a Party #43

Welcome to this week's Fall into Fall party.  Last week, in lieu of my regular party, I hosted the banister edition of the Blogger Block Party.  Tonight I will be featuring some of my favorites from that party as well as the Fall into Fall party from two weeks ago. 
 Before we get to the features I want to announce the winner of The Summer Cottage personalized pillow giveaway - 

The winner is Kelly of Eclectically Vintage.  

Congratulations Kelly.  I will be sending you an e-mail.

Here are tonight's features:

I love this view of coastal-colors railings.  Absolutely gorgeous.  
You have to check out the rest of her home all decorated for Christmas.

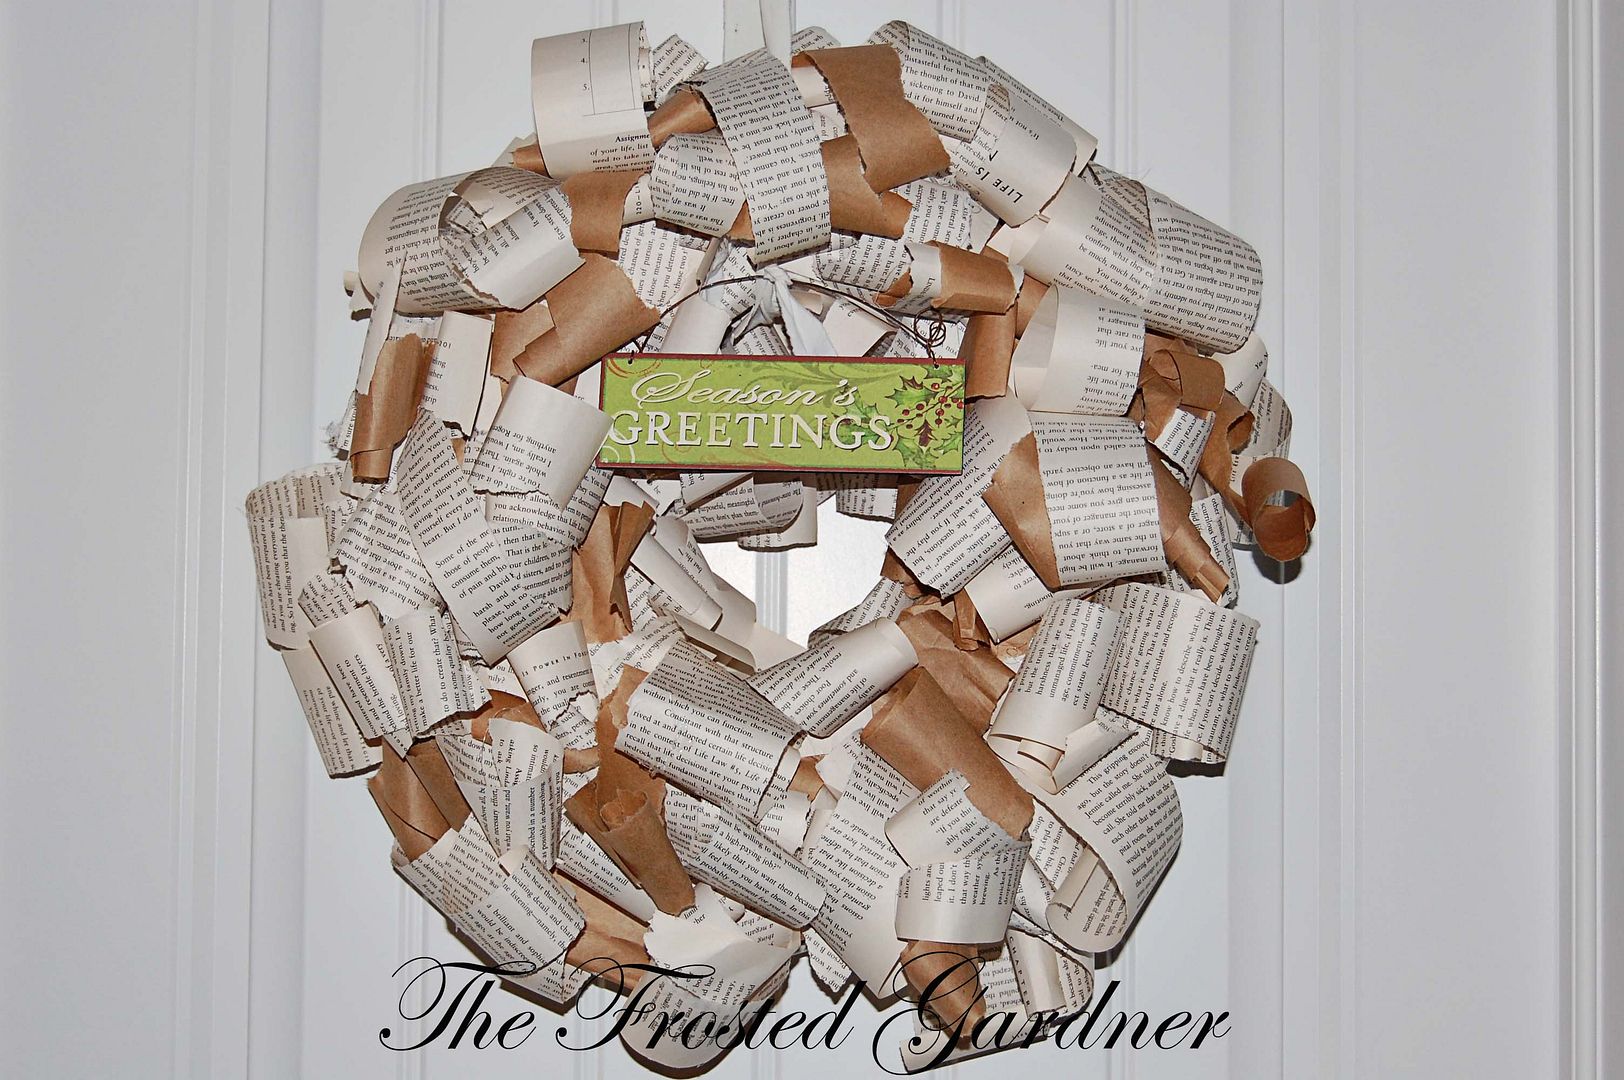
 This wreath created by The Frosted Gardner really caught my eye.  It was all created with strips of paper and masking tape.  Super easy and so cute.
Here's another gorgeous banister from the blogger block party.  This one is created by JBigg's Little Pieces.   Please stop by her blog to see this beautiful banister from multiple angles and close up.
These stairs are so awesome.  Hammers and High Heels created this.  Please stop by for the full tutorial.
I love the idea of a Christmas tree in the foyer.  Cozy Home Scenes tree is just gorgeous.

If you were featured, please grab an "I've Been Featured" button (you can now find my buttons by clicking on the buttons tab right under my header).  Now let's get started with this week's party.  I can't wait to see what you have been up to.  Link up anything you have been working on...home decor, sewing, crafts, organizing, baking, recipes etc.     I will keep this link open through Friday.

A few rules:
1.  Please become a follower.  

2.  Please grab my party button above and display it either on your sidebar or somewhere in your post.  This way word can spread about the party.  The more people at the party, the more fun we will have.

3.  Please enter the link to your actual post, not just a link to your main blog page.

4. Please visit others who have linked up.   Everyone works hard on their projects and blogs...let's show each other some love by visiting each other.  Let's have some fun and hopefully make a few new friends along the way.

Ok...Let's Party

--Judy

Related Posts Plugin for WordPress, Blogger...