Pages

Thursday, January 24, 2013

Reorganizing a Closet

Kids grow quickly.  My daughter has grown several inches over the past few months.  

She told me that on one side of her closet her shirts were hanging too low and interfering with the tennis skirts hanging below (I had already started emptying the closet before realizing this would be a bigger project than expected).  I thought I could just raise the top hanging bar, however, with the shelf and support bracket on the back wall, it wasn't going to be that easy.
This side of her closet has a three drawer unit from The Container Store.  It's worked great, but in order for me to lower the hanging bar with the skirts, I would have to remove the drawers. 
I lowered the bar for the skirts, but now I needed a solution to fit everything that was in that three drawer unit.  

So I ran out to The Container Store yesterday and bought a wider, shorter drawer unit (they are having their annual 30% off sale right now).  This actually fits the space much better and it allowed me to lower the hanging bar to maximize the hanging space in the closet.  (Yes, my daughter owns many, many tennis skirts...but she does play six days a week so it's her main wardrobe).  
Since it's wider, it actually fits even more than the other unit.
A couple of aqua, lightweight baskets from Home Goods for pretty storage on the shelf above, and this reorganization project is complete.  I just love an organized closet.  How about you?
-Judy

Pin It

Wednesday, January 23, 2013

Winter Blues Wednesday - It's a Party #101

Welcome to this week's Winter Blues Wednesday party.  We have been hit with some super cold temperatures here in New York...brrr it's cold outside!  I can't wait to see what you all have been up to. Each week's party is filled with so many awesome ideas and inspiration.  Here are this week's features:

HOME DECOR:
Chateau Chic showed how she kept out the silver after Christmas to decorate her home.  I love the vintage look.  Gorgeous!
Like a Saturday  has some great tips on what you can do to hide all of those unsightly wires associated with having a television, cable box etc.  So many awesome solutions.

FURNITURE TRANSFORMATIONS:
Southern Abbey refinished this sideboard and painted it this cool shade of gray.  I hope you will stop by her blog to see the full before and after photos.
Uniquely Chic transformed a flea market find into this beauty.  She stained the top with a dark walnut and the body in french gray.
  
CRAFTY CREATIONS:
I use books to decorate with all the time.  Namely Original gives a great tutorial on how to age books you may have and give them a vintage look.  
This is a project that has been on my to do list for a while.  I just love these sweater pillows made by Priscillas.  I especially love the crocheted roses she attached.  

TASTY TREATS:
Mama to 4 Blessings shared her recipe for homemade lentil soup that she made in a crockpot.  Perfect for a cold winter's day.
How cute are these strawberry heart cupcakes that Scattered Thoughts of a Crafty Mom created?  Adorable.

If you were featured, please grab an "I've Been Featured" button (you can now find my buttons by clicking on the buttons tab right under my header).  Now let's get started with this week's party.  I can't wait to see what you have been up to.  Link up anything you have been working on...home decor, sewing, crafts, organizing, baking, recipes etc.   I will keep this link open through Friday.


A few rules:
1.  Please become a follower (if you already follow me on Google, I would love for you to follow me on Linky Followers, Facebook, Twitter and Pinterest as well).  

2.  Please grab my party button above and display it either on your sidebar or somewhere in your post.  This way word can spread about the party.  The more people at the party, the more fun we will have.

3.  Please enter the link to your actual post, not just a link to your main blog page.

4. Please visit others who have linked up.   Everyone works hard on their projects and blogs...let's show each other some love by visiting each other.  Let's have some fun and hopefully make a few new friends along the way.

Ok...Let's Party

-Judy

Tuesday, January 22, 2013

Picnic Basket Turned Magazine Holder

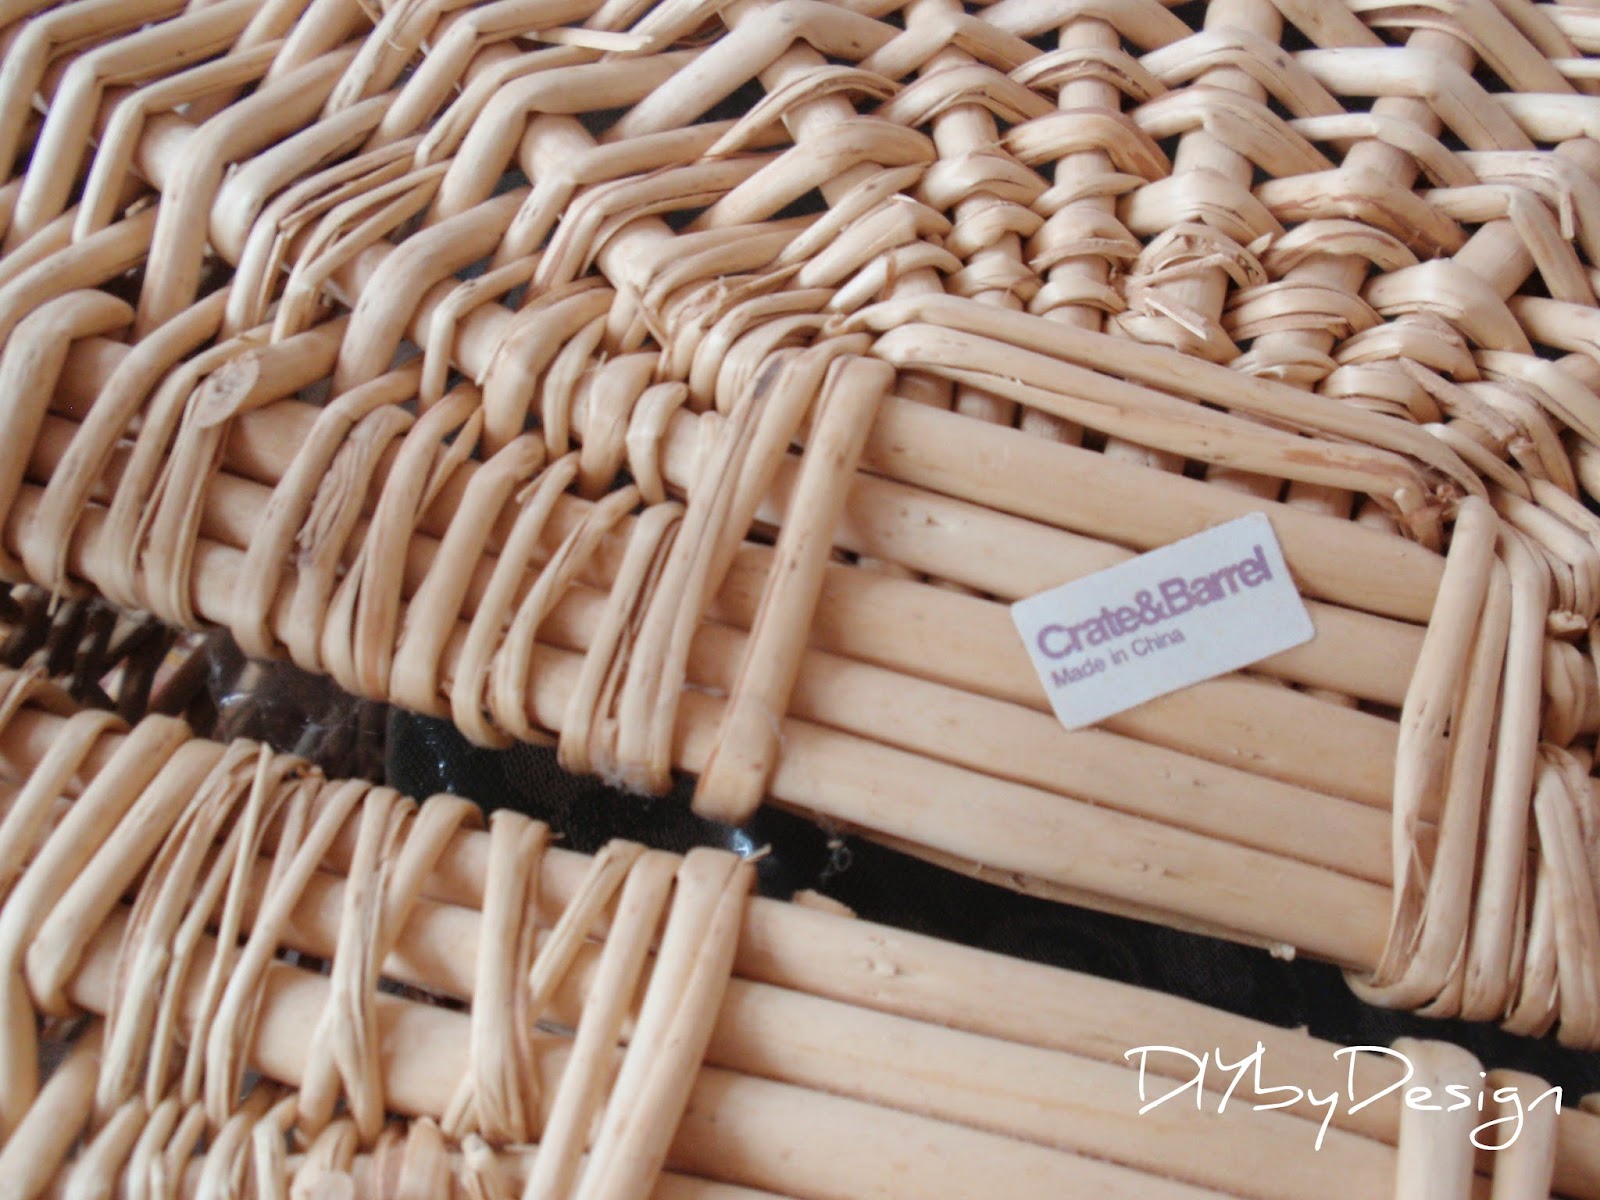
My husband and I were engaged in 1990.  One of our favorite engagement gifts was this picnic basket.  I always loved it and pictured going on a lovely picnic with it. 
It was from Crate and Barrel.  
My friend had filled it with everything we would need for a romantic picnic.
It was filled with plastic plates, utensils and wine glasses.  A table cloth, napkins and a cheese board and cutter as well as two candles filled this beautiful basket.  You can see...everything is still wrapped.
Well, it's 2013 and we have yet to actually use the picnic basket.  We have always wanted to, but it has never worked out for one reason or another.
It has moved to three houses and spent time in many closets.
Pretty pathetic, I know.  
So I figured it was time to take it out of the closet and actually use it. 
I took the smaller basket out from under the table, and instead filled the picnic basket with the magazines and a throw pillow.
It hides the magazines, and it fills the space better than the
other basket I was using for magazine storage.

It also makes me very happy to be using something that I always loved, 
but just never got a chance to use.

Can't wait to hear what you think.

Don't forget to stop back tonight for my Winter Blues Wednesday party.


The party opens at 8pm EST.  Hope to see you then.

-Judy

Pin It

Monday, January 21, 2013

It Doesn't Take Much Fabric to Make A Beautiful Pillow

My kids are home from school today and I have been away most of the weekend with my daughter at a tournament.  I only had a few minutes this weekend to knock out a quick project.
It doesn't take much fabric to make a beautiful pillow.  
I made this pillow in less than ten minutes using a sample of fabric.
Yep...you read that right.  It was just a sample sent to me.
Image
I originally saw this fabric in a Calico Corner catalog over a year ago and ordered a sample from them then.  They sent me a generous sample at 17" x 17".   As much as I loved the fabric, I never ordered it because it was so expensive at $112.00 a yard.  
I have had the sample for almost a year and stumbled across it this weekend.  I realized that I don't need expensive fabric on both sides of a pillow.  So instead I made the back of my pillow using left over drop cloth fabric I already had in the house too (which, by the way, I don't think all drop cloths are created equal - this one has a nice weight and is much more linen-like than others I have used in the past - it was from Lowes).  I decided to make a simple envelope pillow. 

Here's a trick - to save time I cut out the pieces for the back of the pillow using the pre-finished edge of the drop cloth.  That way I didn't have to hem my fabric to form the envelope.

It was that simple - literally less than ten minutes.
It looks beautiful and it cost me nothing.  

Can't wait to hear what you think.

-Judy Pin It


Friday, January 18, 2013

No Fabric Waste DIY Table Runner

Yesterday I teased you with the extra fabric I had left over from my pillow project.
  Here's what I made with it:
A quick and easy table runner for my kitchen table.  
When I saw the left-over fabric sitting on the bed it immediately looked like a table runner to me.
All I did was fold over all four edges and sew a straight line around the entire piece of fabric.  Then I sewed trim on either end.  The trim was sitting in my stash of fabric just waiting for a project.
  My kitchen is adjacent to my family room and uses similar colors.  
The runner goes so well with the window treatments in the kitchen.
  I love the color and texture on the cherry wood table.
 I love that I didn't waste any of the fabric.

I can't wait to hear what you think of my new table runner.

-Judy Pin It

Related Posts Plugin for WordPress, Blogger...