Pages

Tuesday, March 5, 2013

Easter Egg Cloche

Easter is still a few weeks away, but I decided it was time to start pulling out the decorations.  It makes Spring feel that much closer, even on a bitterly cold March day.
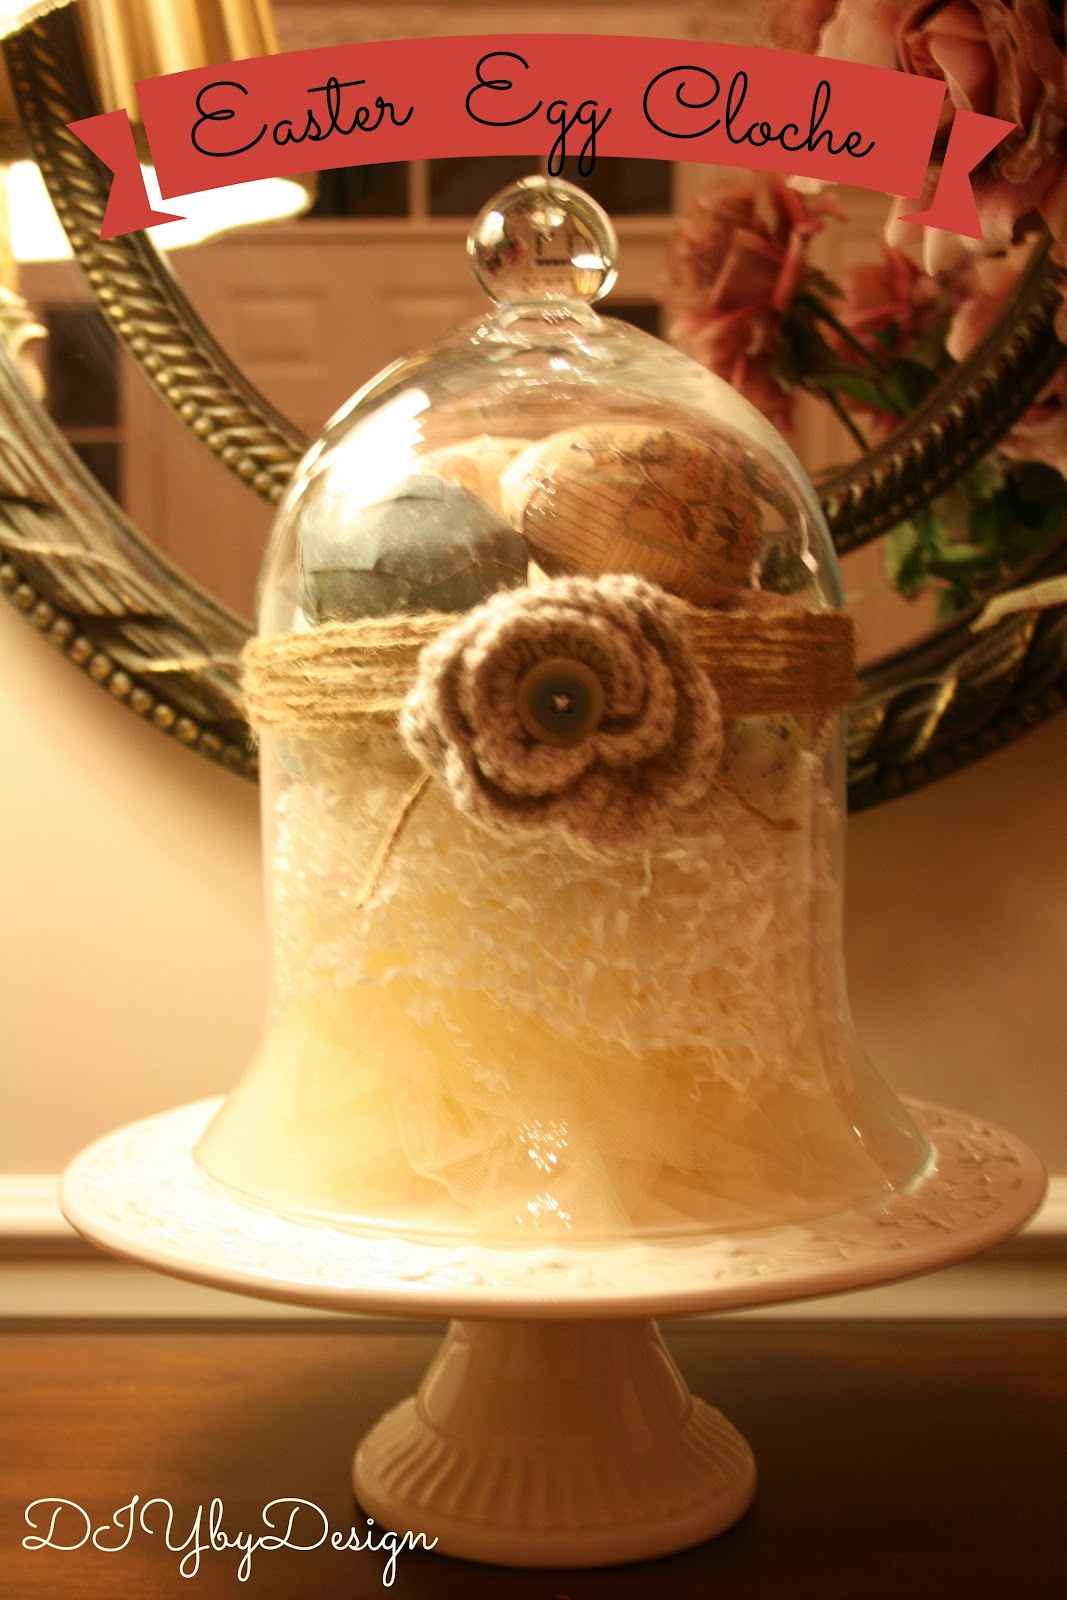
I pulled out the decoupaged eggs I made a few years ago.  Everything looks better in a cloche.  Before blogging I didn't even know what a cloche was.  Now I use cloches all the time in my home decor.
I filled my cloche with the decoupaged egg and some faux robins eggs.  I added a layer of raffia and then tulle.  I wrapped jute around the glass cloche and sewed on one of my crocheted flowers.
I then placed the filled cloche on a cake stand.
It still needed a little something so I layered on a few buttons onto the flower.
Just enough detail for my flower.
I placed the cloche front and center in my foyer. 
There's something very romantic about this look...don't you agree?
  Have you started to decorate for Easter yet?

Don't forget to stop back tonight for my Winter Blues Wednesday party.


The party opens at 8pm EST.  Hope to see you then.

-Judy

Pin It


Sharing with Savvy Southern Style

Monday, March 4, 2013

DIY Craft Closet Projects

Hope you all had a great weekend.  Thank you all so much for your overwhelming response to my new craft/sewing closet.   As promised Friday, here are some of the DIY projects that went into organizing my craft/sewing closet.
Decorative storage boxes can be expensive.  
A quick and easy way to create your own decorative boxes is using contact paper.
My kids go through tennis sneakers quickly, so I always have extra shoe boxes available.  I found this super cute contact paper on the checkout line at Marshalls.
It takes no time at all to cover a shoe box with contact paper.  I use one single piece for the bottom and one single piece for the lid.  
I wanted matching containers for paint brushes.  These decorative containers started as...
these empty canisters.  Contact paper covered them in no time.
The contact paper in the cabinet was old and dated.  It came off relatively easily (it kept snapping off and my hand hit the side at least twenty times where my knuckles were actually visibly bruised).
Fun turquoise chevron contact paper completely changed the look.  I found this contact paper at the same time I found the pink contact paper.
If you're going to use decorative boxes, you need to have labels to quickly identify what is in the boxes.

I made these labels using PicMonkey.  I created a label and then saved it to iphoto. 
 I then printed it out on regular copy paper. 

  I cut out a rectangle around the label and then glued it to Avery name tag labels using a glue stick.  I then cut around the decorative label.  I peeled off the back and... instant pretty label.

The quote that says it all...

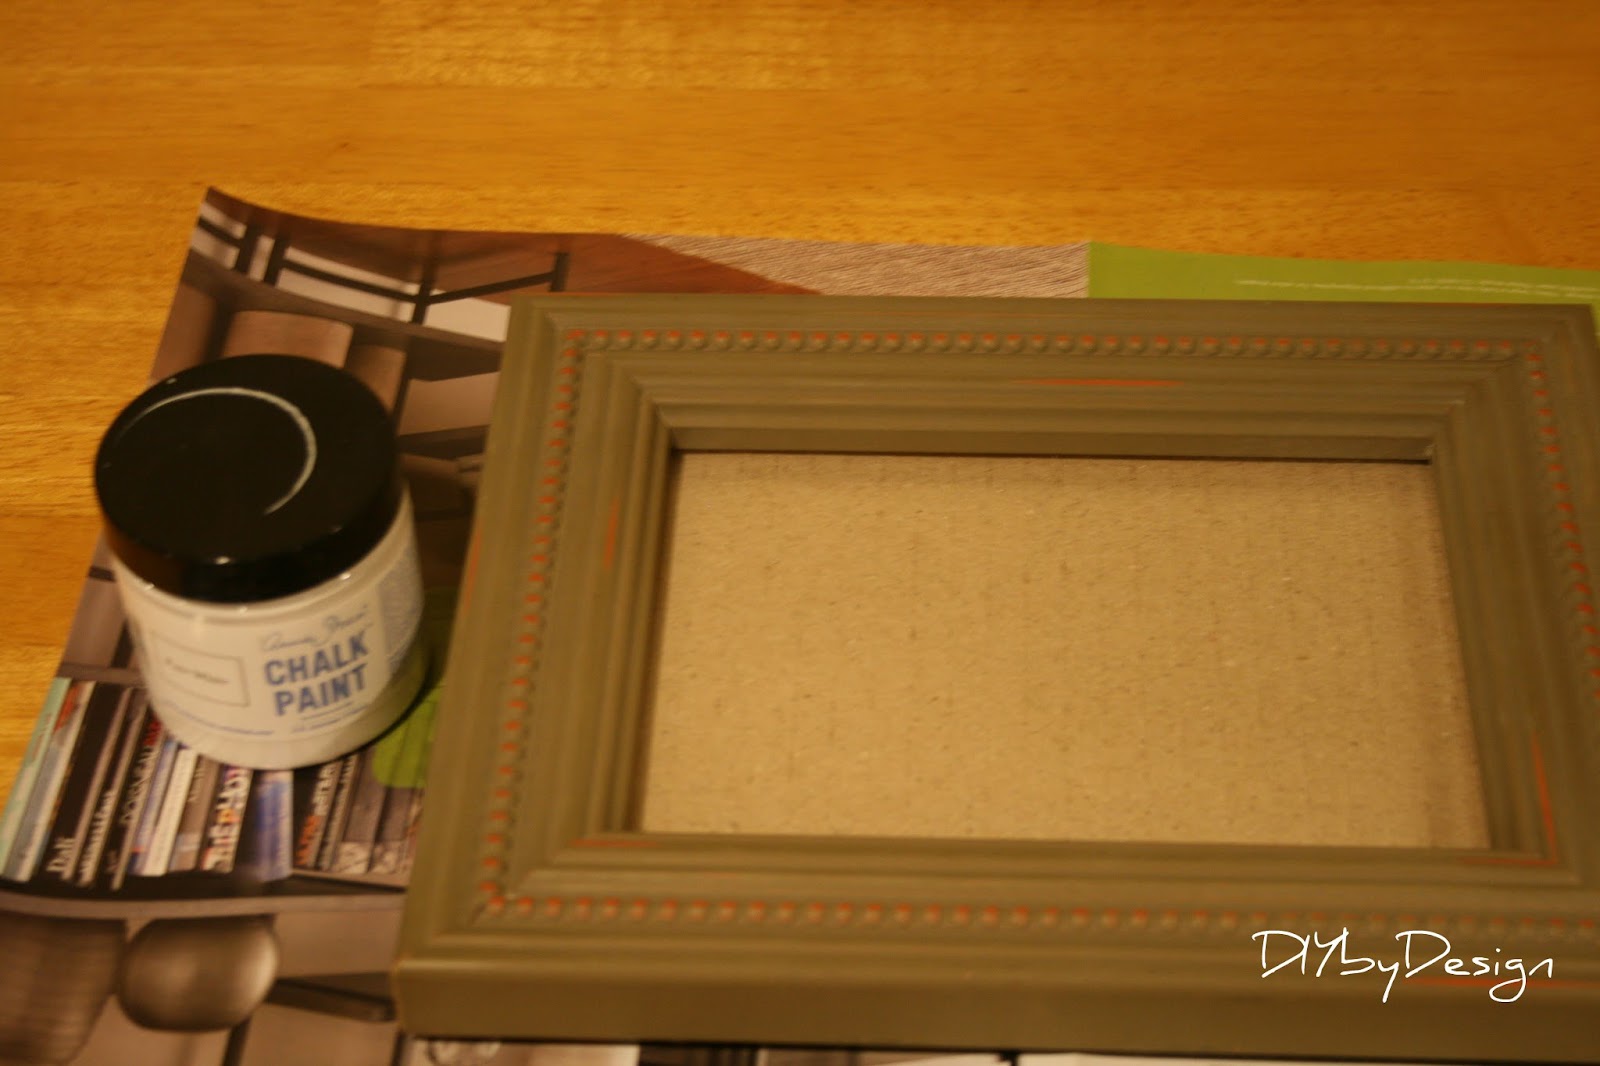
I took a frame that no longer matched anything, and updated it using Annie Sloan chalk paint in Pure White.  

I then used turquoise sample paint I had and highlighted all of the raised dots along the frame.

It only takes a few minutes for the chalk paint to dry and it was ready for the printable.
I used a blue-gray stand I picked up at Home Goods to display it. 

I am really enjoying my new craft/sewing closet.  

-Judy
Pin It

Friday, March 1, 2013

Craft/Sewing Closet Reveal

It's the reveal you've been waiting to see.

It's the space I've been wanting to share.

Drum roll please.......

I am very excited to present...

my very own craft/sewing closet!!!!


Isn't she a beauty?

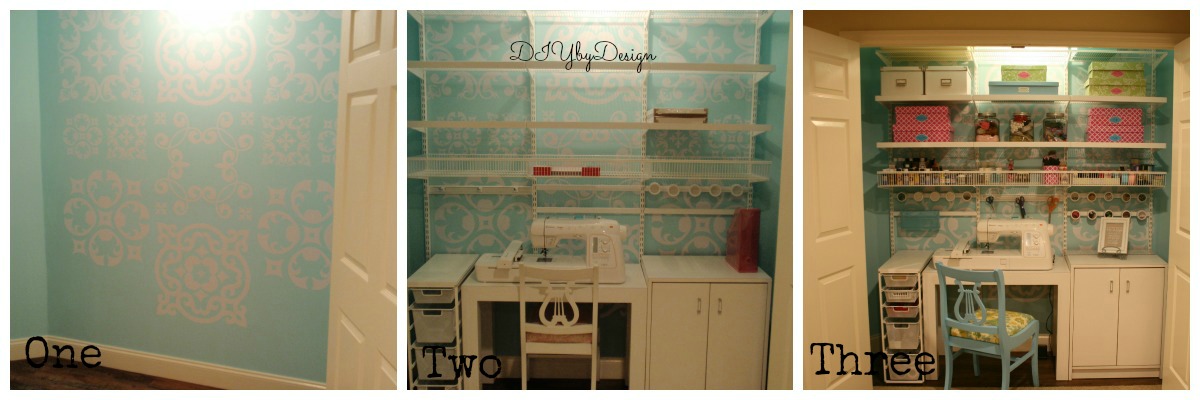
Let me remind you just how far this closet has come.

After the basement remediation, the toy closet was disassembled and sorted through.  The toys and games that were kept found new homes in other closets in the basement.
It was as easy as one, two, three.

Well... it wasn't really that easy.
The parsons desk and cabinet were from my room when I was growing up.  They were used in my son's room when he was a toddler and the desk did a short stint in my daughter's room as well.  For the past several years they have been in either the attic or storage closet.
New contact paper was added to the cabinet and it's the perfect storage location for my scrapbook paper and crafting magazines and books.
  The shelves and drawer unit to the left are from The Container Store, which I purchased during their 30% off sale.  
The storage boxes are shoe boxes covered in pretty contact paper.  
The labels I made as well.  I will have a post next week dedicated to the DIY items in this space.
The glass jars are filled with ribbons and trim that I can see at a glance.

The paint brush containers are also a DIY project.
I love the shelf baskets.  They keep all of the items I use all the time organized but in plain sight.
 The most time consuming part of this project was going through the many closets and drawers I had all of my craft stuff stashed in.  I found so many things that I didn't even remember owning.
These little round magnetic containers are awesome for storing little items.  
I even have a few left empty so I have room to add more supplies.
This sign says it all about me...
Printable Here
Yep...that's how I feel. :)

Let's not forget about the chair I painted and recovered to use in the new craft space.
I love how fun and funky it turned out.
I just love my new craft/sewing closet.  It's such a pleasure to have all of my supplies in one location. 
I can't wait to get crafty!!

I would love to hear what you think of my new space.
Have a great weekend!


-Judy
Pin It


Sharing with I'm Not a Trophy Wife
Between Naps on the Porch
Coastal Charm
Savvy Southern Style
Power of Pinterest Link Party
Related Posts Plugin for WordPress, Blogger...