Pages

Tuesday, April 19, 2011

Swing into Spring - It's a Party #12

Welcome to this week's Swing into Spring party.  Last week's party was filled with inspiration.  It's always difficult to just pick a few, but here are this week's features:
First and foremost, my friend Heather over at At The Picket Fence created this window seat in her kitchen.  So awesome.  You have to go and check out her blog to see the rest of her kitchen renovation she has going on.
I was super impressed with this toy box makeover done over at Fancy Frugal Life.   I hope you stop by her blog and see the rest of her son's room.  It came out amazing.
Suzanne from So Stinking Cute did a makeover on a chair to create this.  The name of her blog tells it all about this chair because it really is so stinking cute!!  I am in love with the fabric.
My friend Vanessa, over at At The Picket Fence created a little table for her daughter to have tea parties at.  She created this table using something most of us have somewhere in the house...one of those round wooden decorator tables.

See these beautiful carriage house garage doors...well stop by Forever Decorating  and check out how these were create.  They are regular white doors painted to look like carriage house doors.  Have you ever seen anything so cool?

If you were featured, please grab an "I've Been Featured" button (you can now find my buttons by clicking on the buttons tab right under my header).  Now let's get started with this week's party.  I can't wait to see what you have been up to.  Link up anything you have been working on...home decor, sewing, crafts, organizing, baking, recipes etc.     I will keep this link open through Friday.


A few rules:
1.  Please become a follower.  

2.  Please grab my party button above and display it either on your sidebar or somewhere in your post.  This way word can spread about the party.  The more people at the party, the more fun we will have.

3.  Please enter the link to your actual post, not just a link to your main blog page.

4. Please visit others who have linked up.   Everyone works hard on their projects and blogs...let's show each other some love by visiting each other.  Let's have some fun and hopefully make a few new friends along the way.

Ok...Let's Party

-Judy

Recovering Dining Chairs

A new Ethan Allen flyer came in the mail the other day.  When I turned to this page, it was love at first sight.

I loved everything about this room... especially the fabric on the chairs.  So now the hunt for this fabric began.
Image from Ethan Allen
I went onto the Ethan Allen website and typed in "toile" in the search box.  The first fabric that came up was the one from the flyer.  Ethan Allen calls it Andover Chocolate.  I could see enough of the fabric that I would be able to search online to find it.  I went to google and typed in "toile fabric chocolate".  Sure enough I found the fabric.  It is made by Waverly and is called Idyllic Days in Chocolate.  The website I found it on was selling it for $18.99/yard.  I figured I would need 2.25 yards to cover all five of my kitchen dining chairs.  I started the checkout process, but it wasn't until almost the last step when they finally disclosed that shipping would be $10.  My grand total was going to be over $50.  I really didn't want to spend that much.
So, I went onto Ebay and typed in "Waverly Idyllic Days Chocolate".  Ten items came up, however most were valances and pillows.  Then I saw the fabric and they were selling 2.25 yard for $13.00 + $7.00 shipping for a grand total of $20.00!  I love these types of moments in life when you know something is meant to be.  The exact item I was looking for in the exact yardage.  So awesome (I was doing my happy dance at this point).
 Even better, I ordered it immediately and received it only two days later.
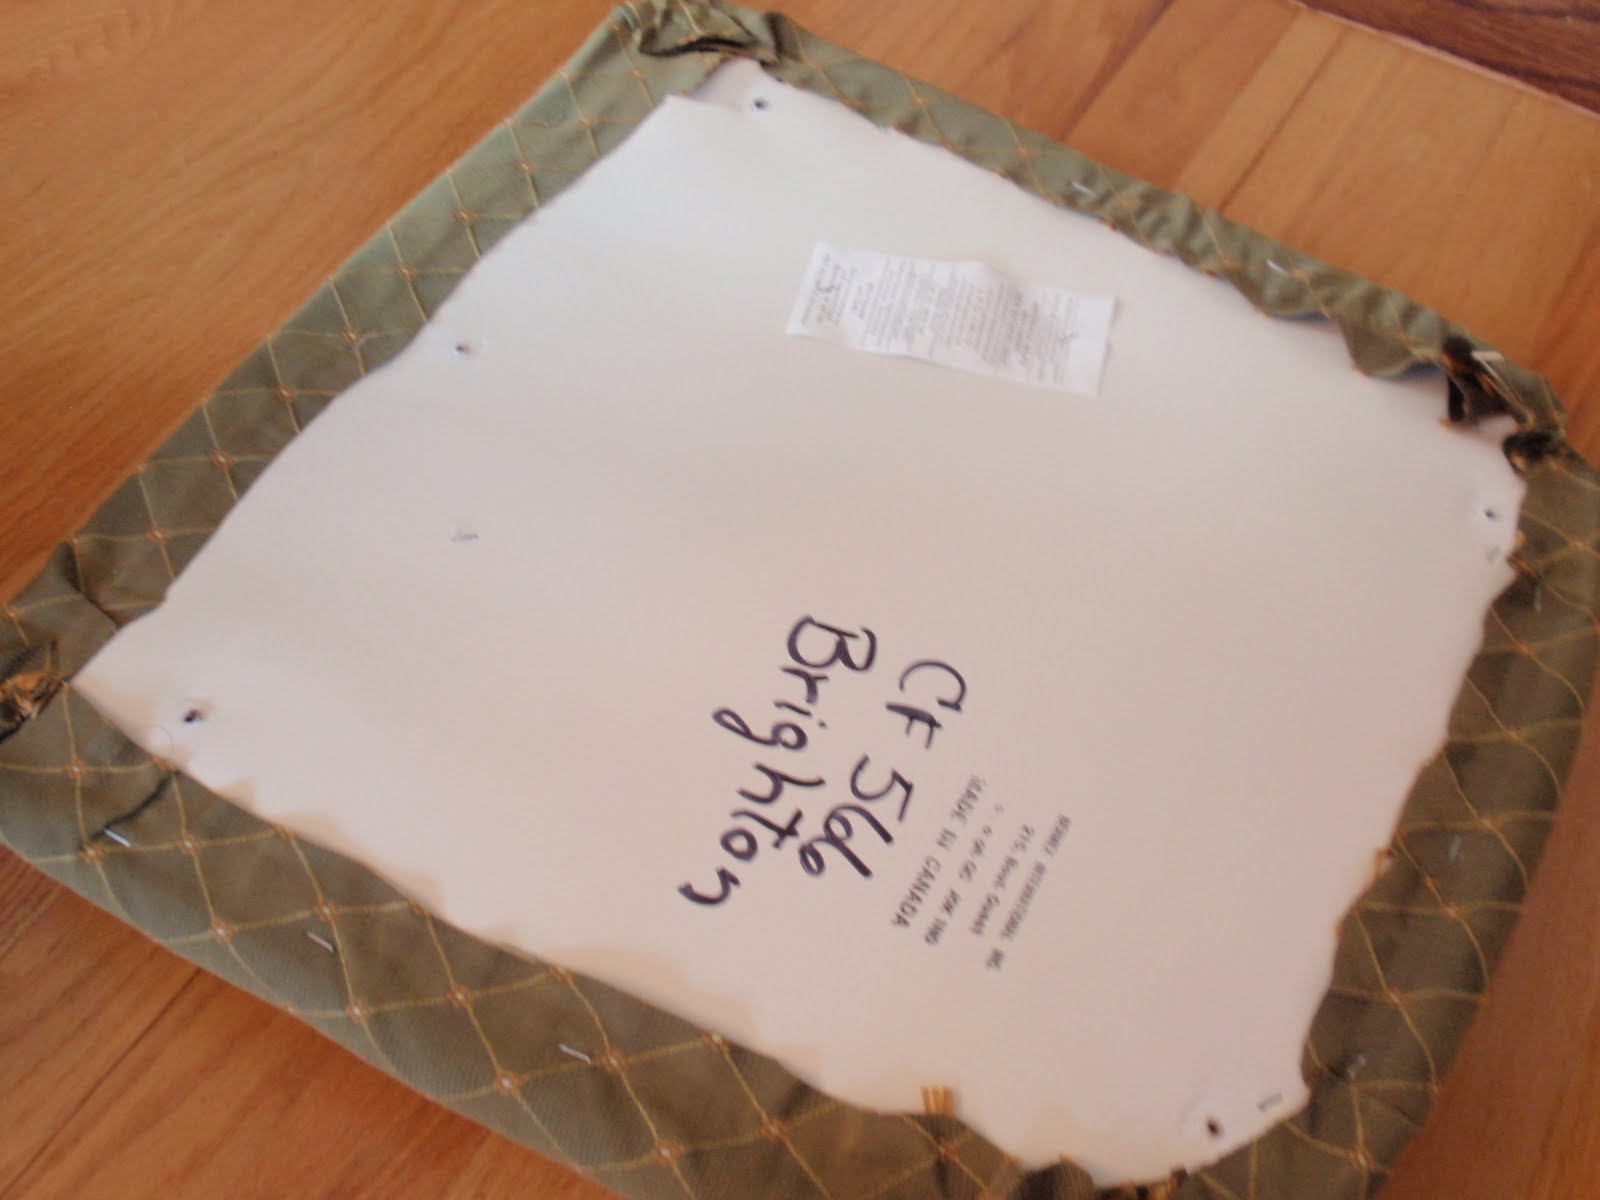
It's so easy to recover a chair.  I started by turning the chair upside down and removing the screws.

I'll tell you how easy it is...I had my ten year old daughter removing all the screws and then she would pass me the seat cushion and I would remove the fabric.  I didn't even have to use pliers.  I just pulled the fabric and it came off.  The fabric I removed was fabric I had recovered the chairs with when we redid the kitchen.  I never loved the fabric that much, but the colors had worked.
I needed a large area to work it, so I spread out the new fabric in my foyer.
Using the old seat covers as a guide, I laid them out on the fabric.  Since it is a toile pattern, I took some time figuring out the best configuration to get the most centered patterns I could.
Notice, I cut the fabric into a square (I did not cut out exactly as the old chair fabric).  It's much easier that way.  After I staple it to the seat cushion, I just trim away the excess.  I like to staple in the center of all four sides first, then I work my way to the corners.

For the corners, I pull the corner fabric and staple.  Then I take the other two sides and have them meet in the center and staple again.  I then cut off the excess fabric.
Now this is usually when I would just put the seat cushions back on the chair and call it a day.  Well not this time.  I kept remembering the photo from the Ethan Allen flyer.  It had a welted cord around the edge.  I didn't have much fabric left, but I knew I could make it work.  Sure enough I was able to get all five chairs done, and I only had to piece fabric together for the welting on one chair.
Using my favorite Fabric-Tac, I glued down the welting around the base of the seat.
Voila...new, beautiful chair covers.
I am so happy with how these came out.  It completely transforms the look of the chair and goes so much better with the kitchen.
Don't forget that my Swing into Spring party opens up tonight at 8pm EST.  Hope you stop back then to join in the fun.

Let me know what you think of my "new" dining chairs.  Do you love them as much as I do?

-Judy

Monday, April 18, 2011

Paver Driveway Apron

As most of you know, last season we removed our deck and patio and replaced it with a new patio.
This is the before picture, and it was the patio you see in this picture that was removed.
We used some of the old patio pavers to make this pathway to the new patio.  We still had a few palettes of pavers left.  I knew that we had to come up with something to do with them.  How about an apron at the foot of the driveway?  It's tough to have an entire paver driveway in the Northeast with the snow and all...but an apron is a nice effect.  We ran out of good weather after the patio was done, so this project had to wait until now.
So, last Thursday our contractor's trucks arrived, ready to begin.
Just in a nick of time.  You can see that the foot of our driveway took a real beating this winter.
Before you start any project like this, make sure you or your contractor calls your town to have them come out and mark with a flag your gas, electric and cable lines.
First they cut out the driveway portion they would be replacing with pavers.
Next they added stone and then sand.  Then the pavers are laid and retained in with belgium block at the street.
Here is the finished product.  It was the perfect use of what would otherwise have been thrown away.  I love repurposing.

As an added bonus, while one crew worked on my driveway, another crew was working on pruning my landscaping and adding new mulch.
Now if it would just warm up and stay warm for more than just a day.

Maybe then we could get the rest of the grass to grow back (after the construction from the fall).

What kind of outdoor projects have you been up to?

-Judy

Friday, April 15, 2011

Four Dinner Napkins...Two Projects

While wandering through my favorite store, Home Goods, I came upon these dinner napkins.  I just loved the color and their linen-like texture, so I bought them knowing I would come up with something to do with them.  They were only $4.99 for the four napkins.
I decided to go to one of my favorite blogs, the Graphics Fairy, to find something to transfer onto my dinner napkins.

I made sure to print out a mirror image of what I picked out.  That way when I ironed it onto the napkin, it would read the right way.

I bought this T-Shirt transfer kit years ago and still had five left.
I cut around the image to limit any excess transfer sheet.
Following the instructions on the transfer sheet, I ironed the image onto the napkin.
For the first project, I sewed two napkins together and created a pillow.  With right sides together, I sewed three sides together.  I then added a pillow insert and glued the last edge.

With two napkins left, I searched through my ribbon stash and found this gorgeous Martha Stewart ribbon that I had bought on clearance at Michaels Craft Store for $1.00.  It coordinated perfectly (seriously, it couldn't have matched any better).
This time I decided I would make a tote bag.  I sewed the bottom of the two napkins together.
I sewed the ribbon up one side and down the other to form the handles.
With right sides together I sewed the two side edges together to form the tote.
So for $6.00, I have a new pillow and tote bag.  I just love how they came out.

My Swing into Spring party is still going on.  Just click here to join in the fun.

Let me know what you think of my new pillow and tote bag.  I always love and appreciate your comments.  Hope you have a great weekend.

-Judy

Thursday, April 14, 2011

DIY Magazine Holder

I have wanted to get my daughter a magazine holder for her desk for a while.  It would help neaten up her desk as well as give her a place for all of her tween magazines.  I've searched for a while for one to coordinate with the memo board I created (click here for that tutorial).
I couldn't find anything I loved.  I thought about buying a magazine holder and then covering it with the leftover fabric I had from the memo board, but why spend money on a magazine holder when I could probably make one from scratch.
My solution...a UPS box.  You could also use a Fed Ex, USPS etc box as well.  I used the medium size UPS which had a depth of 3" which would work for the magazine holder.
I put one end of the box together and stood it next to a magazine holder I had in the house from my mudroom.  I used my mudroom magazine holder as a guide and traced all four sides.
Then using a utility knife, I carefully cut along my pencil line.
Using the left over fabric from my daughter's memo board, I laid the new magazine holder on the fabric and traced around it, rolling the box as I continued to trace the shape.  This way I had one continuous piece of fabric (only one seam that way).
Using Mod Podge I applied the fabric to the box.  I must tell you that Mod Podge works so well with fabric.  I find it so much easier than working with paper...but that's just me.
I wrapped it all around until the last edge overlapped a little bit.
I folded under that edge and used Mod Podge to hold it in place.  It holds almost immediately.
I then folded each of those edges over to the inside of the box and used Mod Podge again to adhere it.  I then used the remaining fabric and covered the inside as well.   The inside was trickier mainly because I was cutting it close on fabric...I had one continuous piece of fabric inside as well except for one little patched area (which is low enough that you can't see it).  Keep in mind that both the memo board and the magazine rack were created using a total of one yard of fabric.
Here is the final product...it came out exactly as I had envisioned it.
You can see how I folded over all of the inside and outside edges in this closeup to give it a store-bought look.  I love this project -  it was easy and free.  What a perfect combination!
My Swing into Spring party link will stay open through Friday.  You can click here to join in the fun.

Let me know what you think of the new magazine holder.  I always love and appreciate your comments.

-Judy
Related Posts Plugin for WordPress, Blogger...