I have made many pillows over the years. However, being self-taught on the sewing machine, I never really figured out how to put a zipper in. Last week I was reading through some of my favorite blogs and
Janell from Isabella and Max Rooms did a tutorial on how to put in a zipper on a pillow. I love reading blogs as much as I love writing this blog. There are just so many talented people out there. So, when I read a great tutorial, I want to try it. The pillow and the welt I have done many times, but putting in a zipper, now that was a mystery to me.
First things first, I picked out fabric I had left over from my daughter's room. The pink is a basket weave fabric that I had bought, but never used. The aqua fabric matches the bedskirt and shams I made for my daughter's bed and I would use that for the welting.
I had a 12"x16" insert on hand, which worked out since Janell used that size (less math for me to do).
I cut out my fabric 13"x17" (one inch larger than the fabric). I like to use a square to draw a light pencil line on the fabric and then cut my fabric.
Next I cut a strip of fabric that I would use for the welting around the pillow. I used cording I bought at JoAnn's Fabric. I cut the fabric and the cording to a length equal to the length of all four sides added together plus one inch. Technically you are supposed to cut the fabric on the bias when you make welting. I didn't want to use up so much fabric so I just cut it one width. A width of fabric is 54" and then there is some salvage (it was just white on this fabric) on both sides. Since this is only being used for the welting, I used some of the salvage ends to make up my 57". That way I really used very little fabric.
Taking the strip of fabric I fold it over the cording. I have a single welt cording foot attachment for my machine. If you don't, you can also use a zipper foot. I stitch the fabric over the cord.
After that, I attach the two ends to make one continuous loop.
I lay it on the right side of my fabric and pin it in place. Remember I said that the pink fabric had a basket weave? It reminded me so much of the material you use when you do cross stitching. I thought it would be perfect to embroider my daughter's name on it. So using a pencil, I drew out her name.
Using embroidery thread in aqua and green I started to do a running stitch following my pencil lines. I used the aqua for the S and the green for the Y and alternated with each letter.
After I was done stitching the letters I still felt like it needed a little something.
I had these butterfly buttons in my sewing box. I don't even know when I purchased these. Must have been a while ago...but they would be perfect for this pillow.
I sewed the three butterfly buttons on and sewed a couple of stitches coming off each to show them in flight.
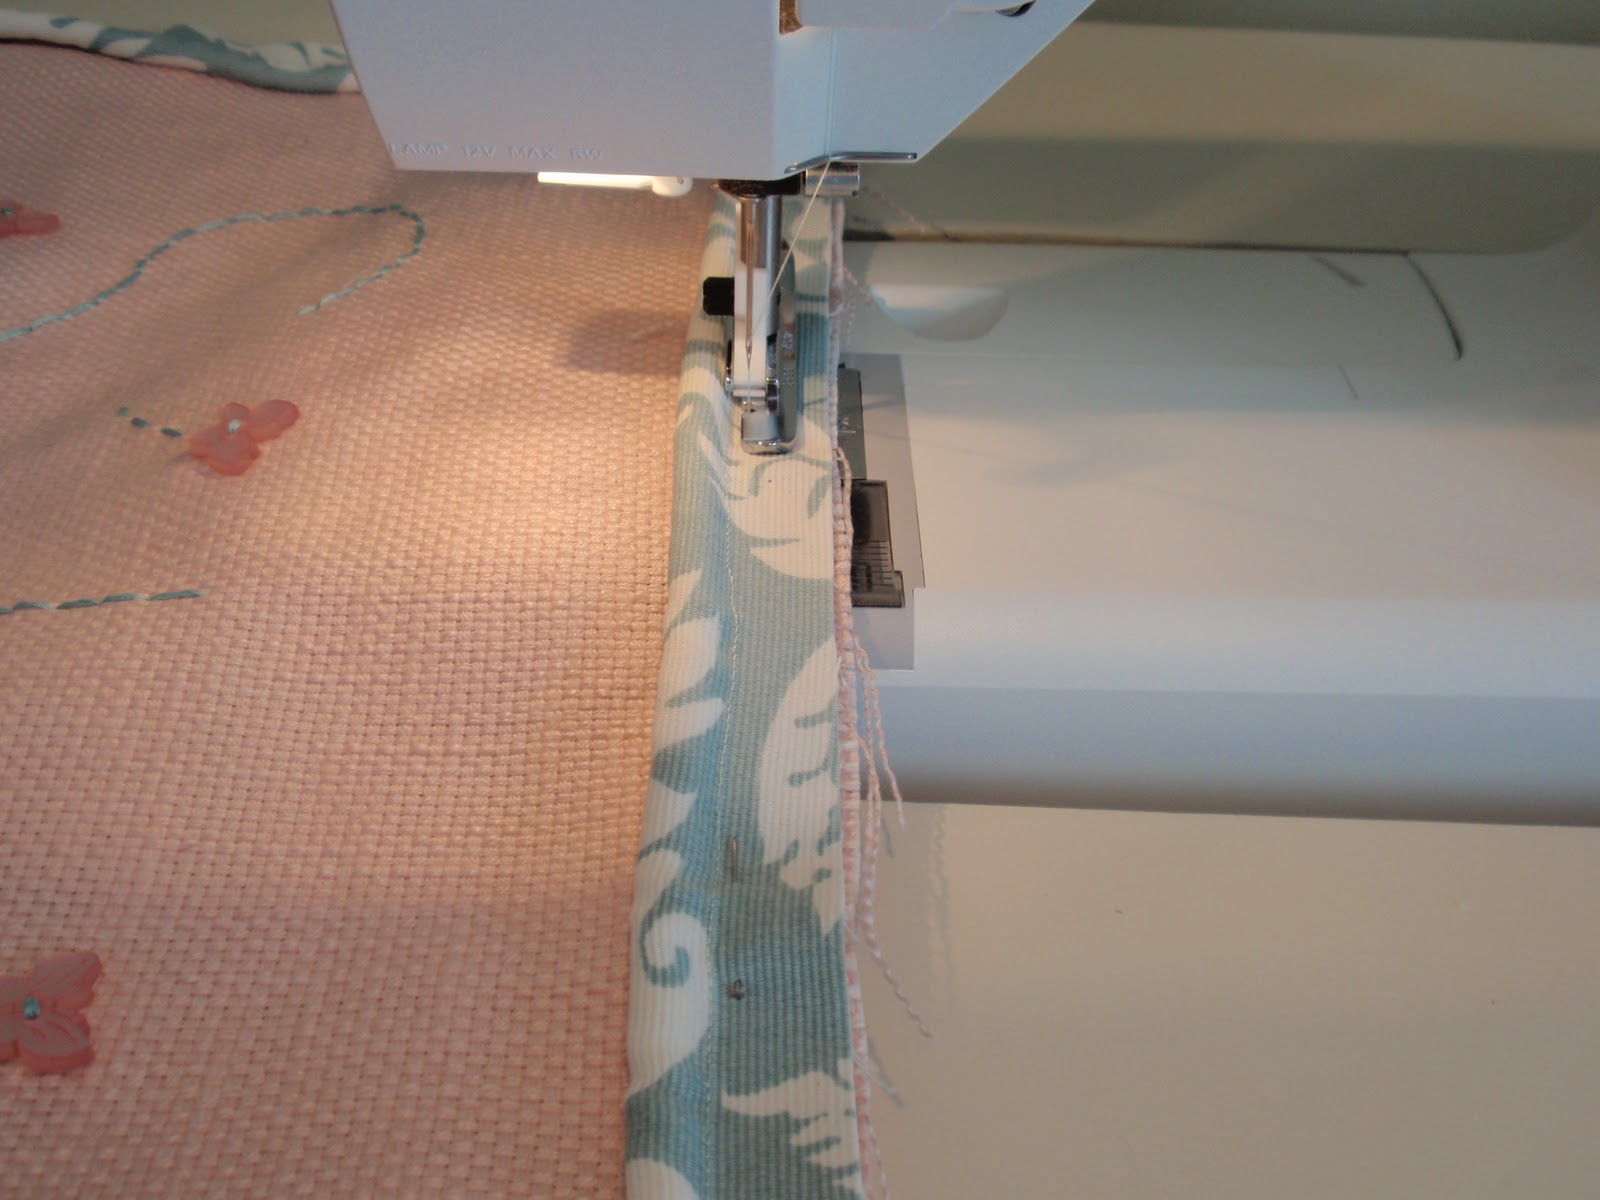
Once I was satisfied with the design, I sewed the welting to the right side of the fabric along the edges.
Once the welting was sewed on it was time for me to try to sew on a zipper. I read through
Janell's tutorial several times.
I followed
Janell's directions exactly. With right sides together I sewed from the edge a little bit and left enough for the zipper to fit. I sewed the zipper to the "wrong" side of the fabric and then to the other side. I was so excited I had just sewed my first zipper. Now, it was 3pm and my kids had just gotten home from school. Usually I end my projects before they get home - I really like to give them my undivided attention. I was so close to finishing, I just thought I could sew the three remaining sides and be done. But all I heard while I was trying to sew those last three sides was "MOM" and "MOM" - of course, everyone needed me at that moment. So I rushed. Let's just say I didn't think. After sewing the zipper in and being so proud, I forgot to unzip the zipper before sewing the remaining three sides. Honestly that's the equivalent of sewing all four sides shut. UGH!! First I tried to get the zipper open from the wrong side. I tried that for a while...keep in mind I kept hearing "MOM"...one more minute kids...I promise. Ultimately I had to get the seam ripper out and open up the seam enough for me to get the zipper open. Then I re-sewed those seams.

Here is the finished product. Except for that little glitch in the end, it came out great. I have to thank
Janell for giving such a great tutorial which gave me the confidence to try the zipper.
The perfect finishing touch for her chair.
Don't forget the Winter Blues Wednesday party. The link will be open starting tonight at 8pm EST. Hope to see you all there.
-Judy


19 comments:
Your pillow looks great! I love all the extra details you added to it! Congrats on sewing your first zipper!
Go Judy!! A couple of humble suggestions from an experienced sewer: (1) Always baste a zipper in place first. The reason for this should now be obvious to you. (2) Next time you make welting, do try cutting the fabric on the bias if you can. Woven fabrics are stretchiest on the bias, and it will make a subtle improvement in the way the welting curves. All that aside, congratulations on a beautiful project! Your daughter is so lucky!
The pillow turned out great!
Thank you Jennie. You're right about it not curving perfectly. I appreciate your input and advice so much. Thanks again.
That looks "sew" good Judy! Couldn't resist being corny for a minute! :-) I really love it and although I have attempted welting before I have never tried sewing in a zipper...not sure I'm gonna try it anytime soon but I will live vicariously through your fabulous job!
Vanessa
How sweet! Great job Judy!!
Oh my gosh, that is so adorable!! You go girl!
Happy Tuesday! xo
This turned out great. I hate putting in zippers & I avoid them! It is an honor to have you as a follower on my blog! I'm hosting a great giveaway--all you have to do to enter is stop by & leave a comment on the giveaway post. My fingers are crossed for you.
Warmly, Michelle
Hi Judy, thanks for visiting and following me.I was truly lucky after a year of looking. Either the price was too high or there was a piece that I loved and I was broke.Finally everything came together. I love your pillow, it came out great. I am pleased to be a new follower.
Your pillow turned out super. I just usually blind stitch them closed. I am all set for the party. See you tonight. Hugs,Marty
This is so beautiful. I need to get over my fear of zips and get my rear in gear!!!
I;'m your new follower.
Sarahx
That is so cute! Thanks for linking up!
Beautiful!! And great timing, since I've been wanting to try my hand at pillows and this is not a strong point for me! Thanks for you comment on my blog and I'm a new follower!
Great job, I just did my first zipper pillow recently as well.
Wow! This was your first zipper...?! Beautiful!! I love the border...and that's not easy!
Thank you so much for linking to "20 Below Thursday"!
My next step in sewing my slipcovers for my front room couch and loveseat is, you guessed it, putting in the zippers. I'm experienced at zippers. Seam application, overlap application, basting in, freestyle, regular, invisible, armhole 40s style zippers, sewing them in and forgetting to open them first... picking them out entirely because one side of the fabric pulled and it looks all crooked...I've done it all. And yet I keep putting off just figuring out how to attach the arm side piece to the zipper to the back of the slipcover...
Maybe now I'll have the courage to do it. I love your "Sydney". Whenever I try to design such stuff it turns out looking stiff. I never would have thought of the little "flight" stitch lines, and they are the perfect touch!!
Hoooooooooooooooooow cute!!!
m ^..^
Beautiful! Those little butterflies are too precious. Thank you for linking up!
very impressive & super CUTE!! xoxo's nancy
Post a Comment