Pages

Friday, January 4, 2013

DIY Candle Holders

This is one of those projects that came together with things I already had in the house.
Those are the best kind of projects.  Especially right after Christmas, I am trying to use what I have on hand first before going and buying anything new.  

As I mentioned yesterday, my husband bought me three flameless candles for Christmas.  I am in love with these candles...they look so real, even in person.

When I opened them Christmas morning and saw the container they came in, I knew I wanted to make something out of it.  I wasn't sure exactly what in the moment, but it came to me yesterday.

They would make awesome candle holders.  

I had bought this music note wrapping paper from Home Goods before Christmas, but never used it.  It's a nice weight and would be perfect to cover the tubes the flameless candles came in.
I was going to use mod podge, but decided to just use a glue stick.  
I cut the wrapping paper to size (I was able to get all three covered with just one width of the paper) and then glued the wrapping paper all around. 

Then I used leftover ties that were used to ship the area rug in my daughter's room (yep, I kept those thinking they might look cool on a project someday).  I used my hot glue gun to adhere the ties.  

I wanted something to cover the seam where the ties met.  I decided to make clay tags .  You can check out a full tutorial on how to make these clay tags here.  I used a heart shape cookie cutter and stamped the words on the clay before I baked it.  After I baked it I painted the stamped letters using craft paint.  
Then I used my hot glue gun again to adhere the clay tags.  
I added them to my vignette on my coffee table in my "new" family room.  
One more finishing touch - I tied some left over wire ribbon (one with music notes on it too) to the glass vase with flowers on the table.  

When my husband saw what I had made with the containers the candles came in, he said, "I saw them as boxes to be thrown away, somehow you see home decor."  I think that sums me up perfectly.  

What do you think?  Do you love them as much as I do?  I best part is that they were free!  

Have a great weekend!

-Judy
Pin It

Thursday, January 3, 2013

No-Cost Decorating

On New Year's Day we took down all of our Christmas decor and put it all away.  Over the holidays we started tossing around the idea of rearranging the furniture in our family room after the tree was put away.  It was also a good chance to really clean the room from top to bottom, since we were moving nearly every piece of furniture. 
Here's a look at our family room with all of the changes.  
Here is our family room as it was set up for the holidays.
Before we started moving any real furniture, we moved it all on a piece of graph paper with the floor plan drawn out with cut outs of all of the existing furniture we have in the room.  It's something I have for each of the rooms in my home.  Makes trying out different furniture arrangements much easier on our backs.  The before photo above is our family room right after the tree was put away which is why the far left hand corner is empty.  One of the issues with the old floor plan was that having the sofa in the middle of the room cut the room in half.  It also left only a small amount of space to actually enter the room.  The sofa also seemed to block any focus on the fireplace mantel.  
Here is another view of the room.  
I actually did like the game table on an angle in the before photo, however it was rarely used since it was hidden behind the sofa.  I'm hoping it will be used more now that it's more accessible.
It's funny...we have lived here more than thirteen years and we have used the sliding glass door in this room maybe once or twice.  I've decided that since the door is never used, I'm going to treat it more like a giant window that furniture can go in front of.  
The lamp is from my home office.  It's a Pottery Barn lamp and lamp shade.  It was next to my copy machine in my office and it tended to get in the way each time I needed to make a copy. 
 The lamp works really well with the decor in this room - maybe even better than it did in my office.
The room is very open with this furniture arrangement and it actually feels so much bigger now. You can still see the television perfectly from the sofa, even though it is no longer directly in front of the television.  In fact, you can now see the television from all of the seating in the room.  Plus, we actually get to use the ottomans that came with the chairs.  In the previous arrangement there was never any room for those and they had to be separated from their respective chairs.
 While I was at it, I created a simple vignette for my mantel.  The candles are my favorite and were one of my gifts from my husband for Christmas this year.
They are battery operated and look so real, even in person.
Here is a view of the room from the fireplace.  To the left of the sofa I brought up a table from the basement that works well for now.  I also completely changed up what is on the coffee table, adding flowers, books and potpourri to a wicket basket also from Pottery Barn.
By rearranging our furniture and using a couple of items from other rooms, I have given our family room a completely different look - all for FREE.  You gotta love no cost decorating!

I can't wait to hear what you think of my new, more open family room.

-Judy
Pin It

Wednesday, January 2, 2013

Winter Blues Wednesday - It's a Party #98 - New Year's Edition

Happy New Year!  Welcome to this week's Winter Blues Wednesday party.  We spent today putting away all of our Christmas stuff.  The house feels huge!  We also completely rearranged the furniture in  our family room today.  More on that later in the week.  Last week's party was filled with tons of inspiration.  Here are this week's features:

HOME DECOR:
Southern Abbey shared her gorgeous dining room all decked out for Christmas.
The Ordinary Beautiful changed up the pillows on her sofa and changed the whole look of her room.  I love what throw pillows can do for your space.

CRAFTY CREATIONS:
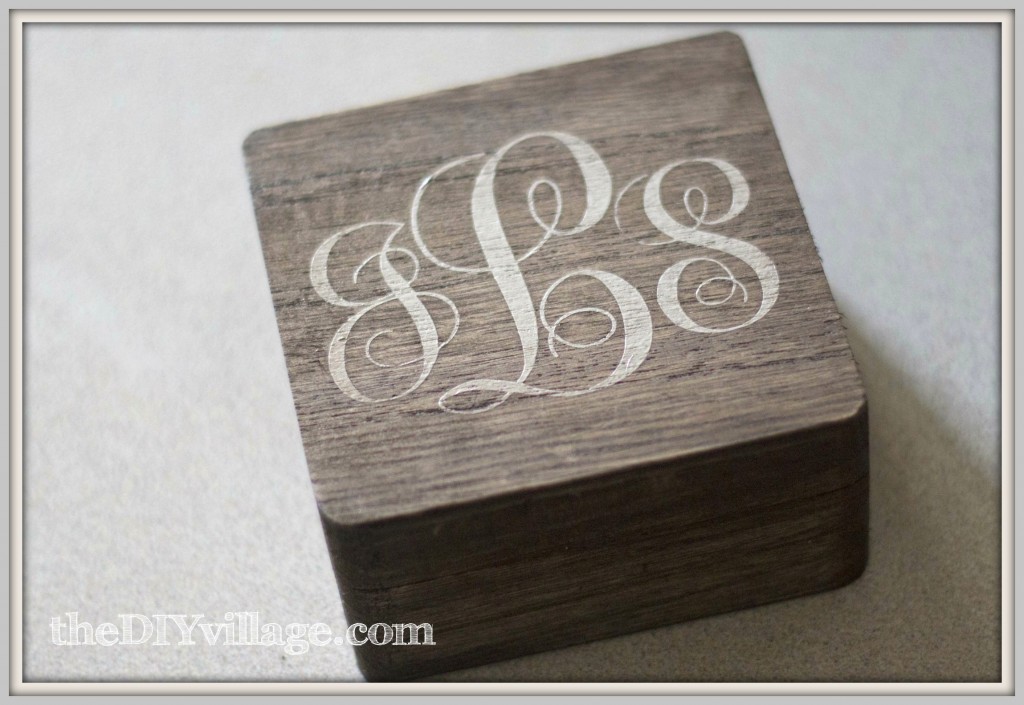
The DIY Village shared a DIY monogrammed jewelry box - all for $1.00!  
Scattered Thoughts of a Crafty Mom shared a tutorial on how to created your own DIY body polish.  What a perfect idea for the new year.

TASTY TREATS:
Our 3 Sons Plus 1 shared a recipe for chocolate chip Mexican wedding cakes.  These look so yummy.
Creatively Southern shared all kinds of yummy recipes for chocolate covered treats.  


If you were featured, please grab an "I've Been Featured" button (you can now find my buttons by clicking on the buttons tab right under my header).  Now let's get started with this week's party.  I can't wait to see what you have been up to.  Link up anything you have been working on...home decor, sewing, crafts, organizing, baking, recipes etc.   I will keep this link open through Friday.


A few rules:
1.  Please become a follower (if you already follow me on Google, I would love for you to follow me on Linky Followers, Facebook, Twitter and Pinterest as well).  

2.  Please grab my party button above and display it either on your sidebar or somewhere in your post.  This way word can spread about the party.  The more people at the party, the more fun we will have.

3.  Please enter the link to your actual post, not just a link to your main blog page.

4. Please visit others who have linked up.   Everyone works hard on their projects and blogs...let's show each other some love by visiting each other.  Let's have some fun and hopefully make a few new friends along the way.

Ok...Let's Party

-Judy

Tuesday, January 1, 2013

2012 Year in Review

What a year!  I can't believe it's almost 2013! 
 Here's a look back at how I spent some of my time in 2012 (for more details on any of the projects, just click on the link below each photo).

January


February


March

April

May
iPad Pillow Tutorial, Mother's Day gift, Embellished Candles, Crochet Edged Basket

June
Pool House Door, Hydrangeas, Funky Pillow Tutorial, Mirror Mirror on the Wall

July
New Kitchen Table, Master Bedroom Duvet, Dinner Napkin Pillow Tutorial

August
Conquering Fear, Ruffled Table Runner Tutorial, King Size Pillow Sham Tutorial

September
No Sew Drapes Tutorial, Monogrammed Pumpkins, Decorated Canisters, Chair Transformation

October
New Dining Room Mirror, How to Create a Coffee Bar, Clay Tag Tutorial, Clay Napkin Ring Tutorial

November
Side Table Makeover, Pottery Barn Kids Carolina Table Grows Up, Silhouette Vinyl Thanksgiving Plate, Fabric Lampshade Makeover

December

Wallpapering a Focal Wall, Doll Crib Transformation, Christmas Home Tour, Wicker Chair Makeover

Wow, I have been busy!  Thank you so much for following me along on this journey.
I can't wait to continue to share with you all of the new projects I have in store for 2013.

Happy New Year!!

-Judy Pin It

Related Posts Plugin for WordPress, Blogger...