

My daughter's last words to me yesterday before she left for school was, "do you think you could hang my drapes soon"? That was all the inspiration I needed to get the job done. I had bought everything I needed to hang the drapes over the weekend, but with Halloween, it just never got done. So shortly after she left for school, I got out all of the tools to get started.
 |
| Turns out I really didn't need a hammer |


So, first things first. I needed to decide exactly at what height I wanted to hang the drapes. In this case, because the bed is in front of the window, I could "cheat" a little on where I wanted them to hang since you won't be able to see the bottom. In the event we ever move the bed I would either add a coordinating fabric on the bottom, add rings, or as a last resort change out the drapes. A good rule of thumb is to hang the drapes either 4" above the top moulding of the window or at the ceiling height. I originally thought I wanted to hang the drapes near the ceiling. But after thinking it through, I realized that I may want to add crown moulding in the near future and that hanging the drapes at the ceiling would limit me. So I decided to hang the drapes 4" above the top of the moulding on the window. I measured from the top of the moulding and from the ceiling on both sides to make sure I was level (my window is 72" wide so my level didn't reach both sides at the same time). After I was satisfied with the location I held up the bracket and marked both holes with a pencil.
Using my Yankee Drill (it's a tool with a drill bit that you push in and out of the wall to make a hole like a drill would - one of the best tools ever invented), I made a small starter hole in each of the pencil marks. Since I did not hit a stud, I needed to use the plastic wall anchors that came with the rod.

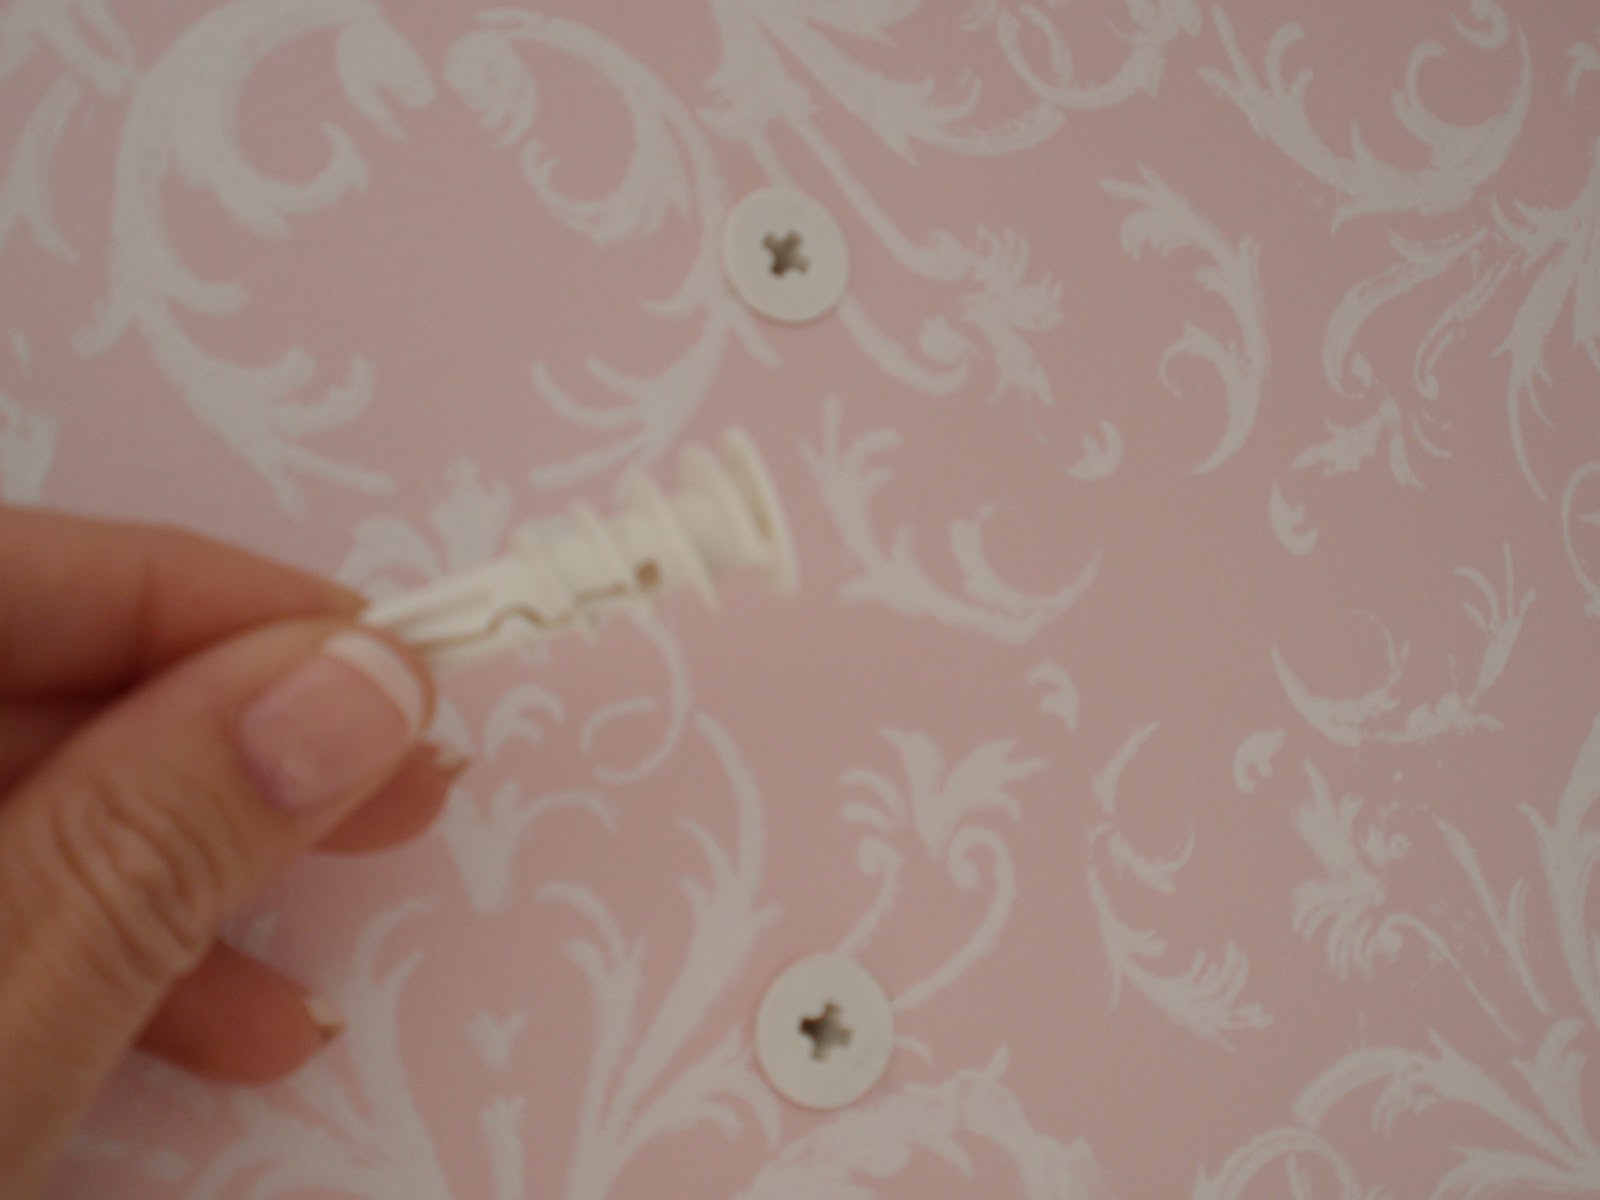
I used my phillips head screwdriver and screwed the plastic anchor into the wall. Please take note, that you do need to apply some pressure to make sure they easily screw themselves into the sheetrock.

After the wall anchors were screwed in, all I had to do was tighten the screws into the bracket to attach the bracket to the wall. As you can see at the bottom of the picture - I placed both brackets even with the end of the window casing. Next I slid the drapes over the rod - I have four panels. I decided to have the rod extend beyond the brackets approximately 8" on each side. That way when open it didn't cover too much of the window and in addition it makes the window appear larger.


The drapes are from Target's Shabby Chic line. I do have two panels on each side for extra fullness and for a more custom look. I chose to use the pink faux silk drapes for two reasons. One, I already had the drapes. Two, I thought this color drape would continue the soft look of the stenciled wall. Had I used drapes with a contrasting color, ie aqua blue, the effect would have been quite different. Still beautiful, but not nearly as soft looking. By choosing a solid colored drapery, it allows more freedom in my bedding choices.

The finials are clear crystal daisies. They are not age specific which will give them longevity.

Panels really dress a window. It truly is a simple project that anyone can tackle. You only need a pencil, screwdriver, level and anything to make a starter hole (in my case the Yankee Drill). Her room is on its way. Let me know what you think.
-Judy
 Come check out these link parties:
 >
>


 "/>
"/>
23 comments:
They look lovely. I wish I could see the end finials. The room looks wonderfully comfortable. A girls dream.
New follower here from FMBT.
I LOVE that room! You have fantastic taste!
Oh wow! It is all looking so beautiful and that feature wall really pops now with those gorgeous drapes! Great job Judy!
Vanessa
Judy, it's gorgeous! Unbelievable!
What a lucky girl your daughter is to have such a creative and generous mom !!
yes, drapes make ALL the difference! These are just beautiful and I love the hardware that you chose. Glad I found your blog today! -diane
The finials look like tulips. Very chic!
Lovely drapes. I love the girly details.
Your daughter's room looks like every little girl's dream. The drapes are such a nice finishing touch! I love the wallpaper and the crystal chandelier too.
Such a dreamy room, this is gorgeous!! Thanks for linking!
Take care
Kristin
Beautiful room! Your daughter must have been thrilled when she got home from school. I just love Target. It's kind of dangerous for me though. I always come out with more than was on my list.
Did you stencil the pink wall? Very pretty.
Oh so pretty!!!!!!!!!!!!!!! I bet she loves her room!!! TYFS... Many hugs!
Gorgeous! It's so soft and feminine and peaceful. I love the stenciled wall. Wow! Your drapes and finials are just perfect.
Judy, I had to come back and get a second look, since you said that walls were stenciled. They are so pretty - you did an amazing job!
Judy, I amhanging these drapes in my new home... in the living room and dining room! LOVE THEM! You did an amazing job on the room!
Have a pretty day!
Kristin
Such a pretty room! I love it. Well done.
I'm drooling over that wallpaper. Your daughter picked the cutest daisies, too. ...and I love the trick to make the windows seem larger. I was torn over spending the extra $ for pbk drapes but I see their hardware is def worth the $. Thanks for posting. I'd love for you to add this to my ”Sweets This Week” Link Party.
Hi Judy, I love your pink drapes!! They are so sweet and pretty! They look perfect for the wallpaper! It is coming out beautifully!!! Great job!! :)
Ah so pretty and I love the flow of the drapes!
What a beautiful bedroom!!! I love the curtains!
I have panels in every room but I must admit....I HATE hanging curtains!! I love the look...but hanging them is my nemesis! Everything that could go wrong always goes wrong! LOL
Hey Judy! Just had to come back by and say thanks for linking this post up to the party! :-)
Vanessa
Hi Judy,
Coming over to say Thank you so much for sharing this at Feathered Nest Friday! :)
What a beautiful room for a lucky little girl! That was is just amazing!! Had to come say so, saw you are French Country Cottage!!
They are so pretty - you did an amazing job!
Double Hung Window Repair
Windows And Doors Phoenix
Double Glazed Windows
Sliding Window Replacement
Post a Comment